CLAY STUDIO LEIDEN GALLERY
Below are three galleries showcasing examples of the three main painting techniques we teach in our studio - underglazing and wax resist techniques. All three are suitable for beginners who do not think of themselves as particularly artistic or those who have not held a brush since kindergarten. The galleries are shown in order of the techniques’ level of difficulty going from simple to complex. All pieces are finished with non-toxic, food-safe, microwave-safe and dishwasher-safe glazes.
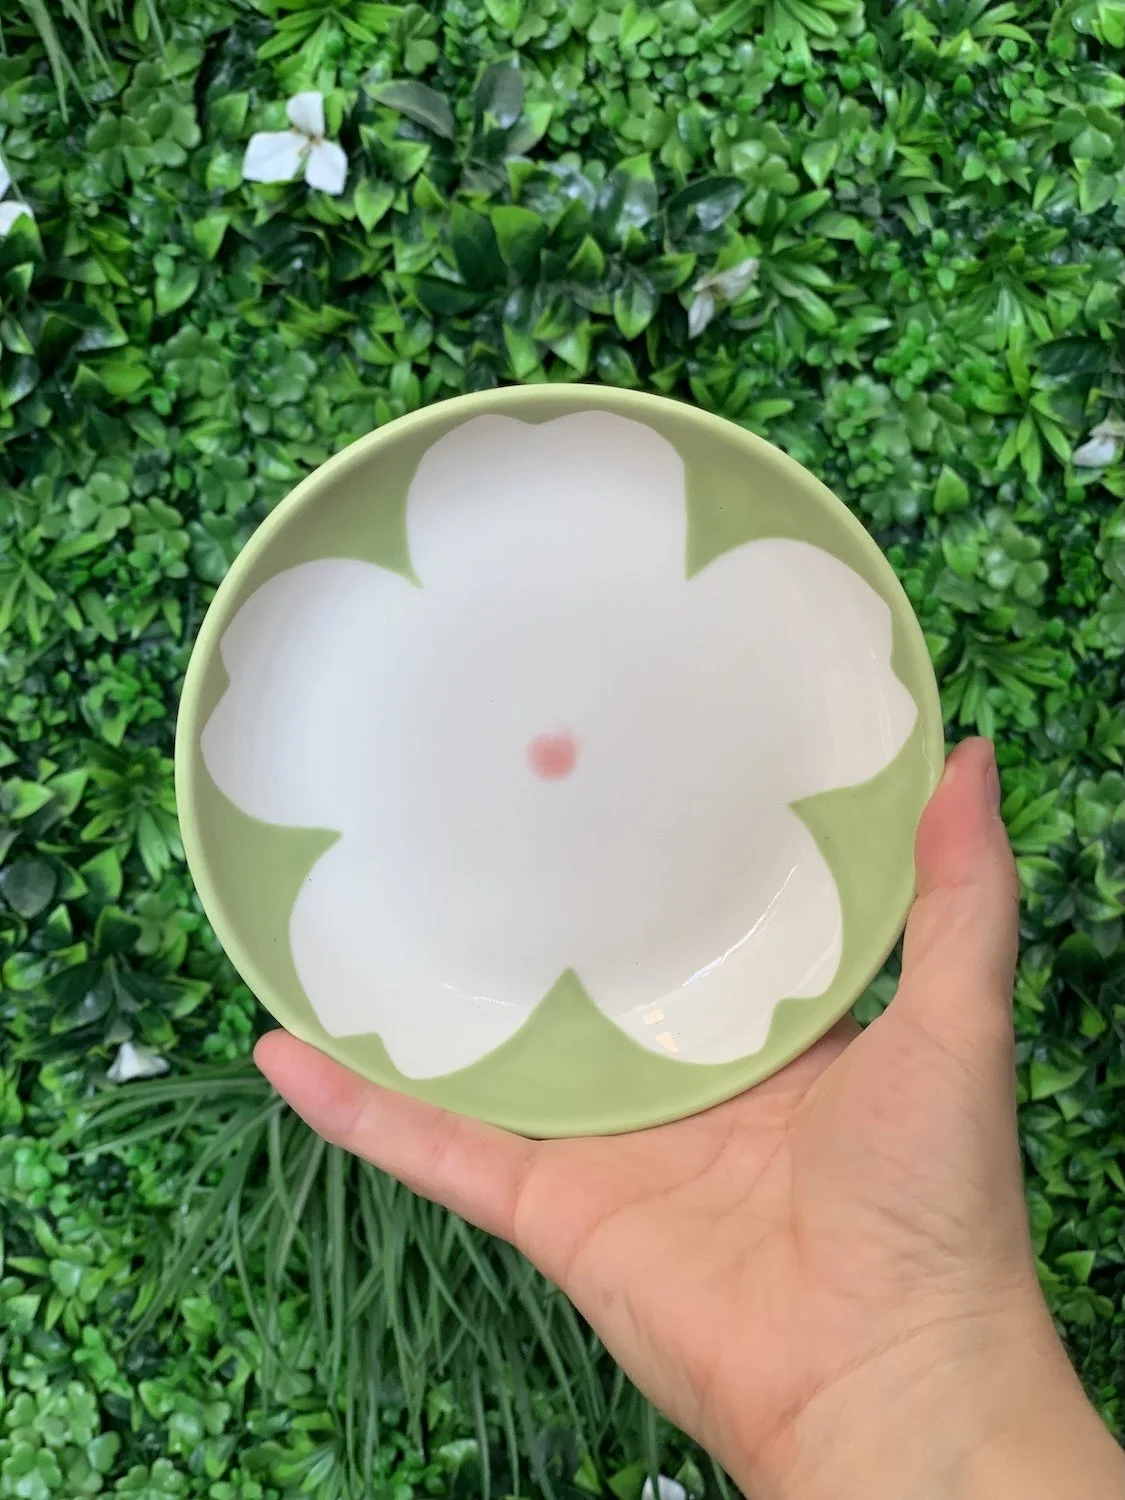
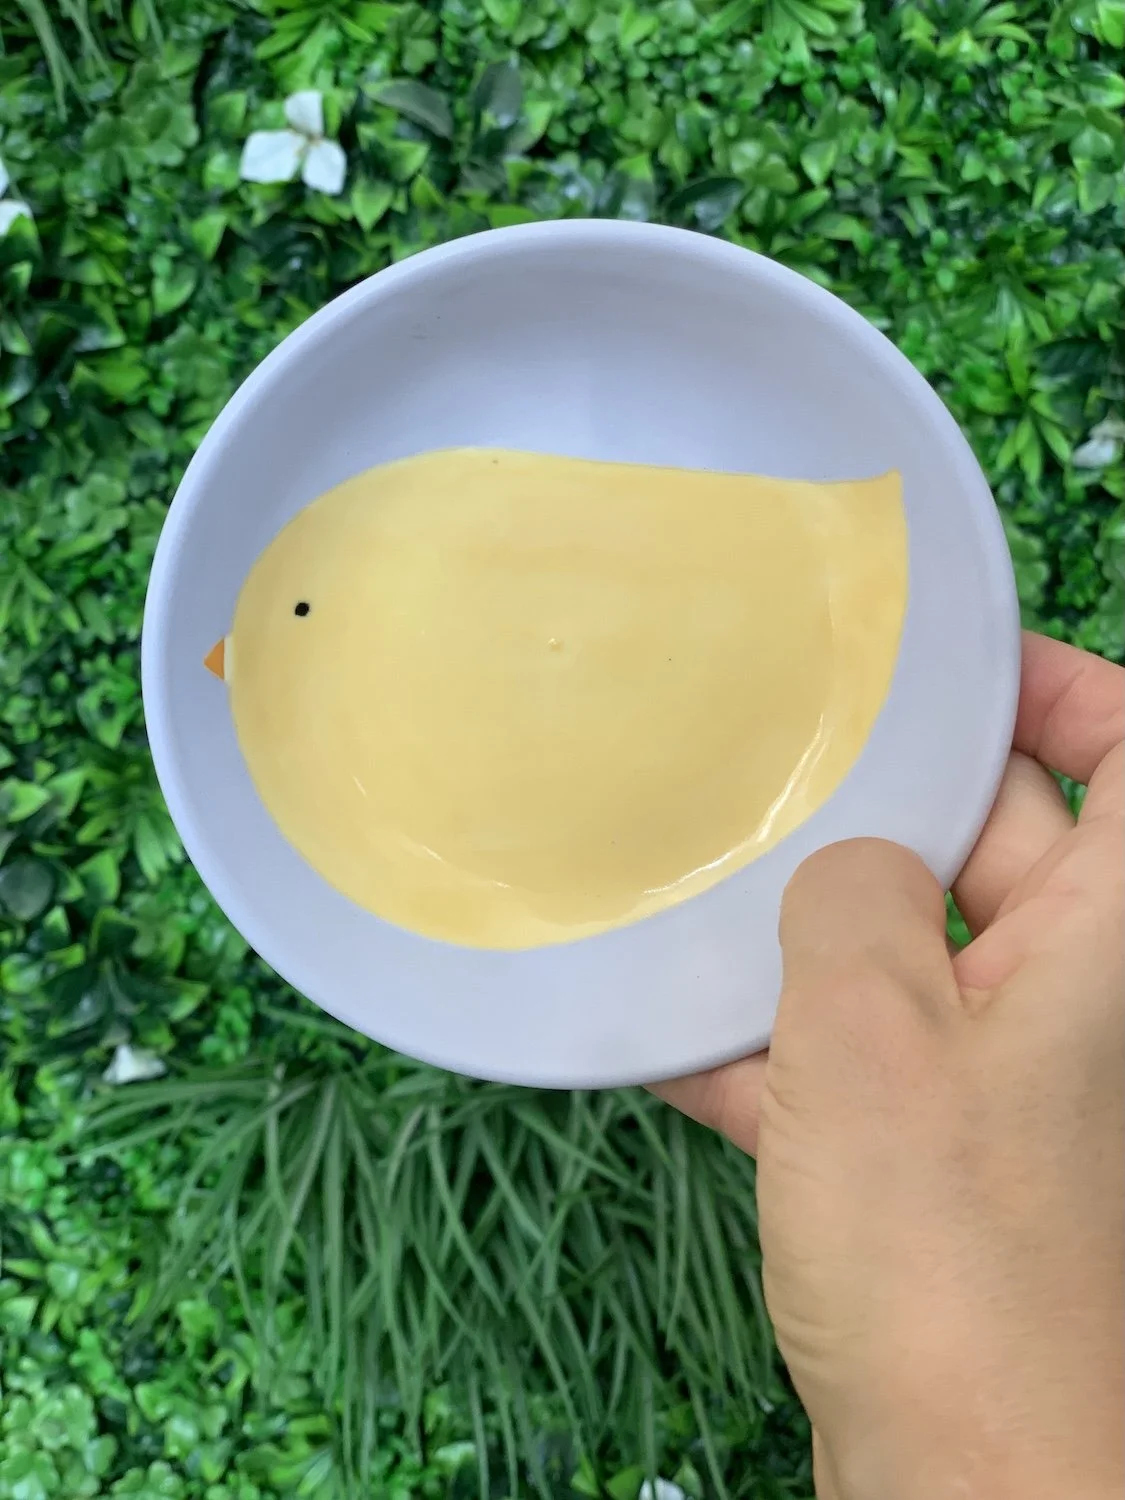
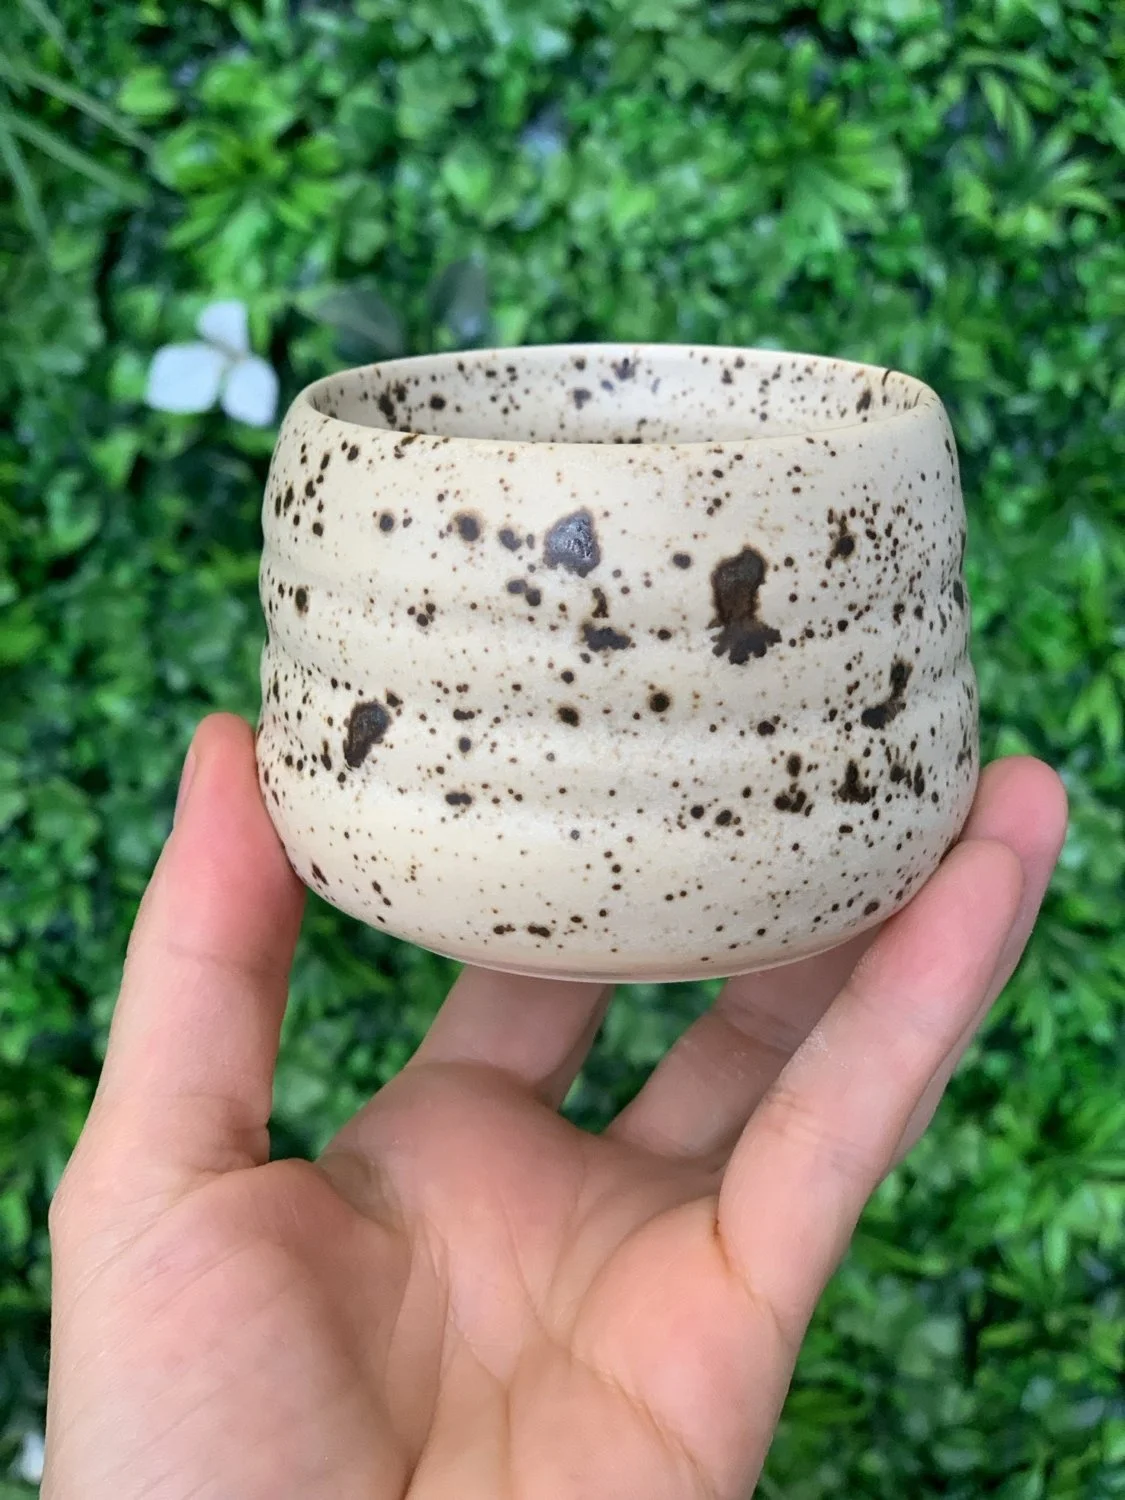
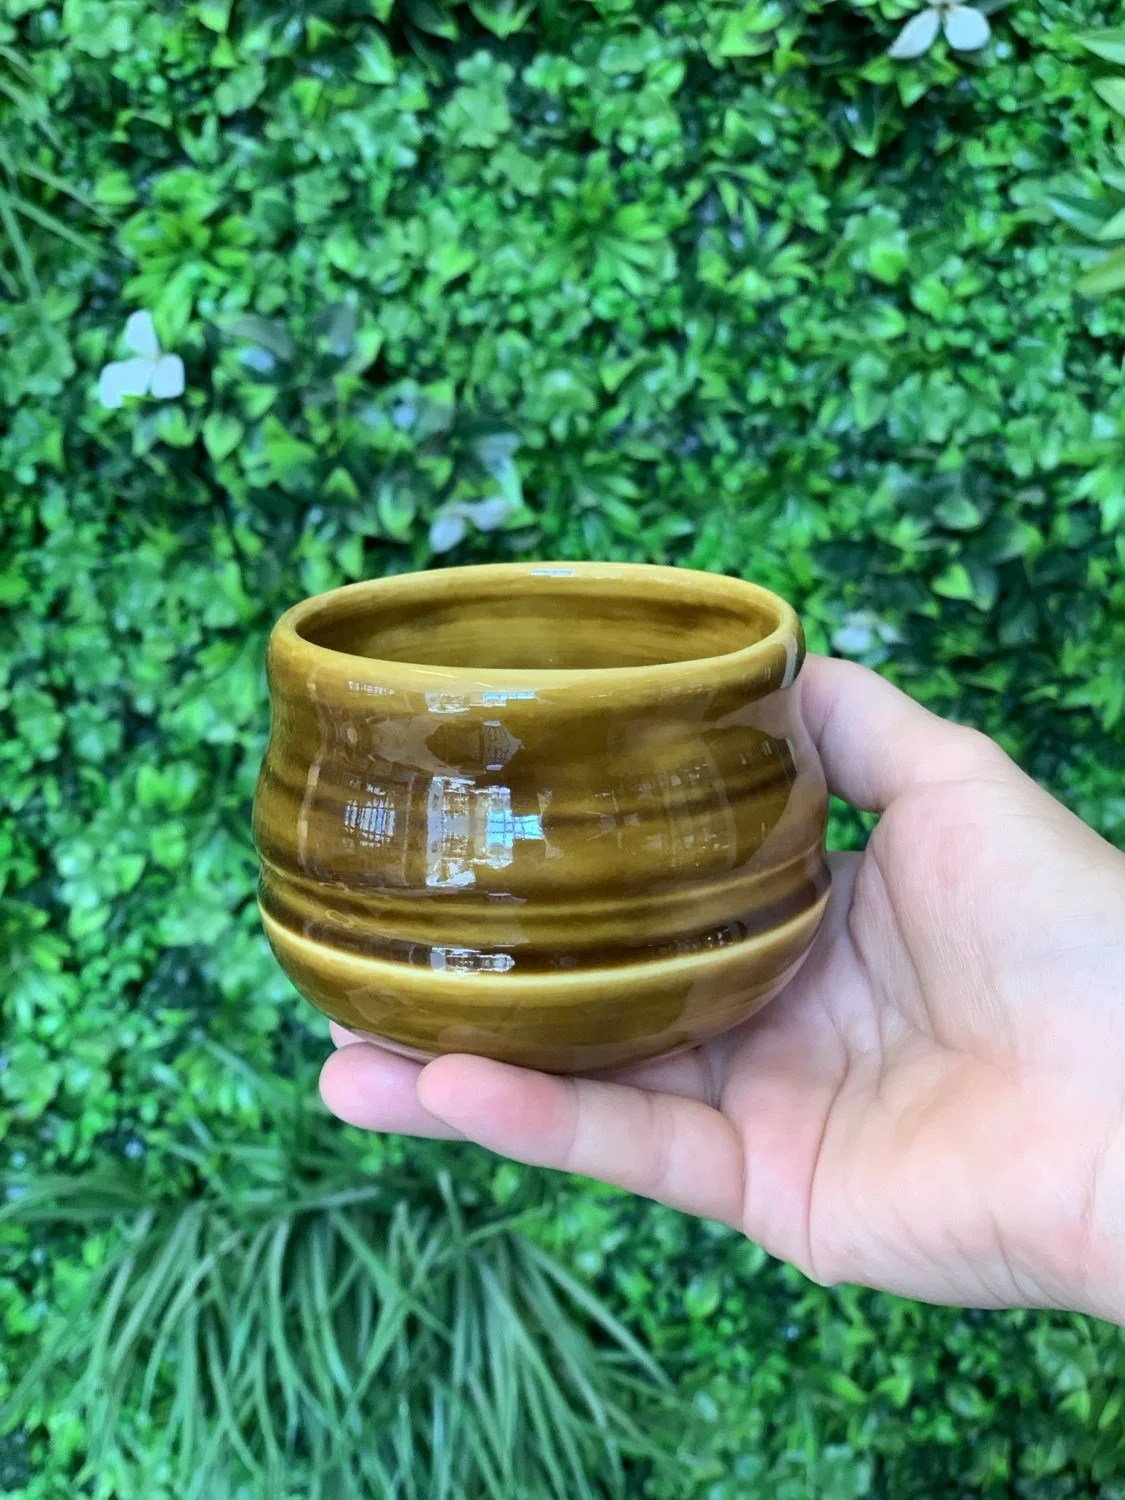
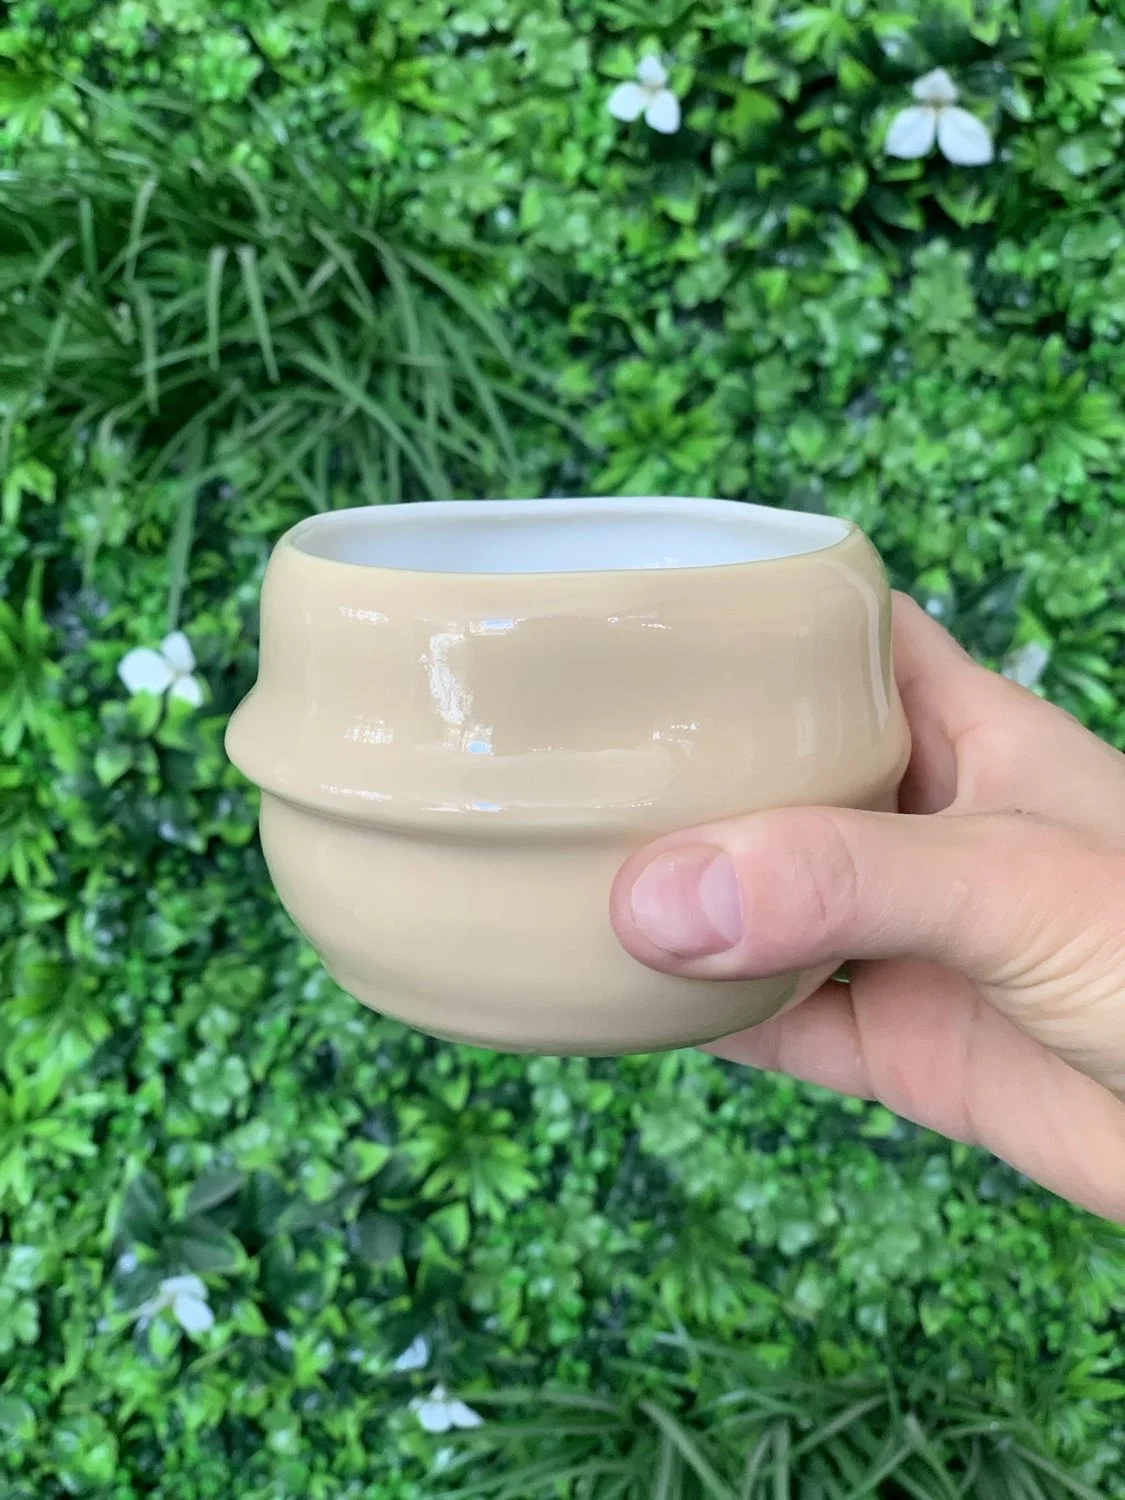
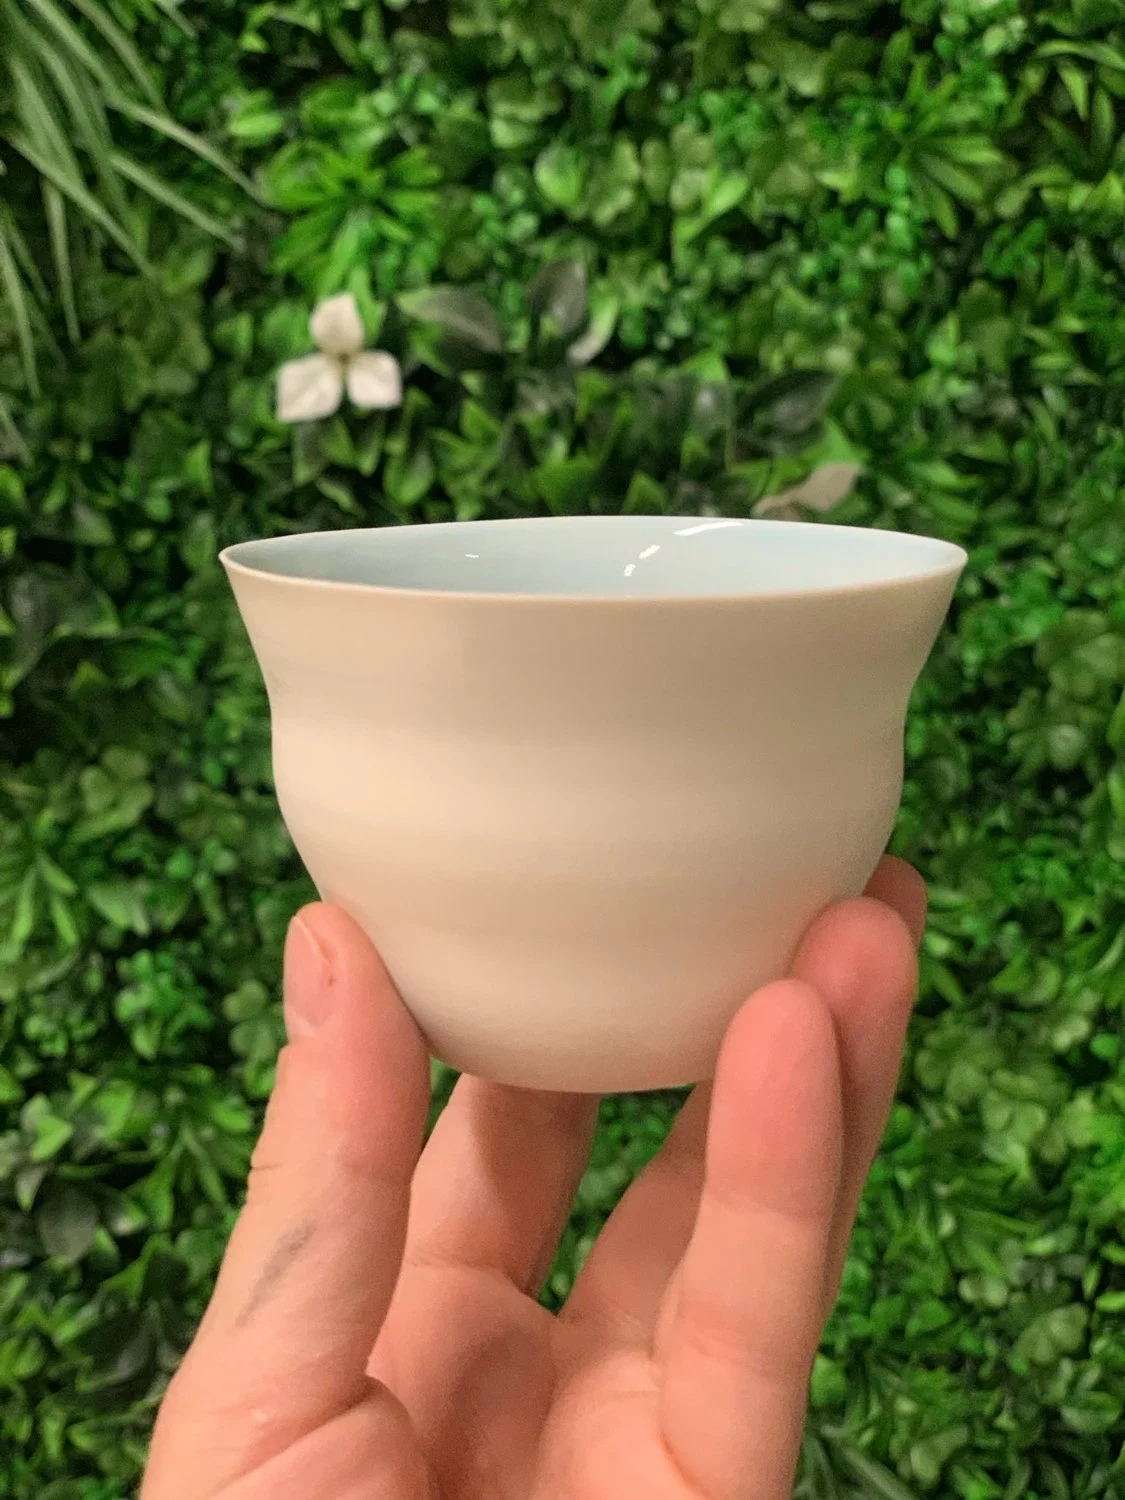
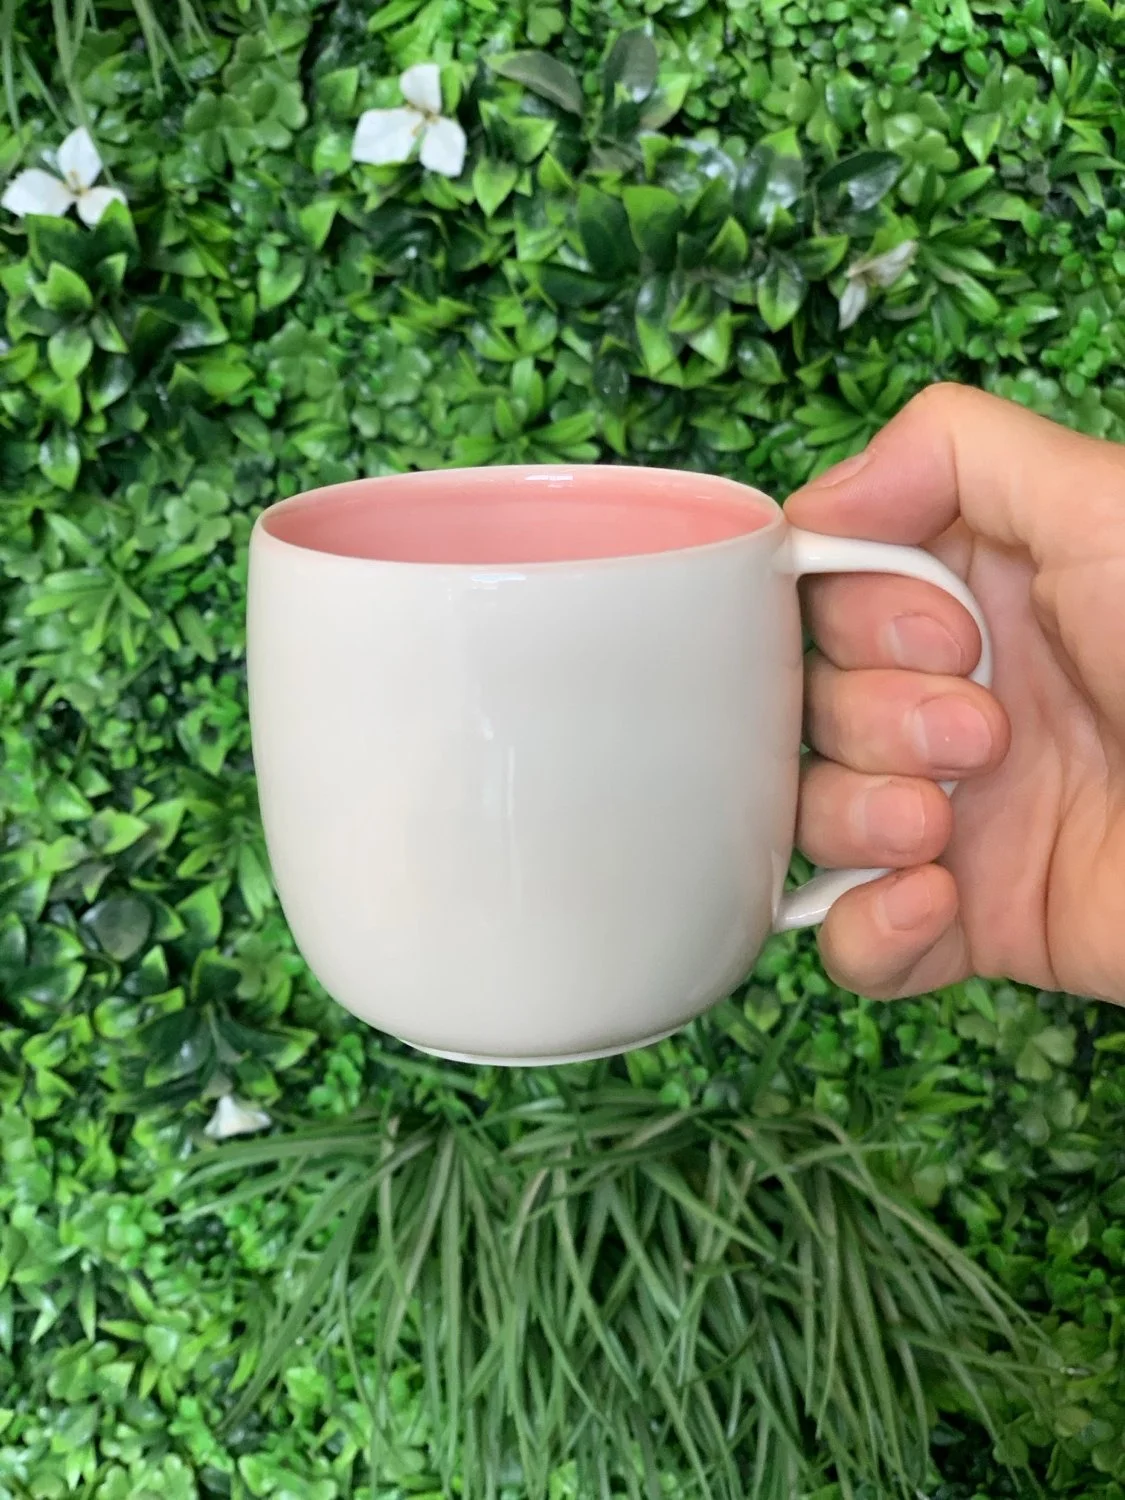
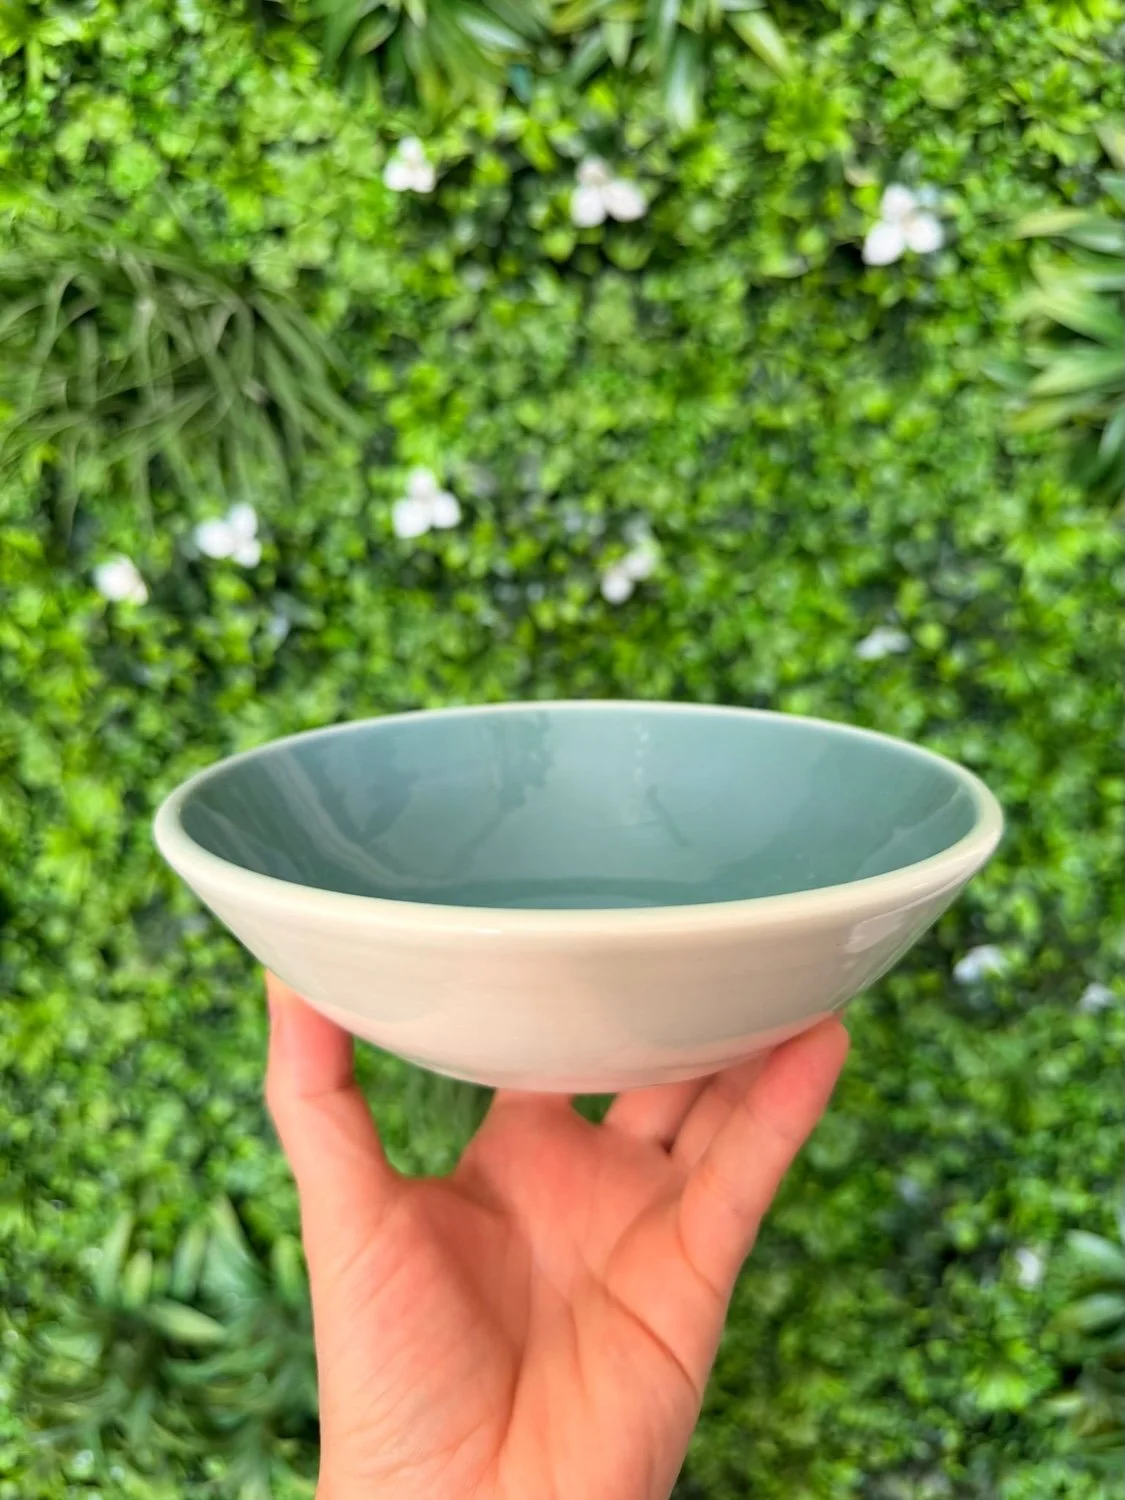
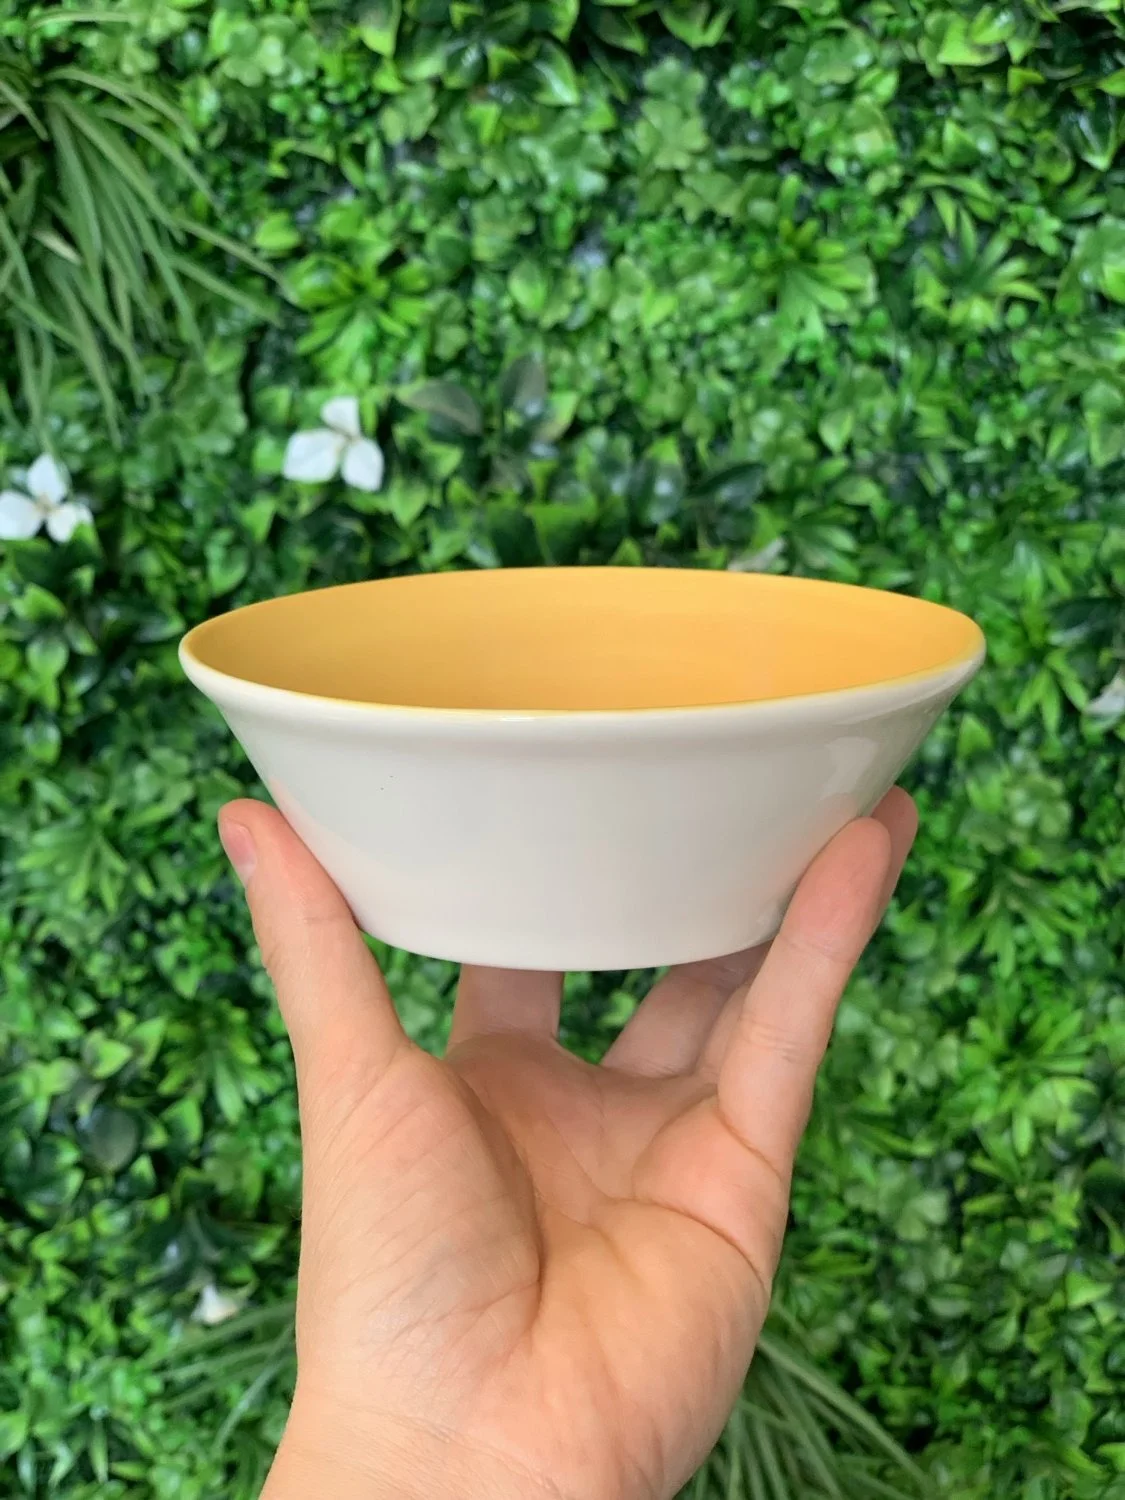
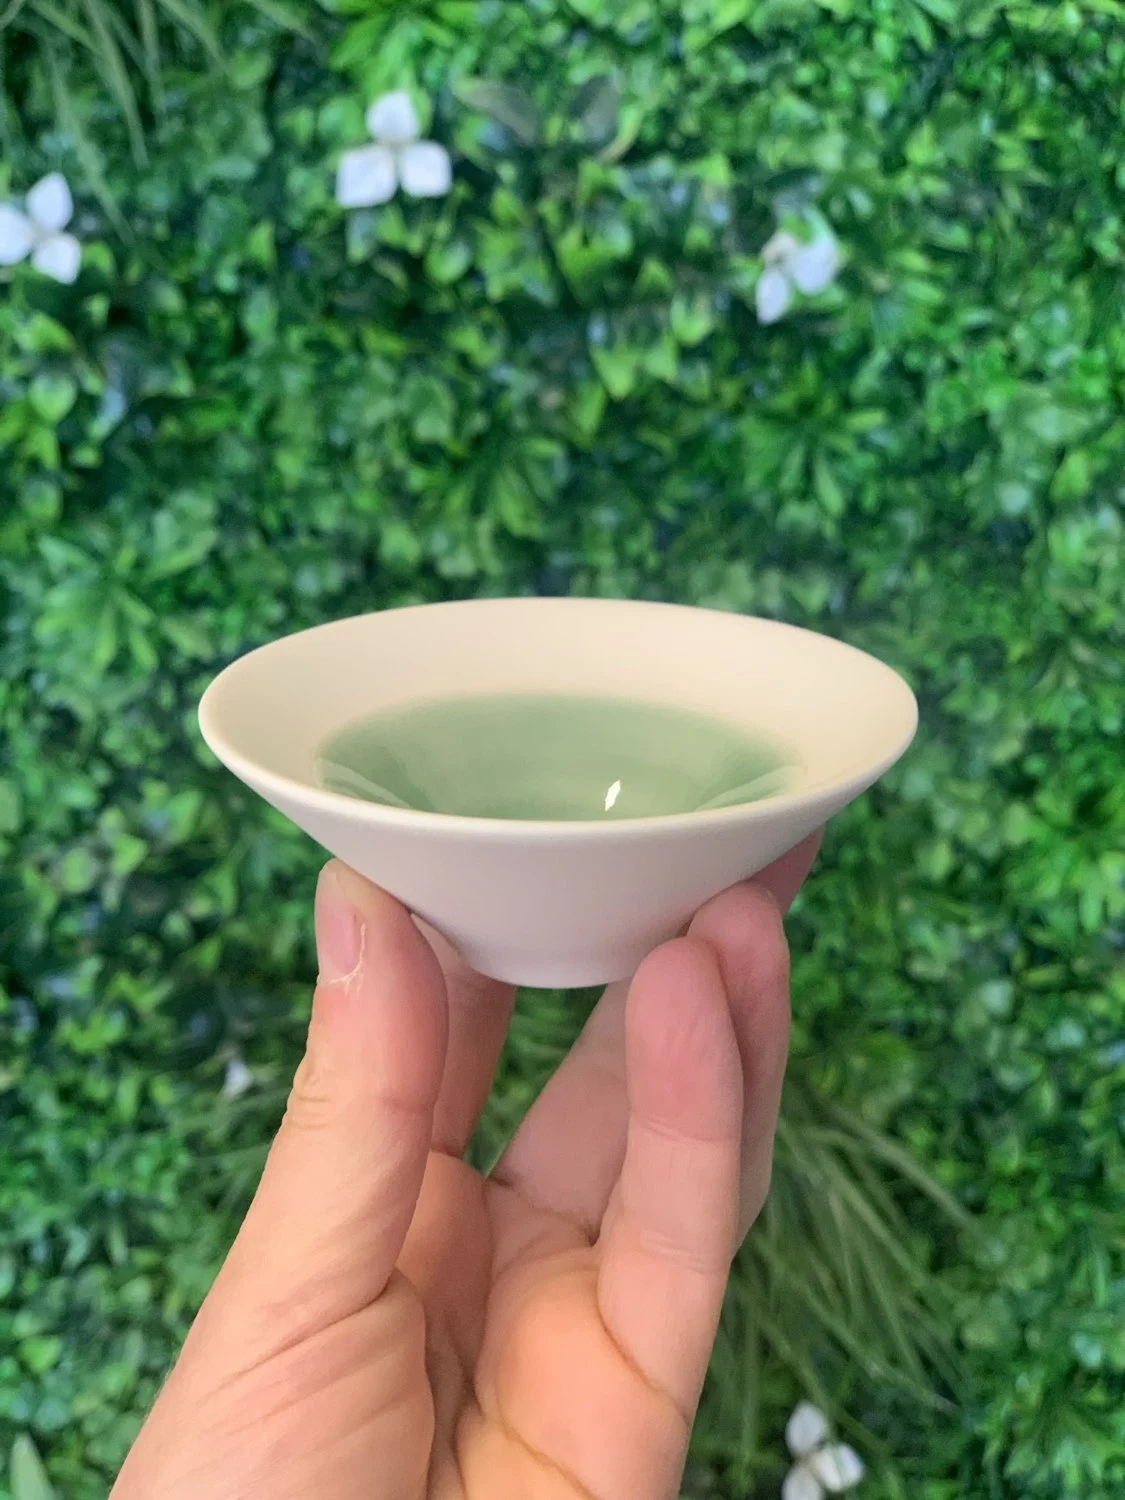
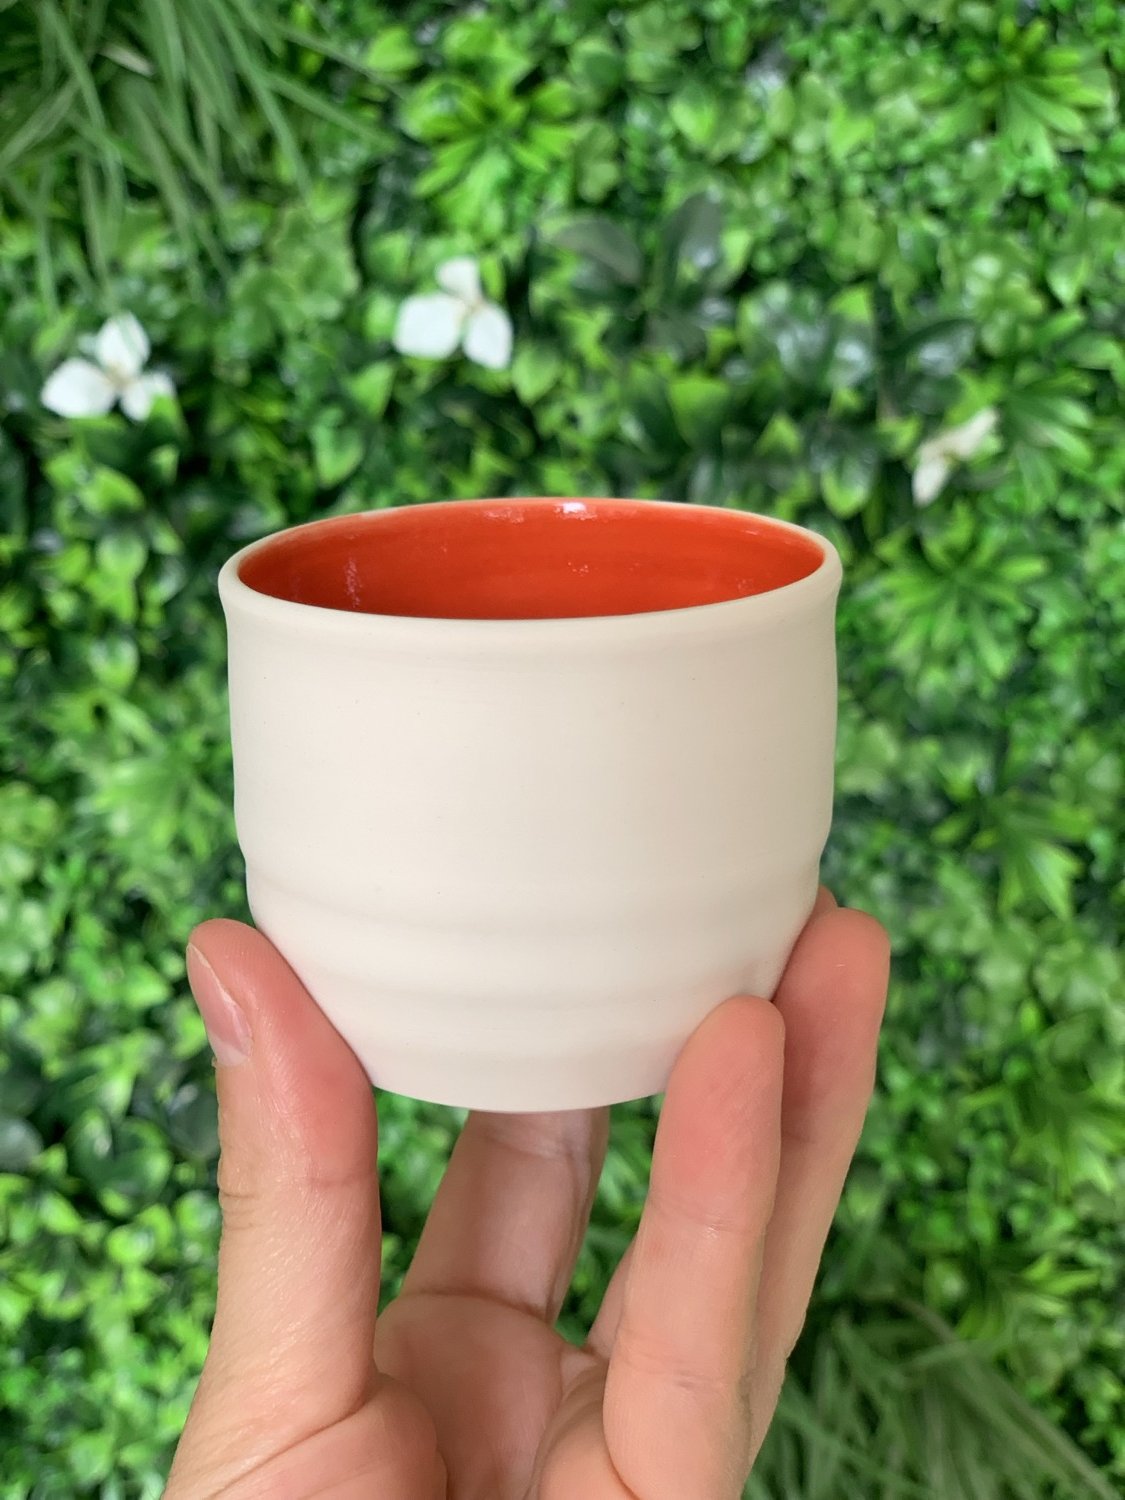
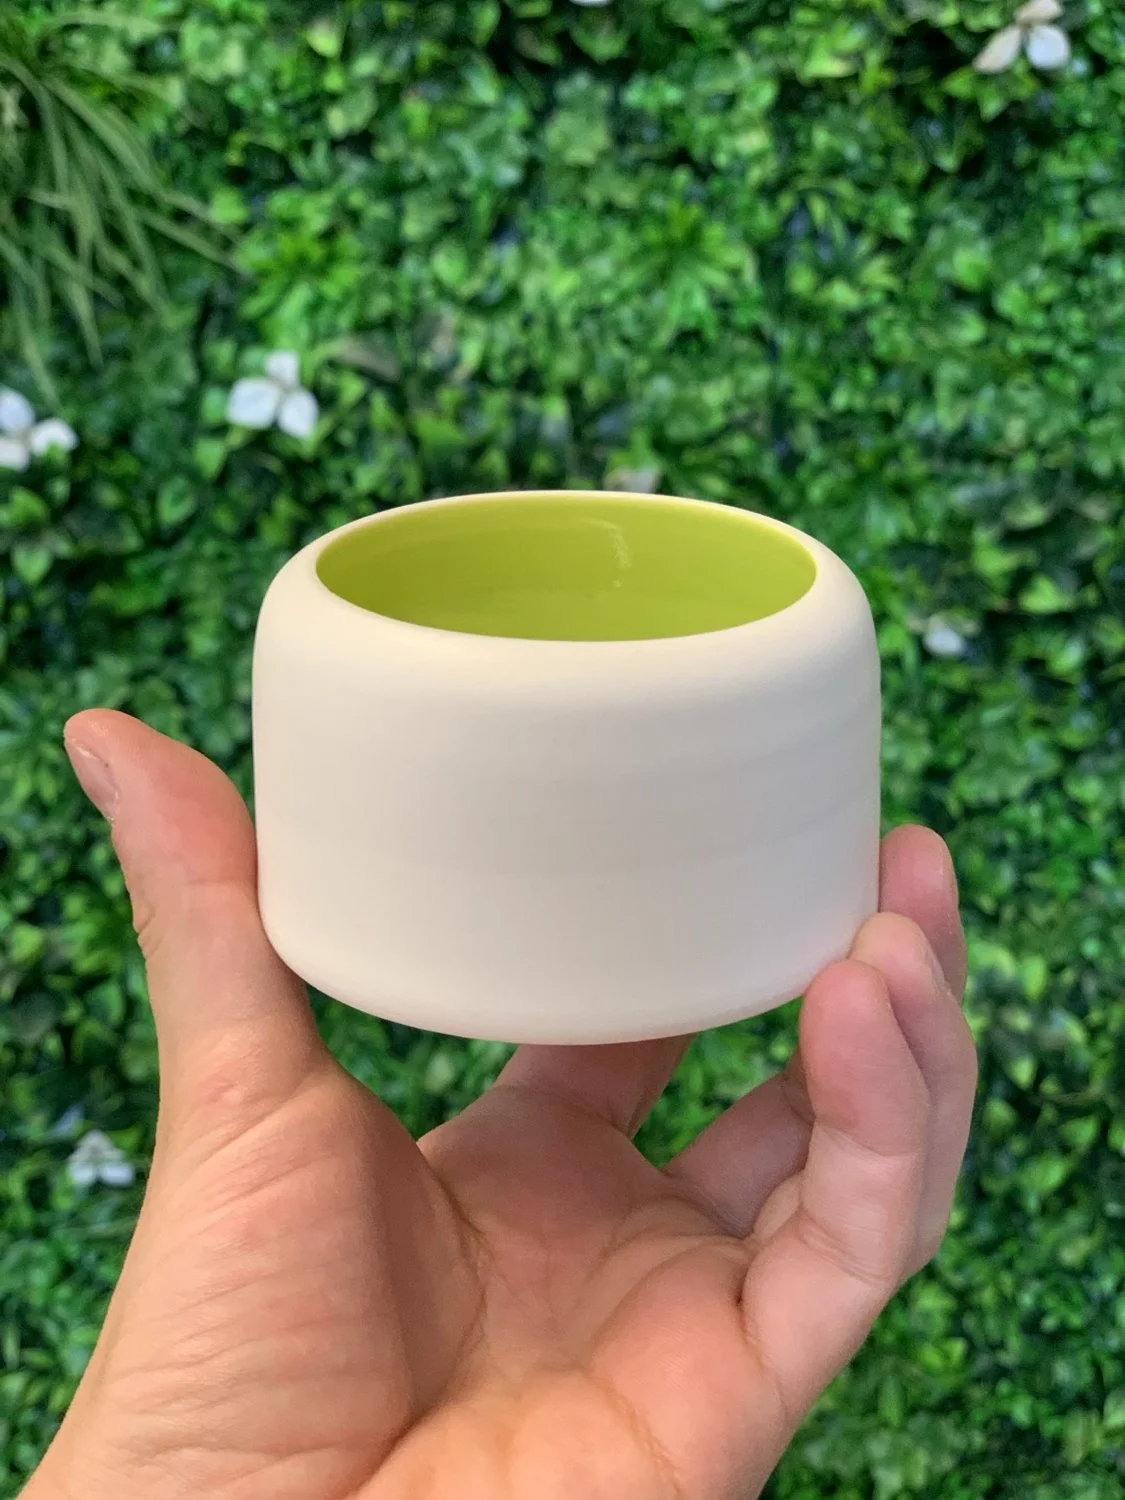
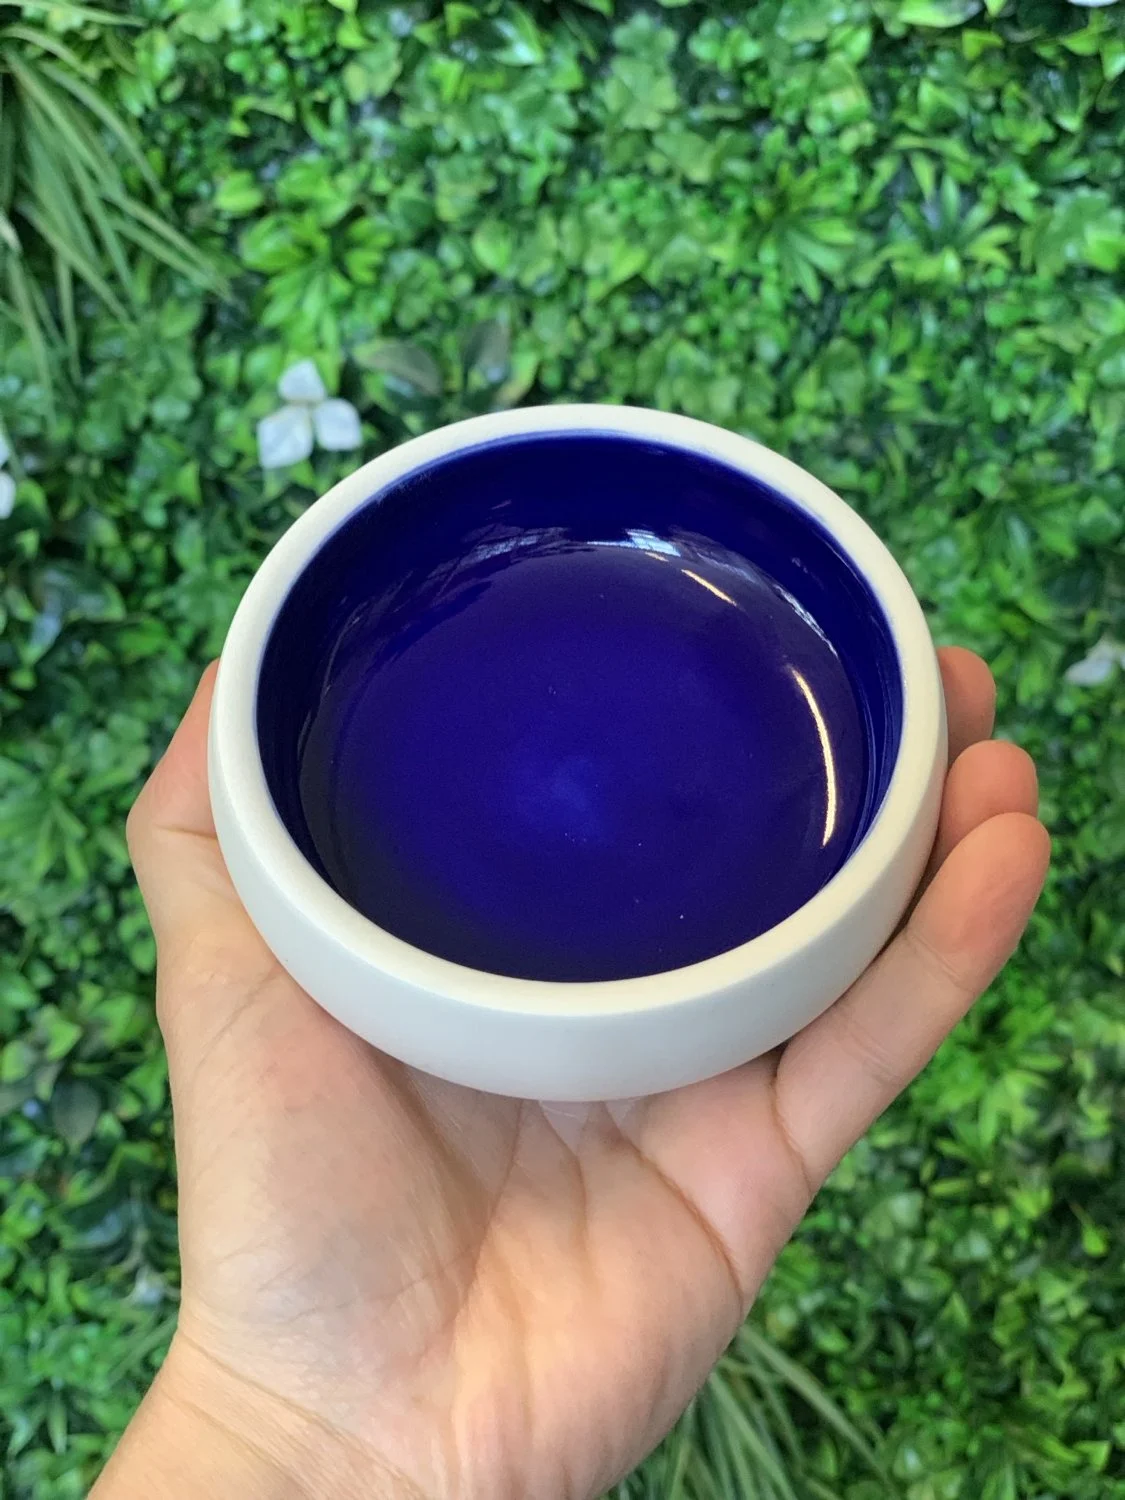
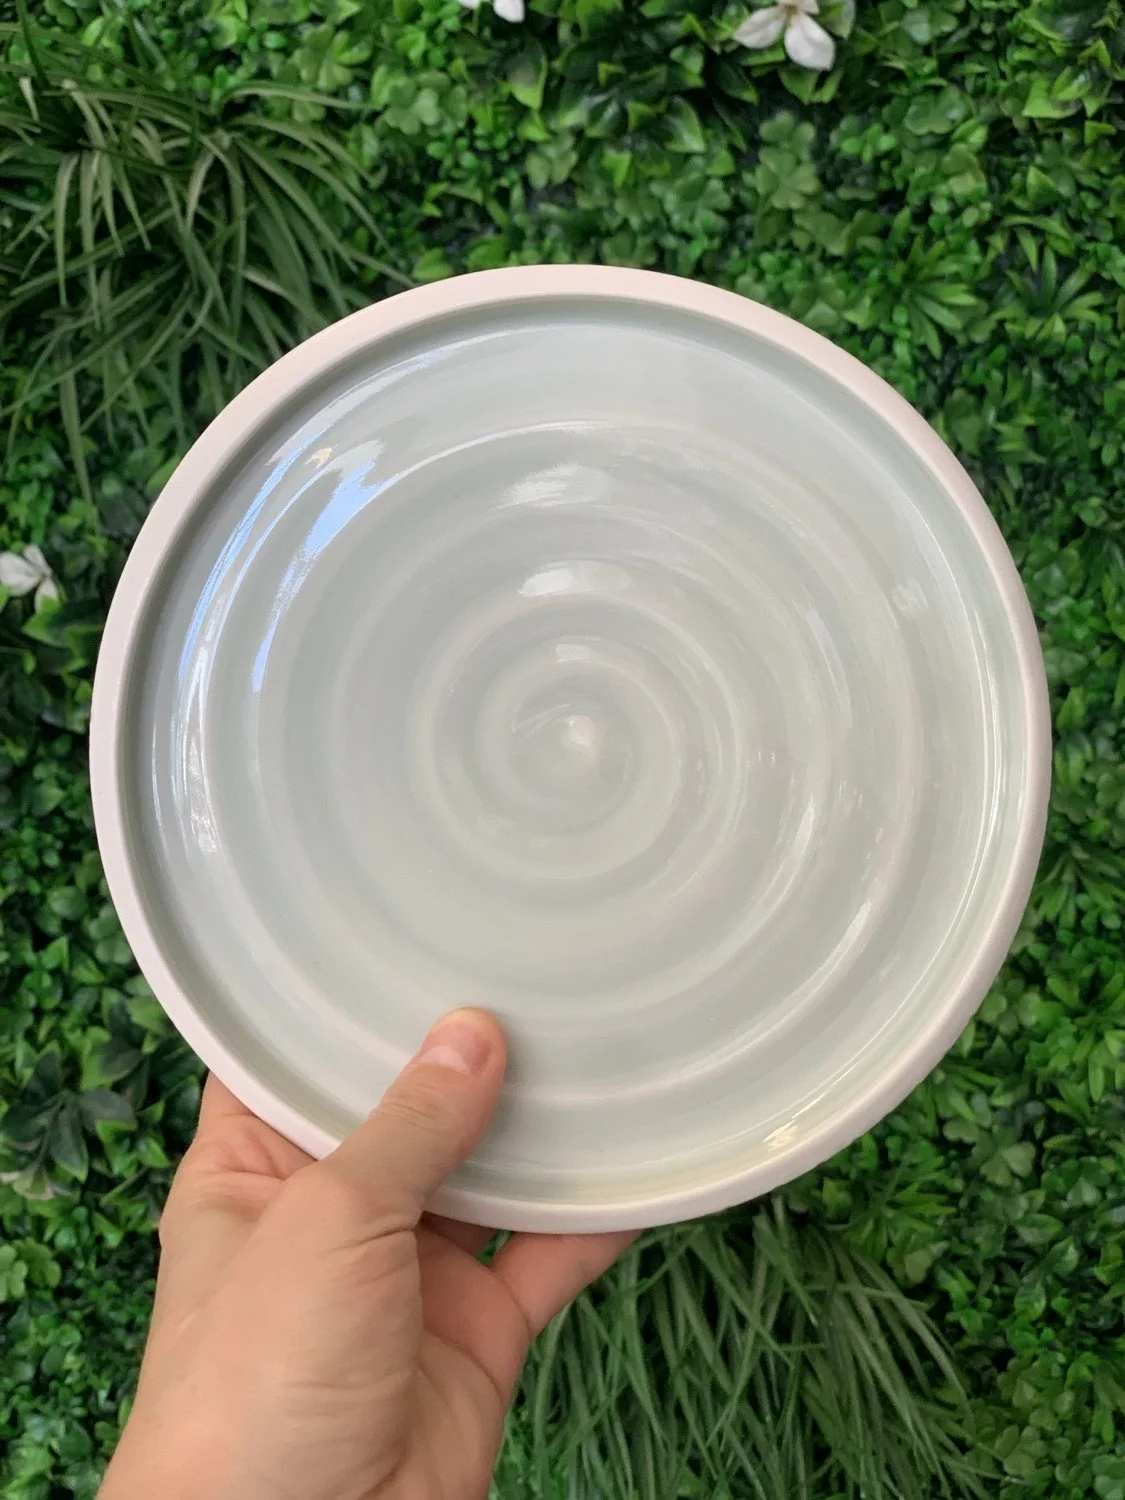
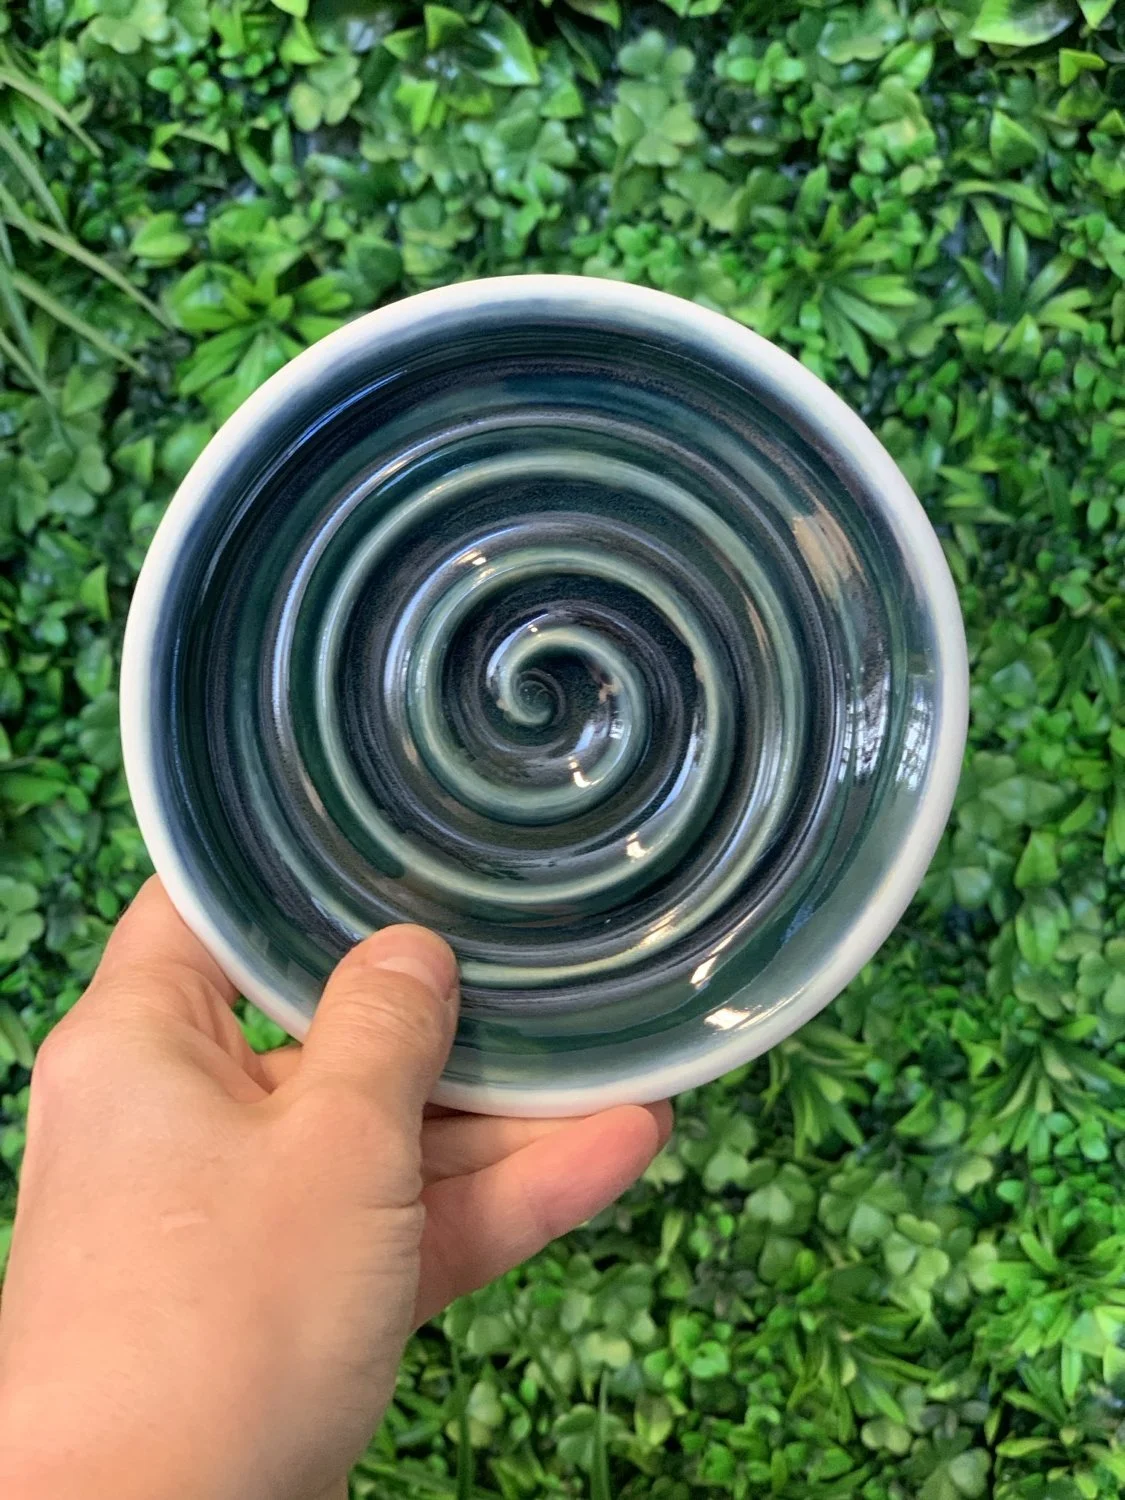
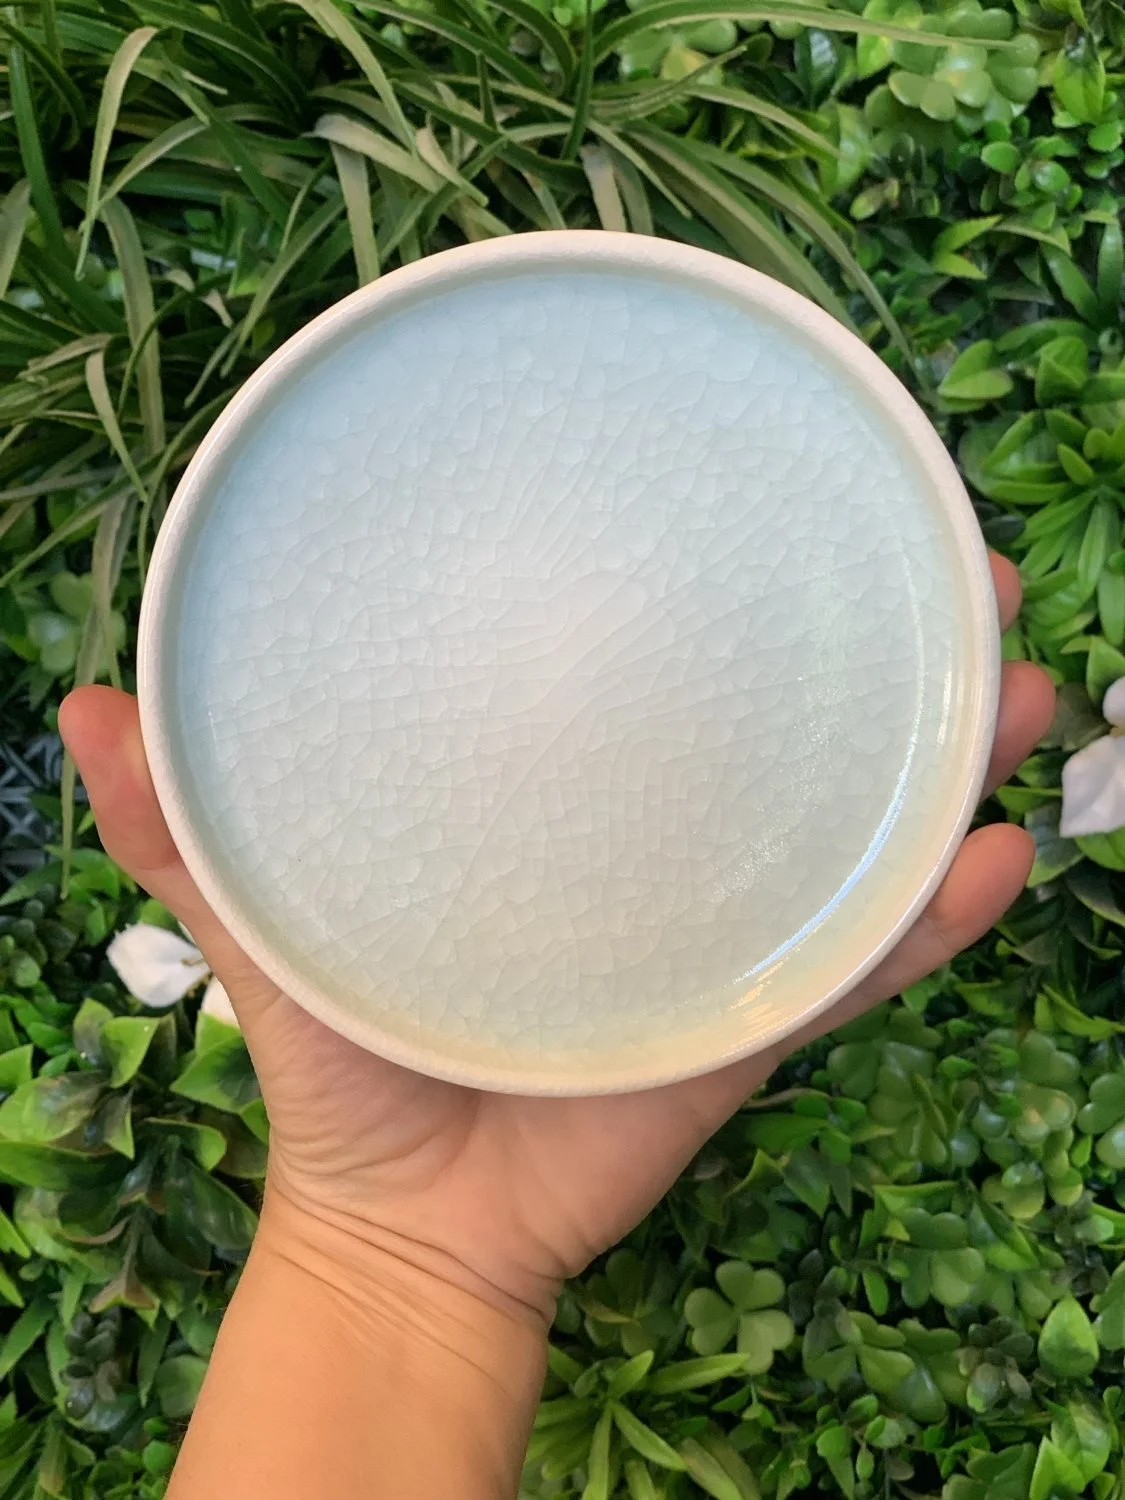
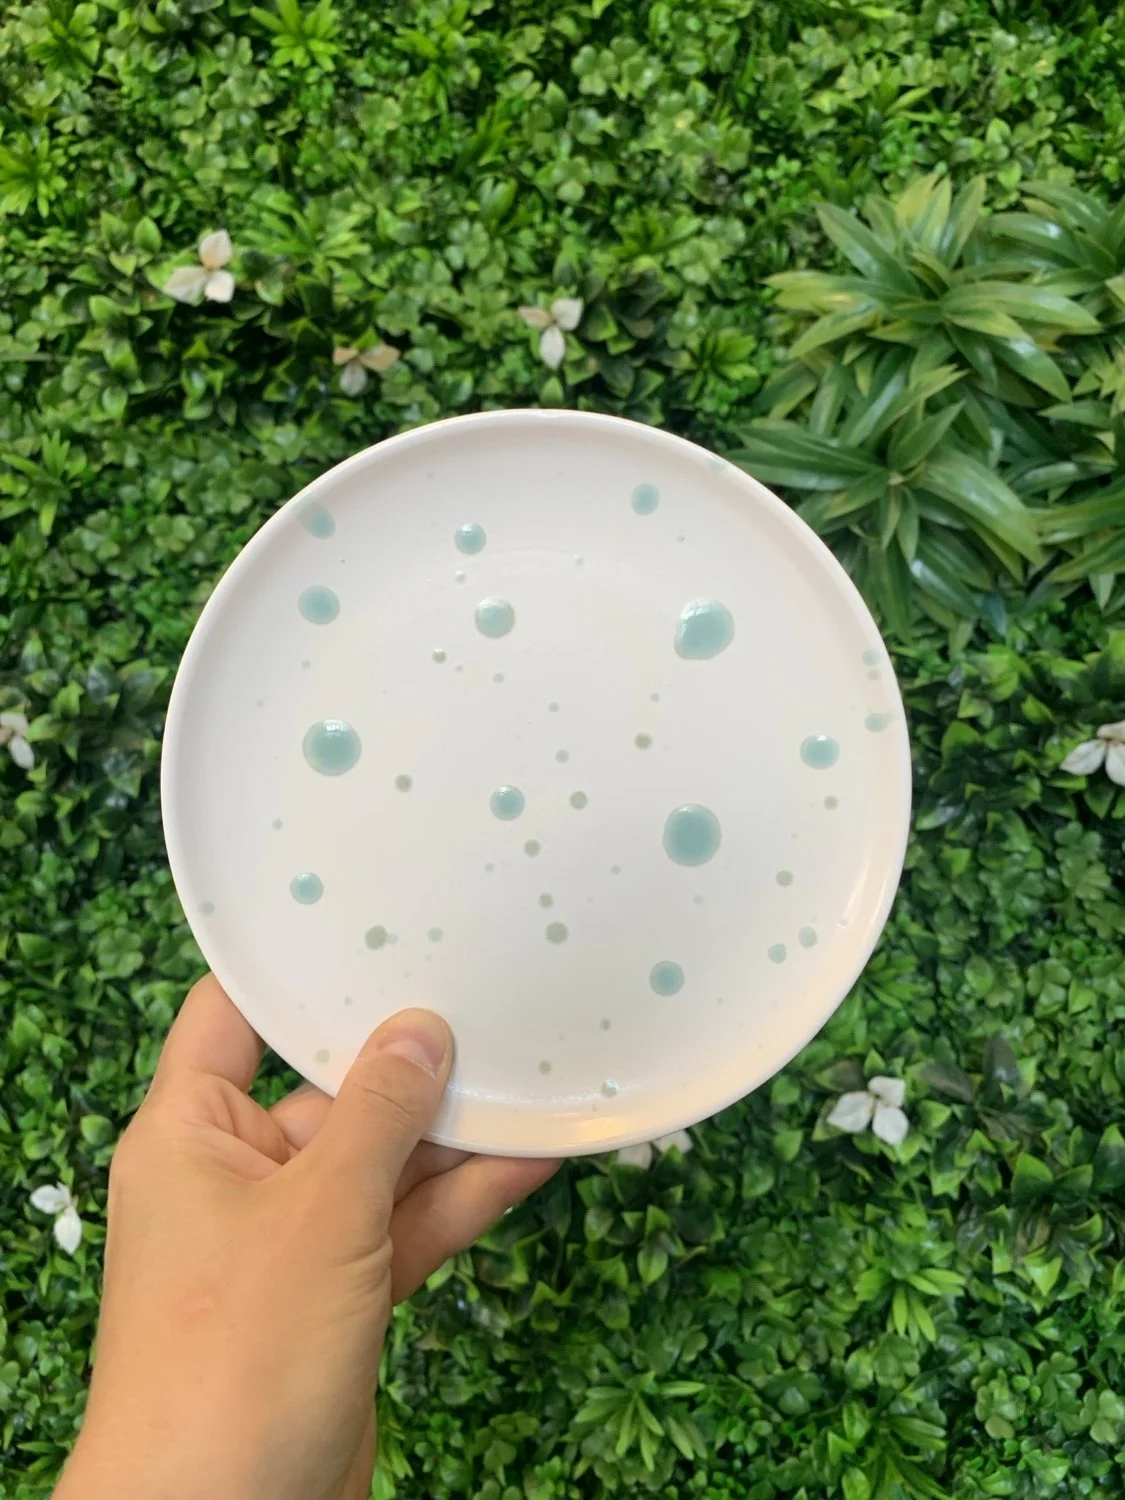
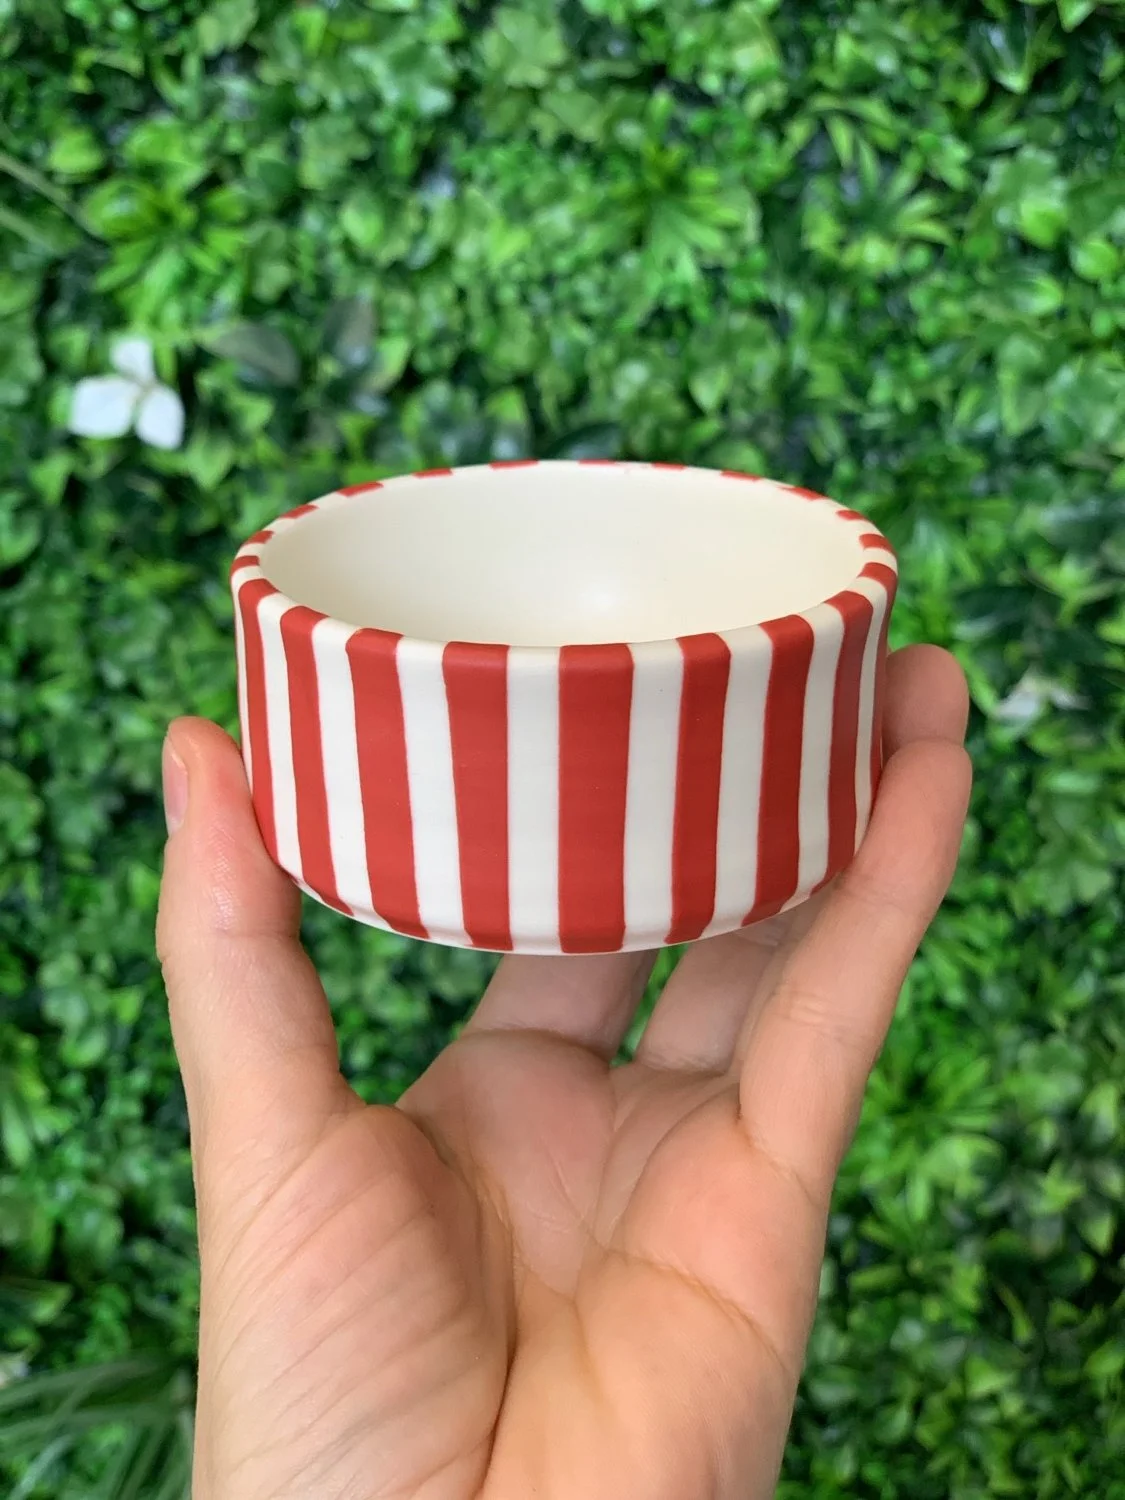
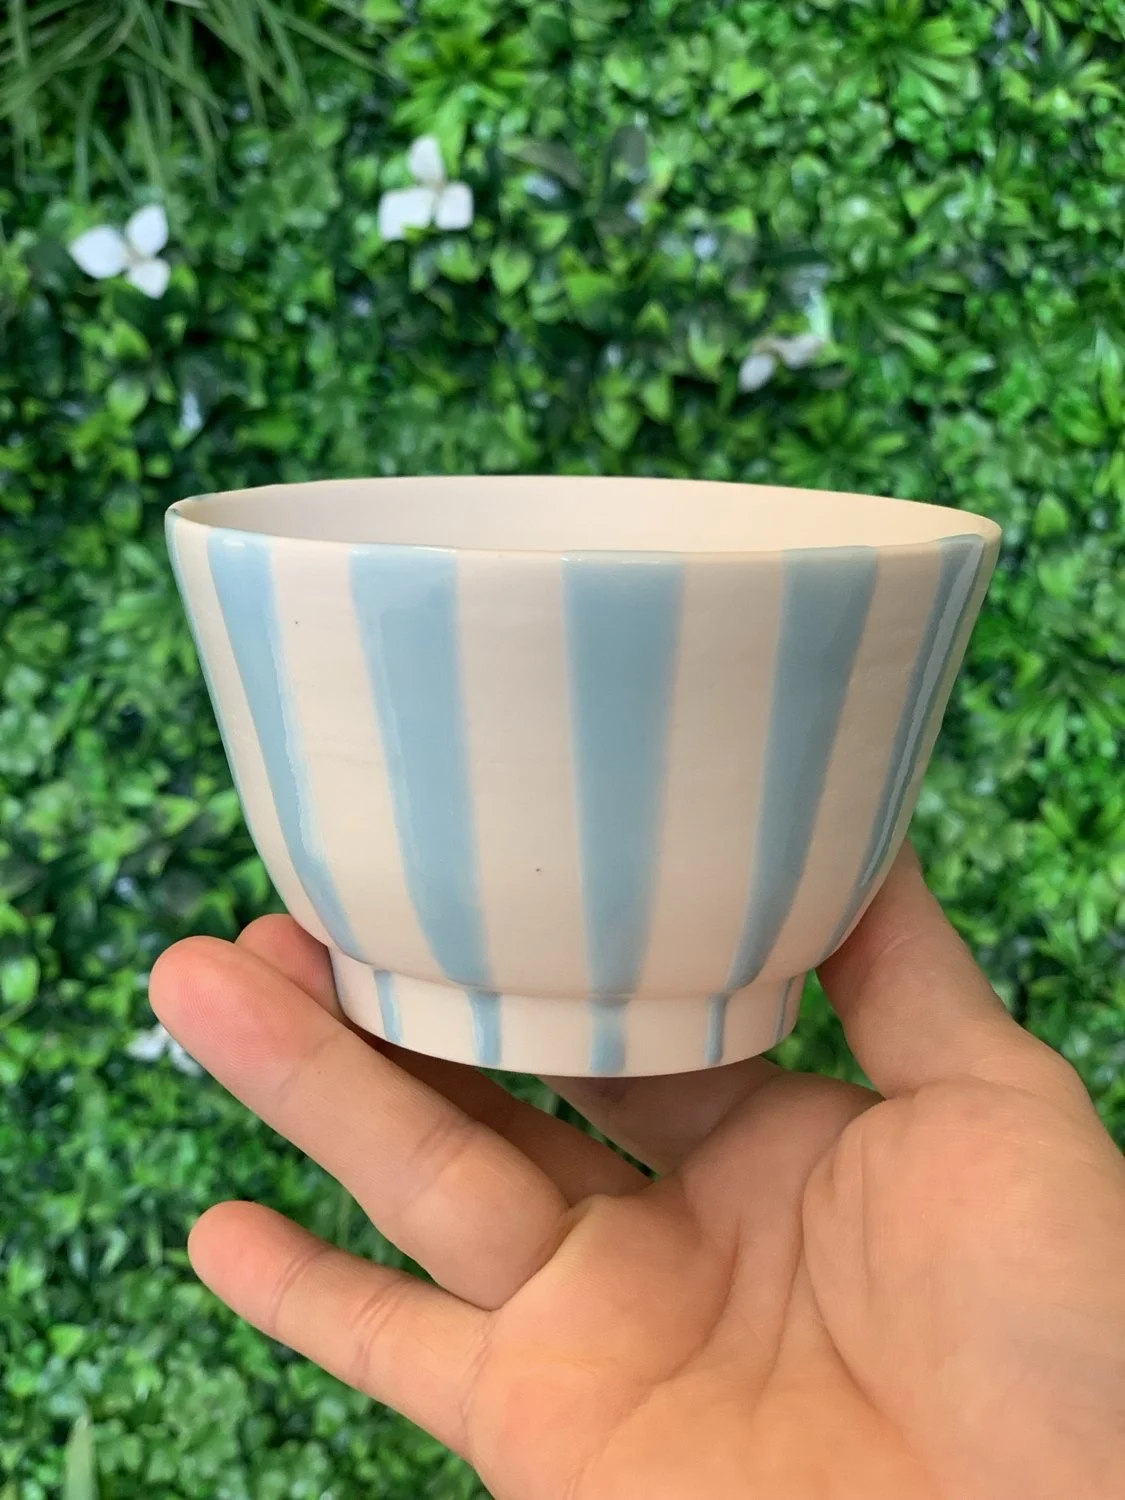
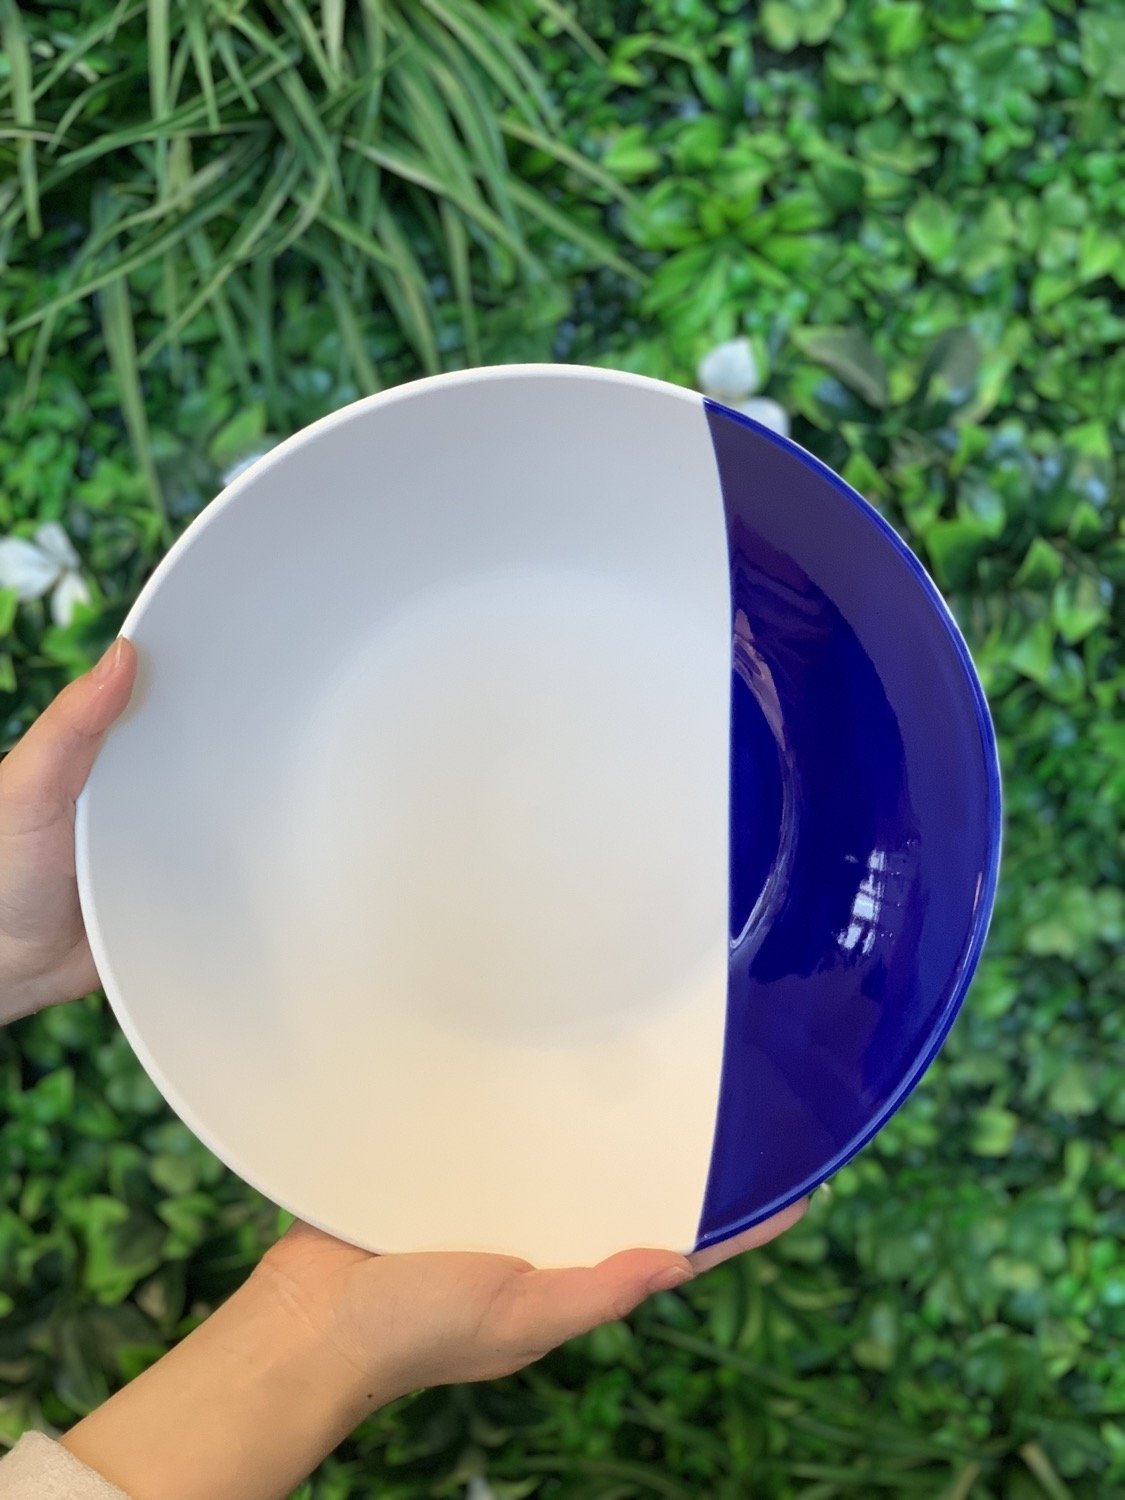
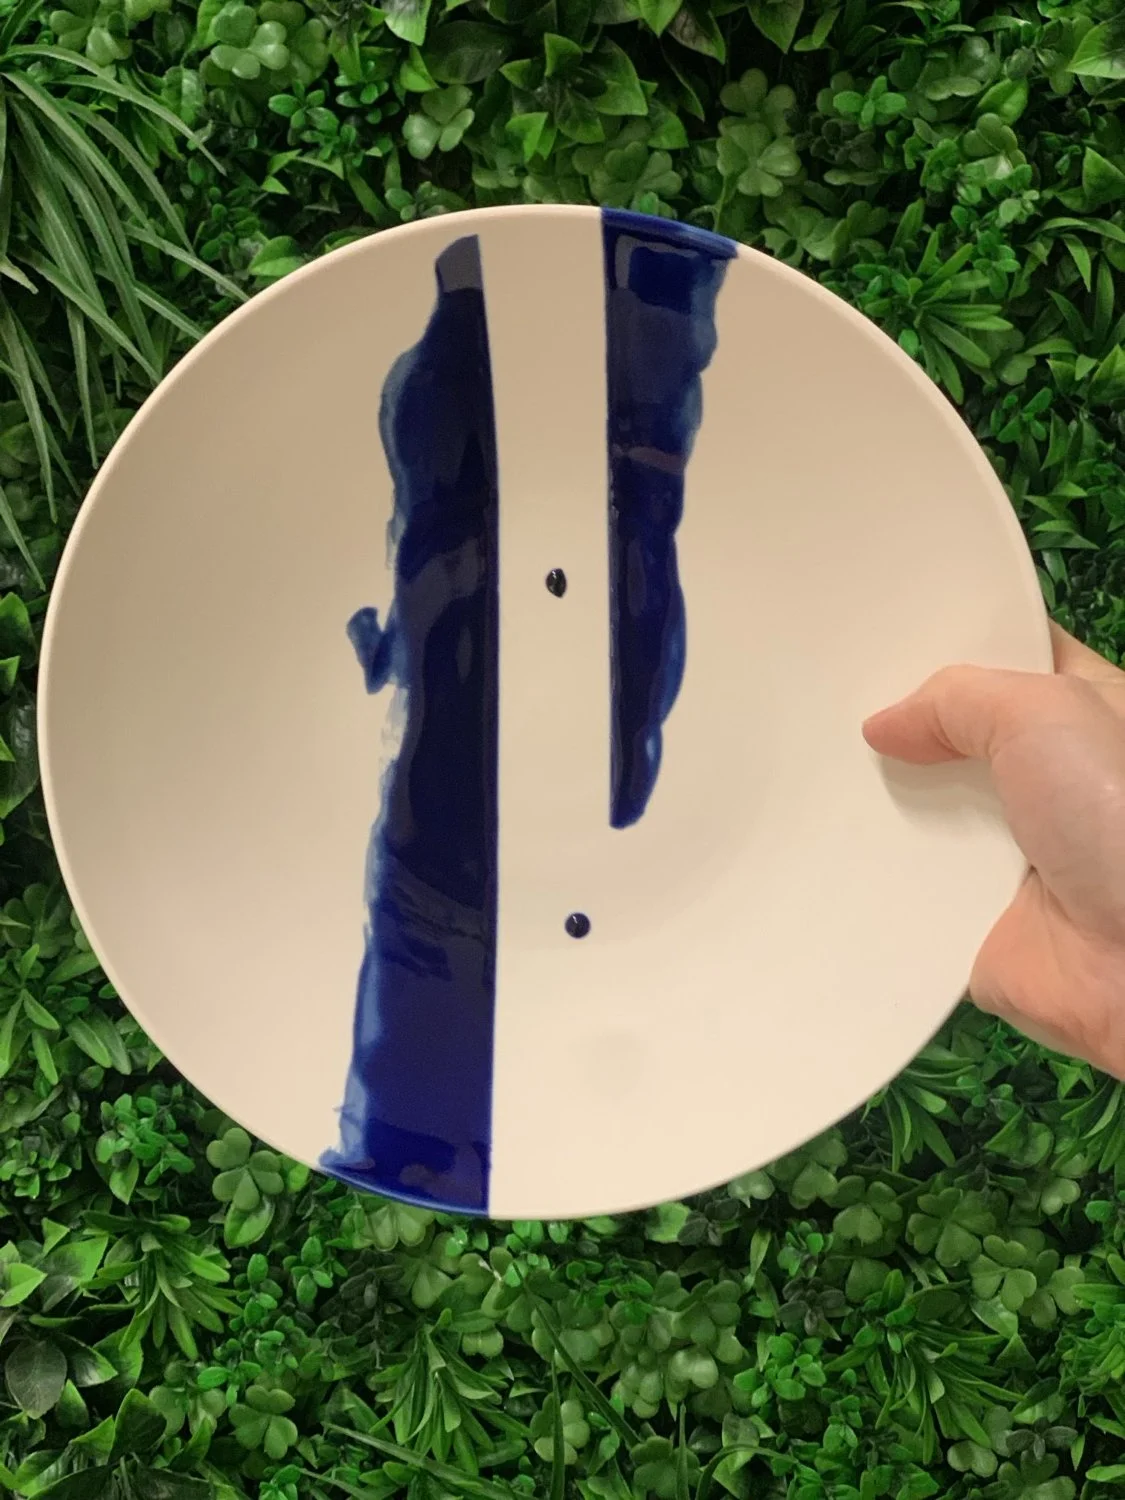
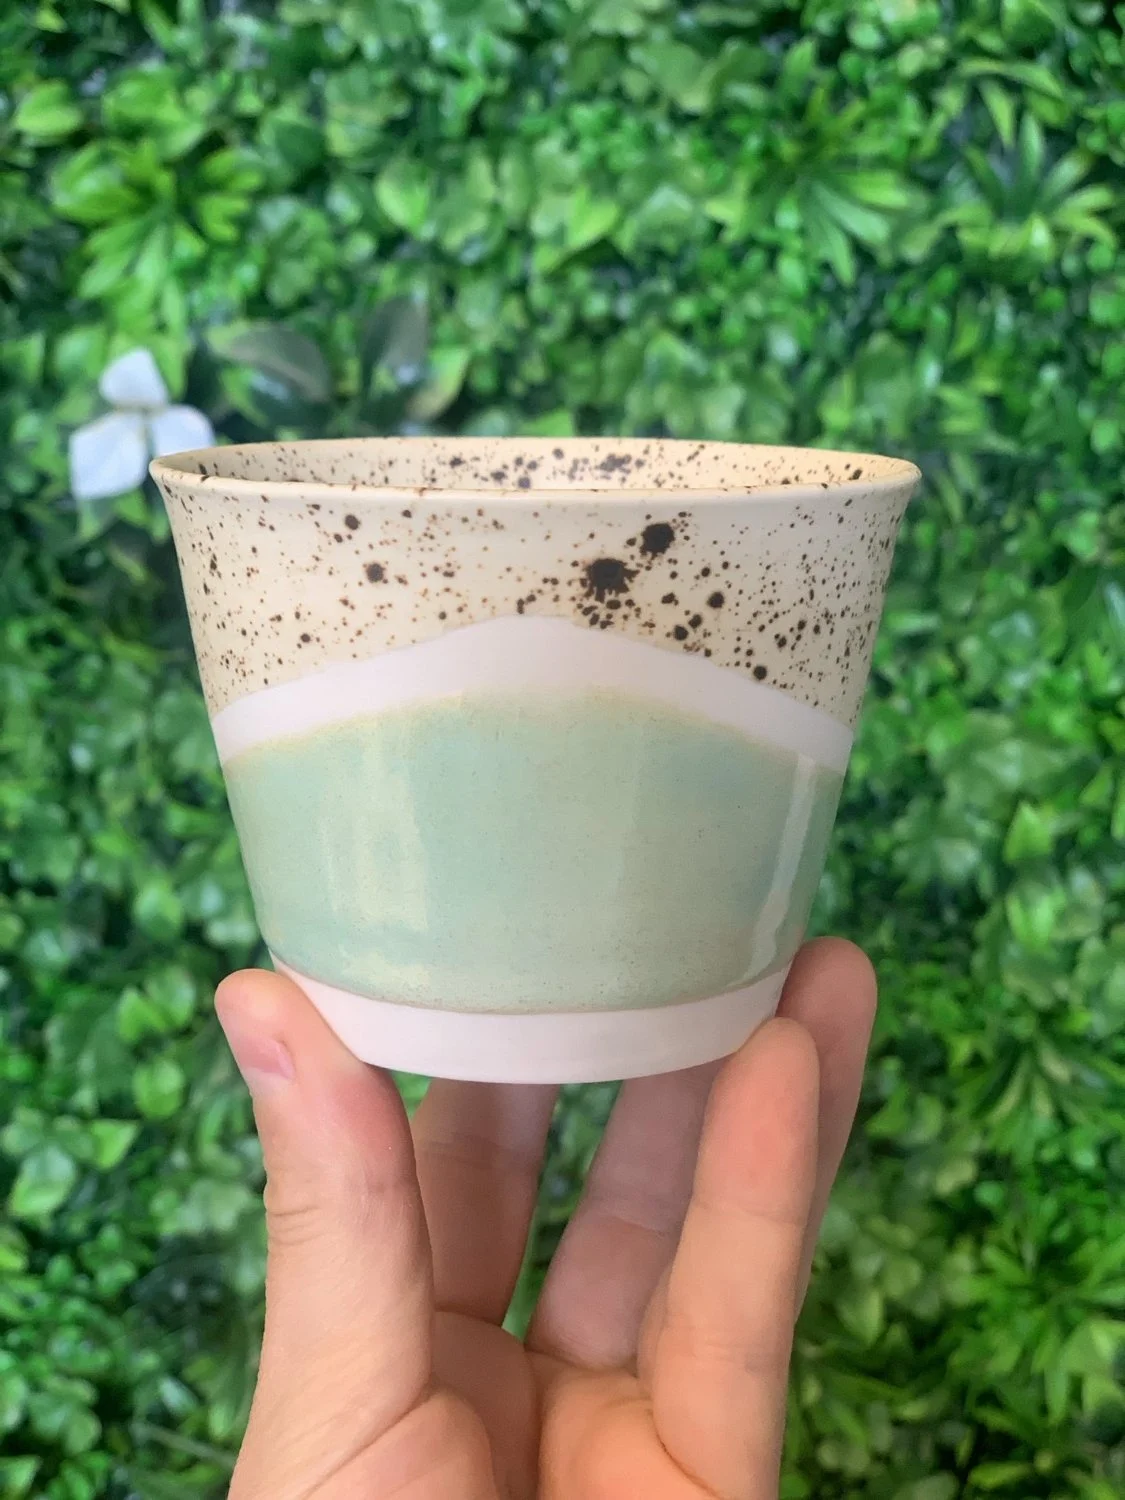
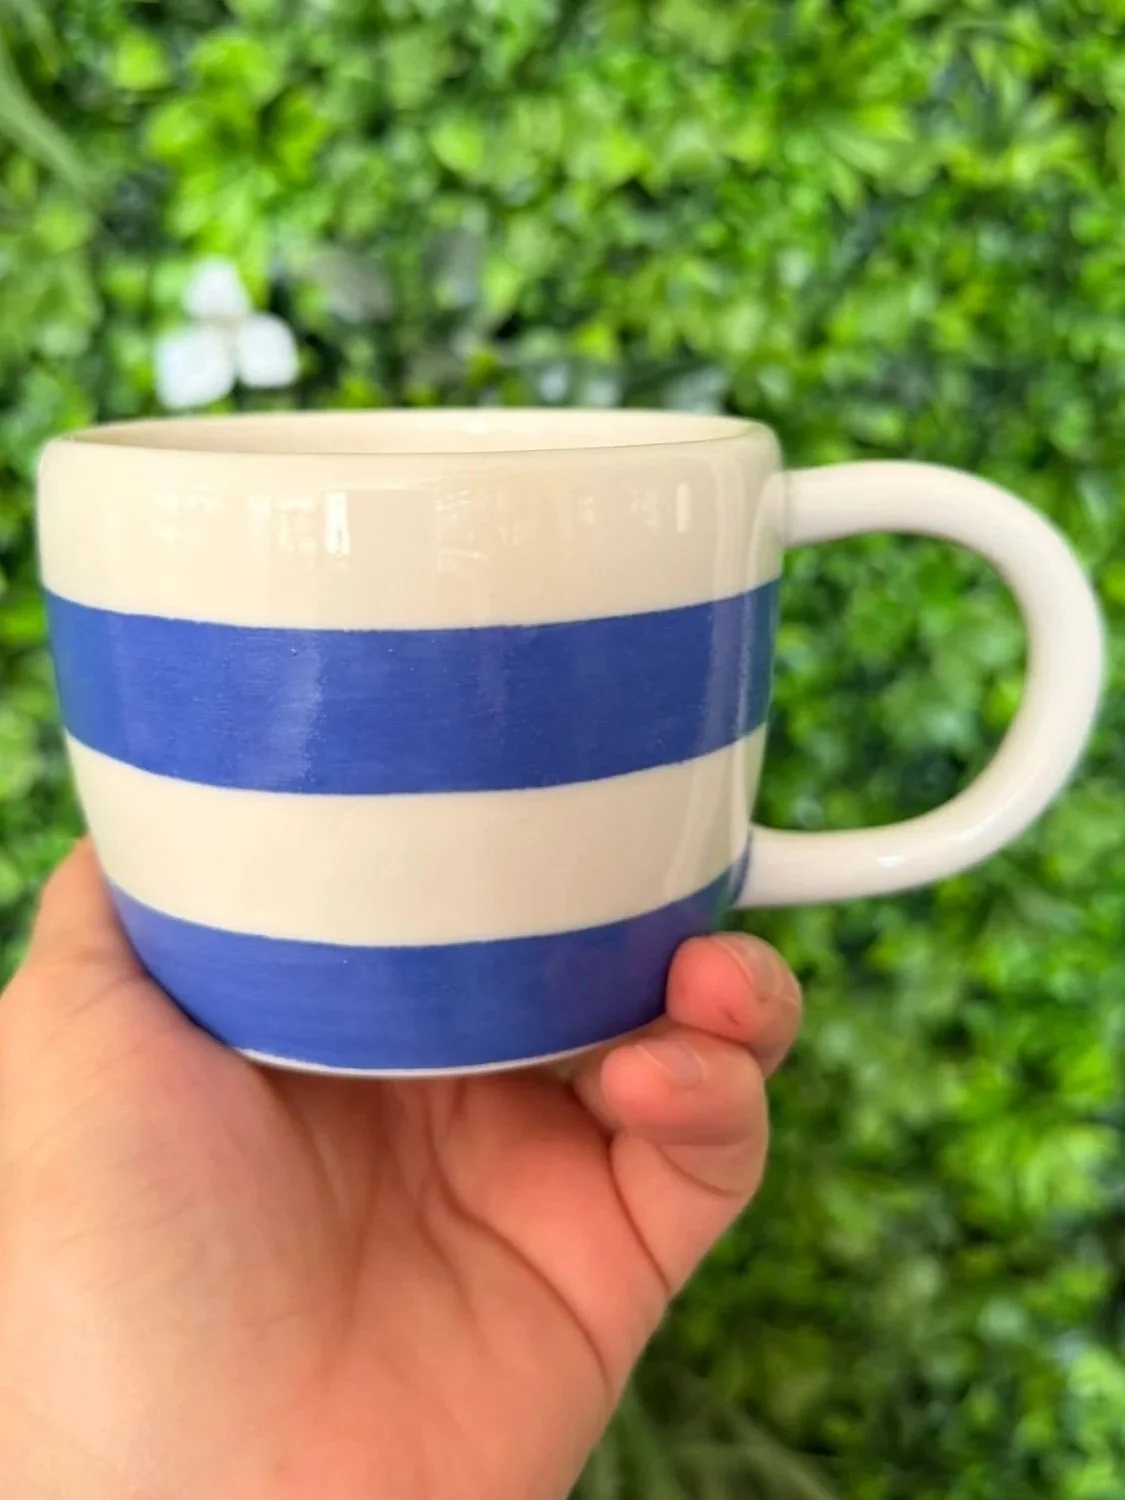
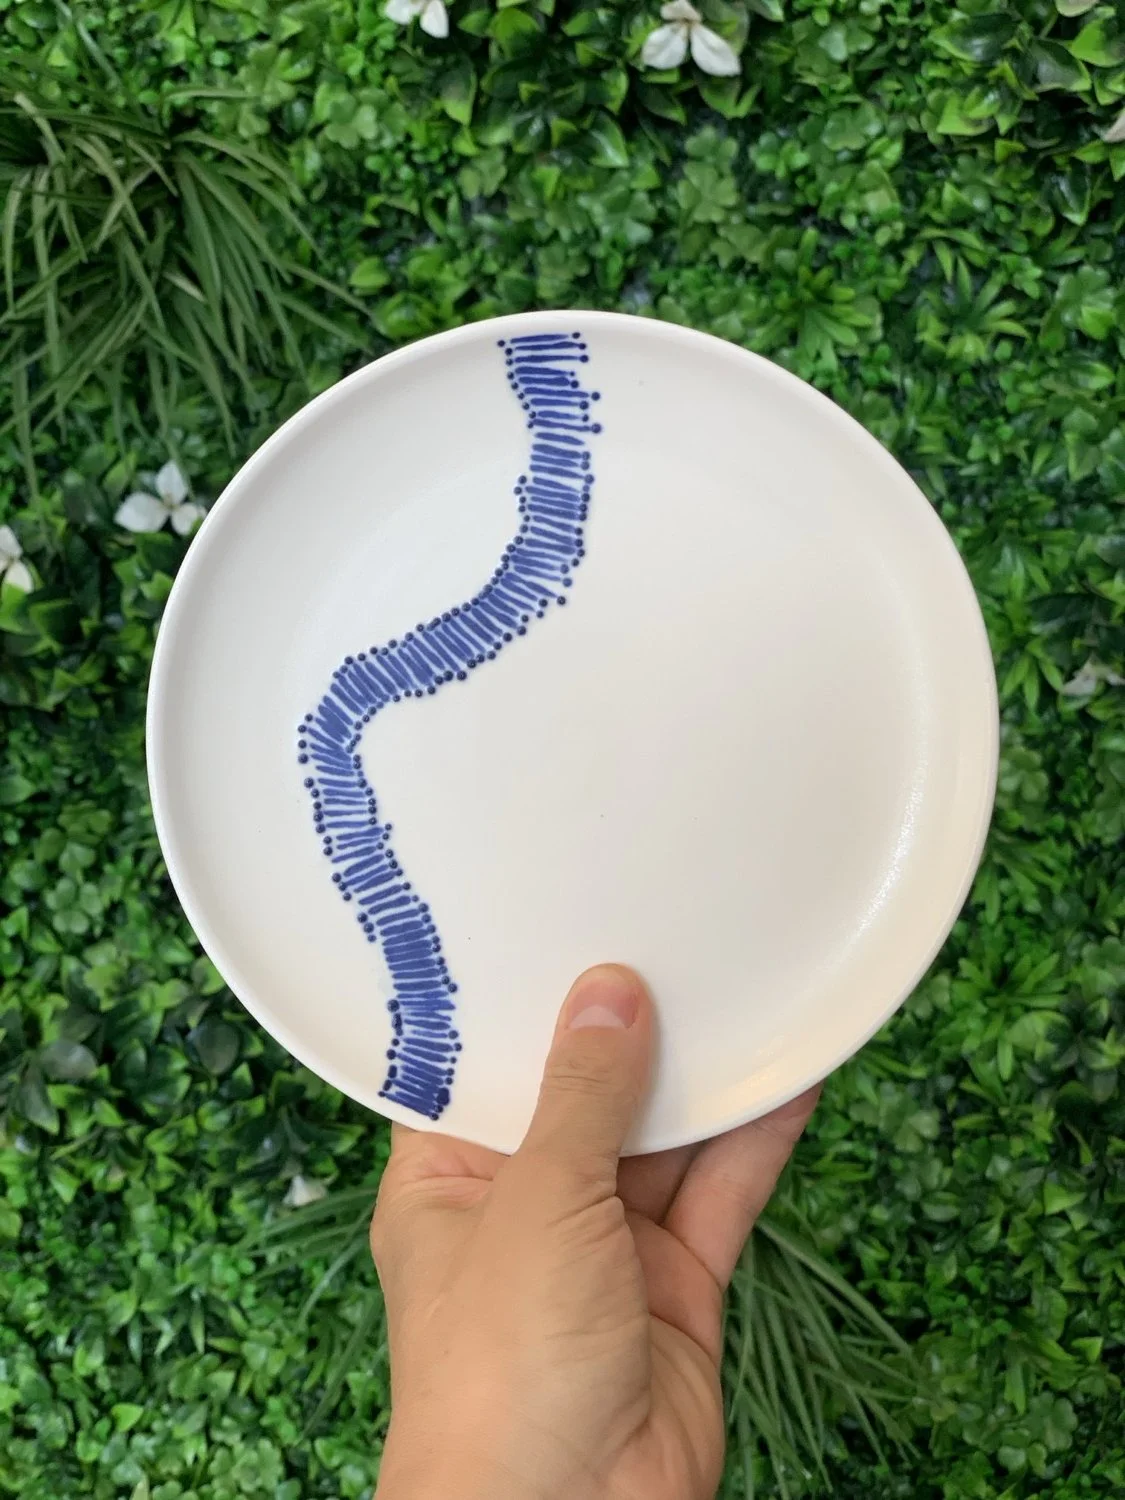
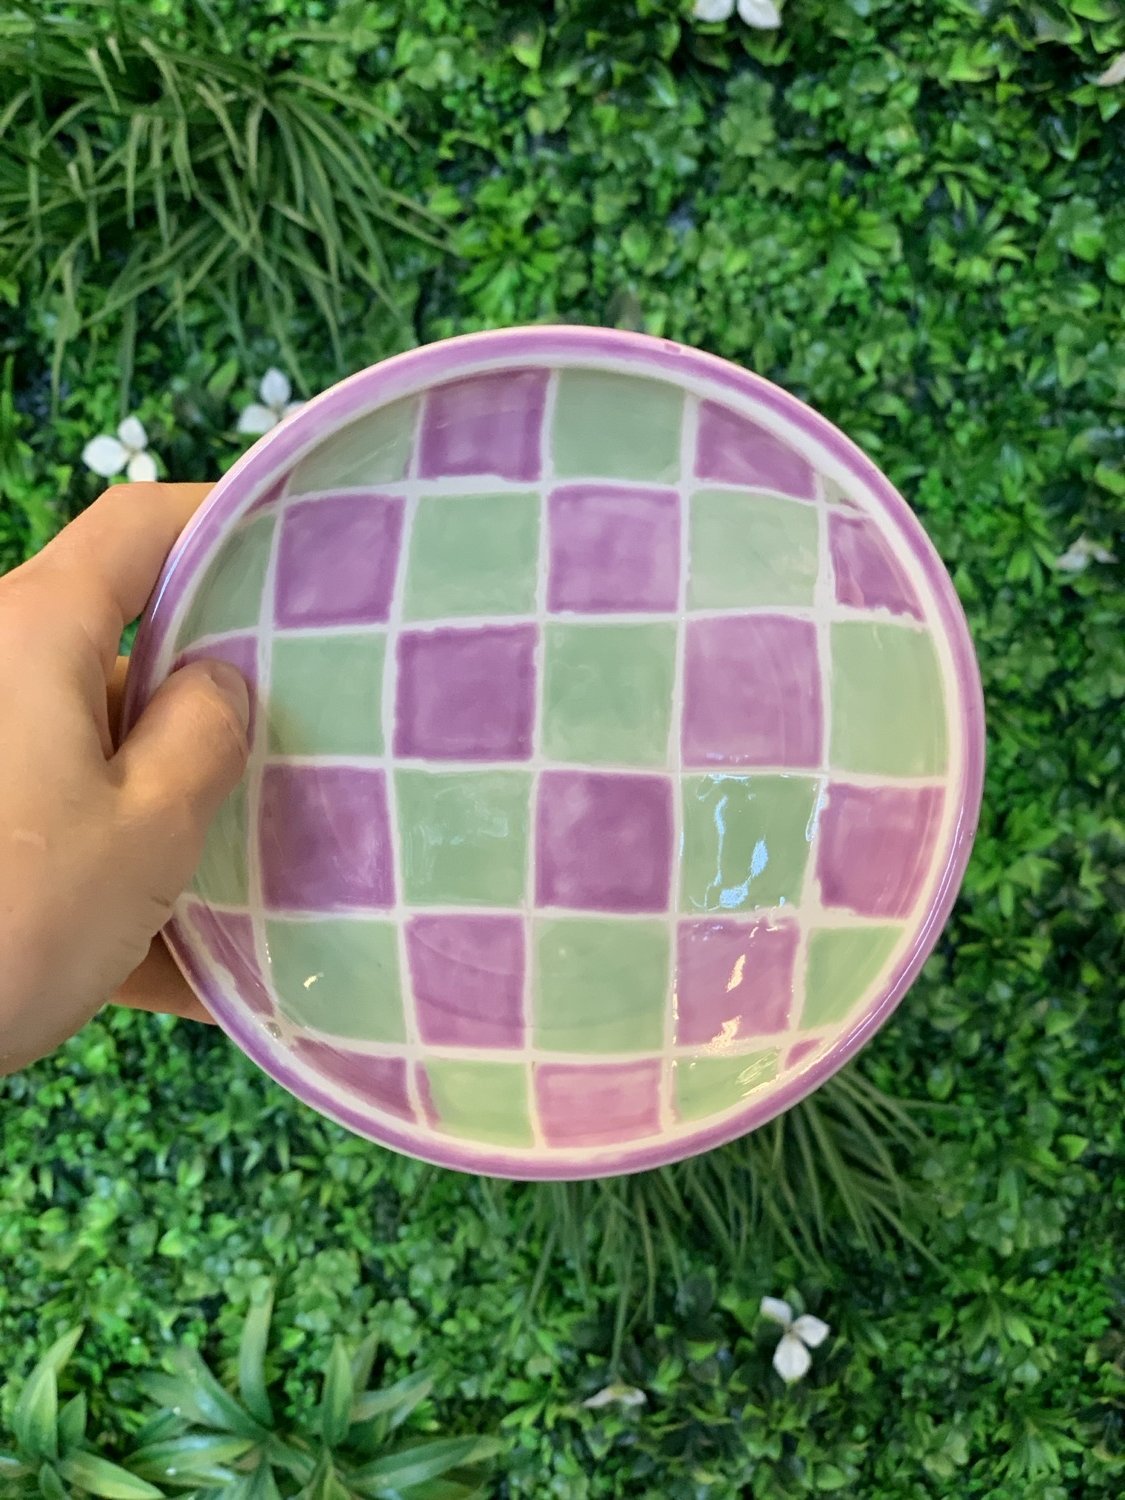
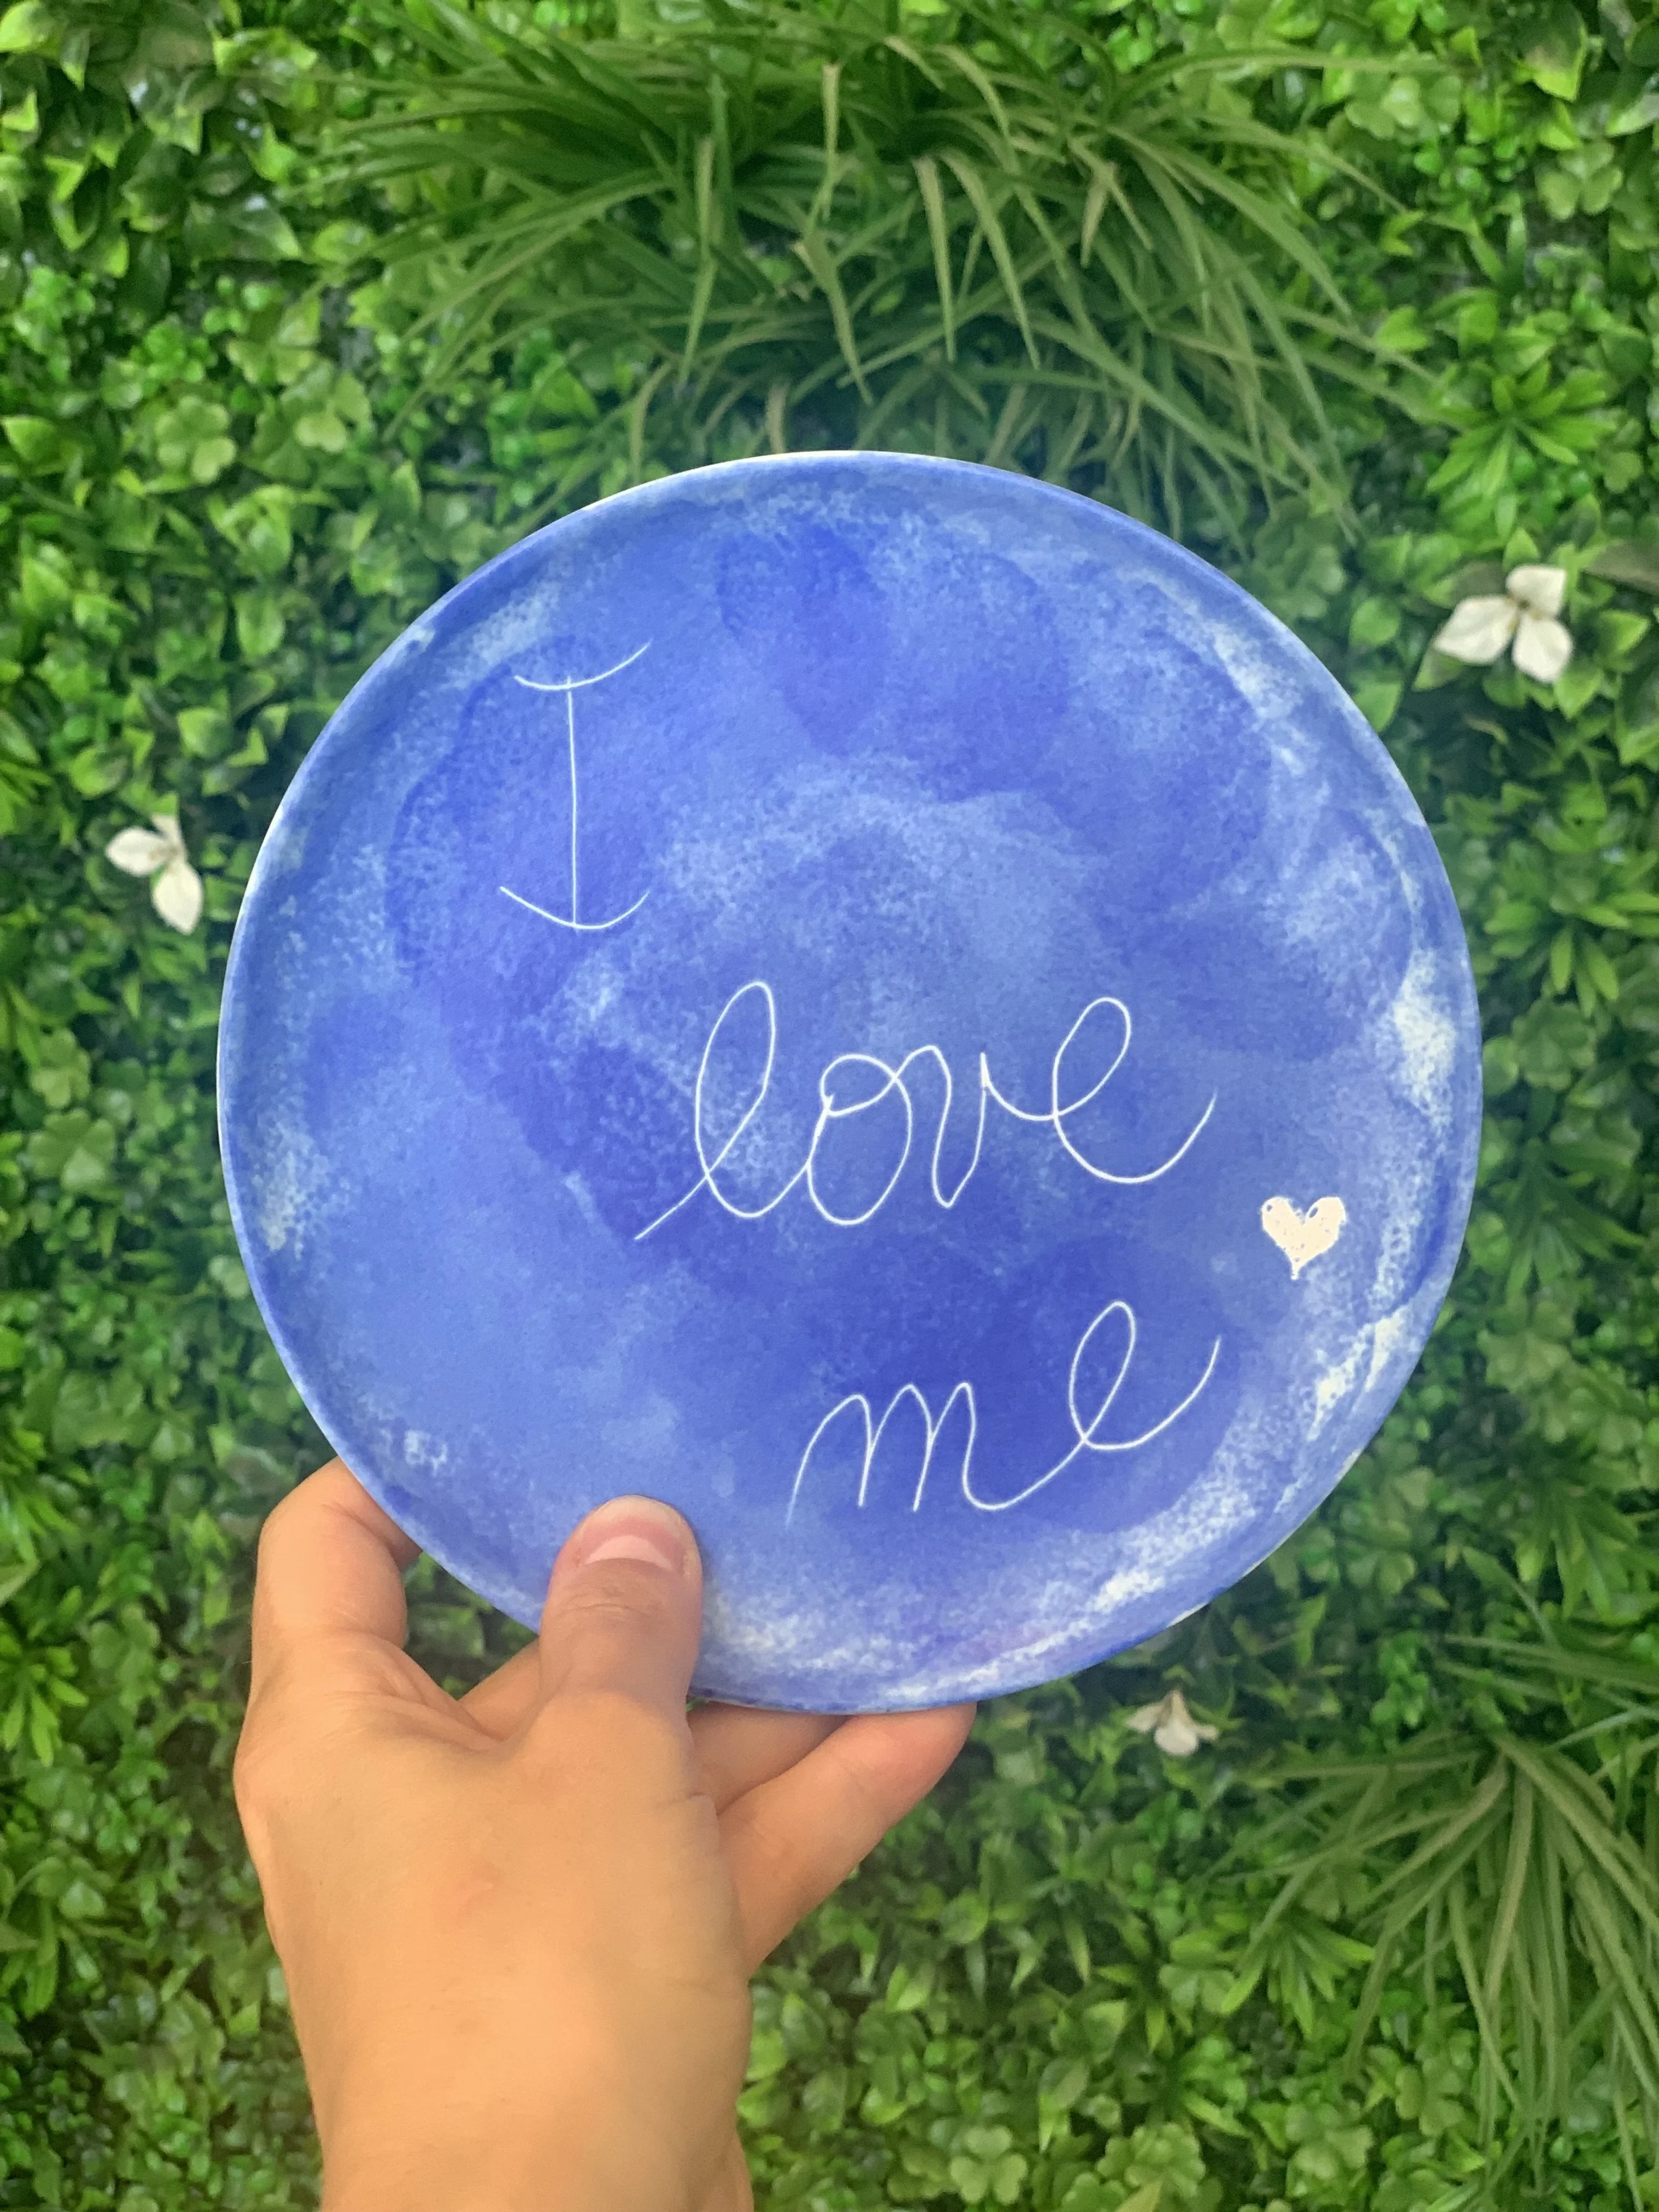
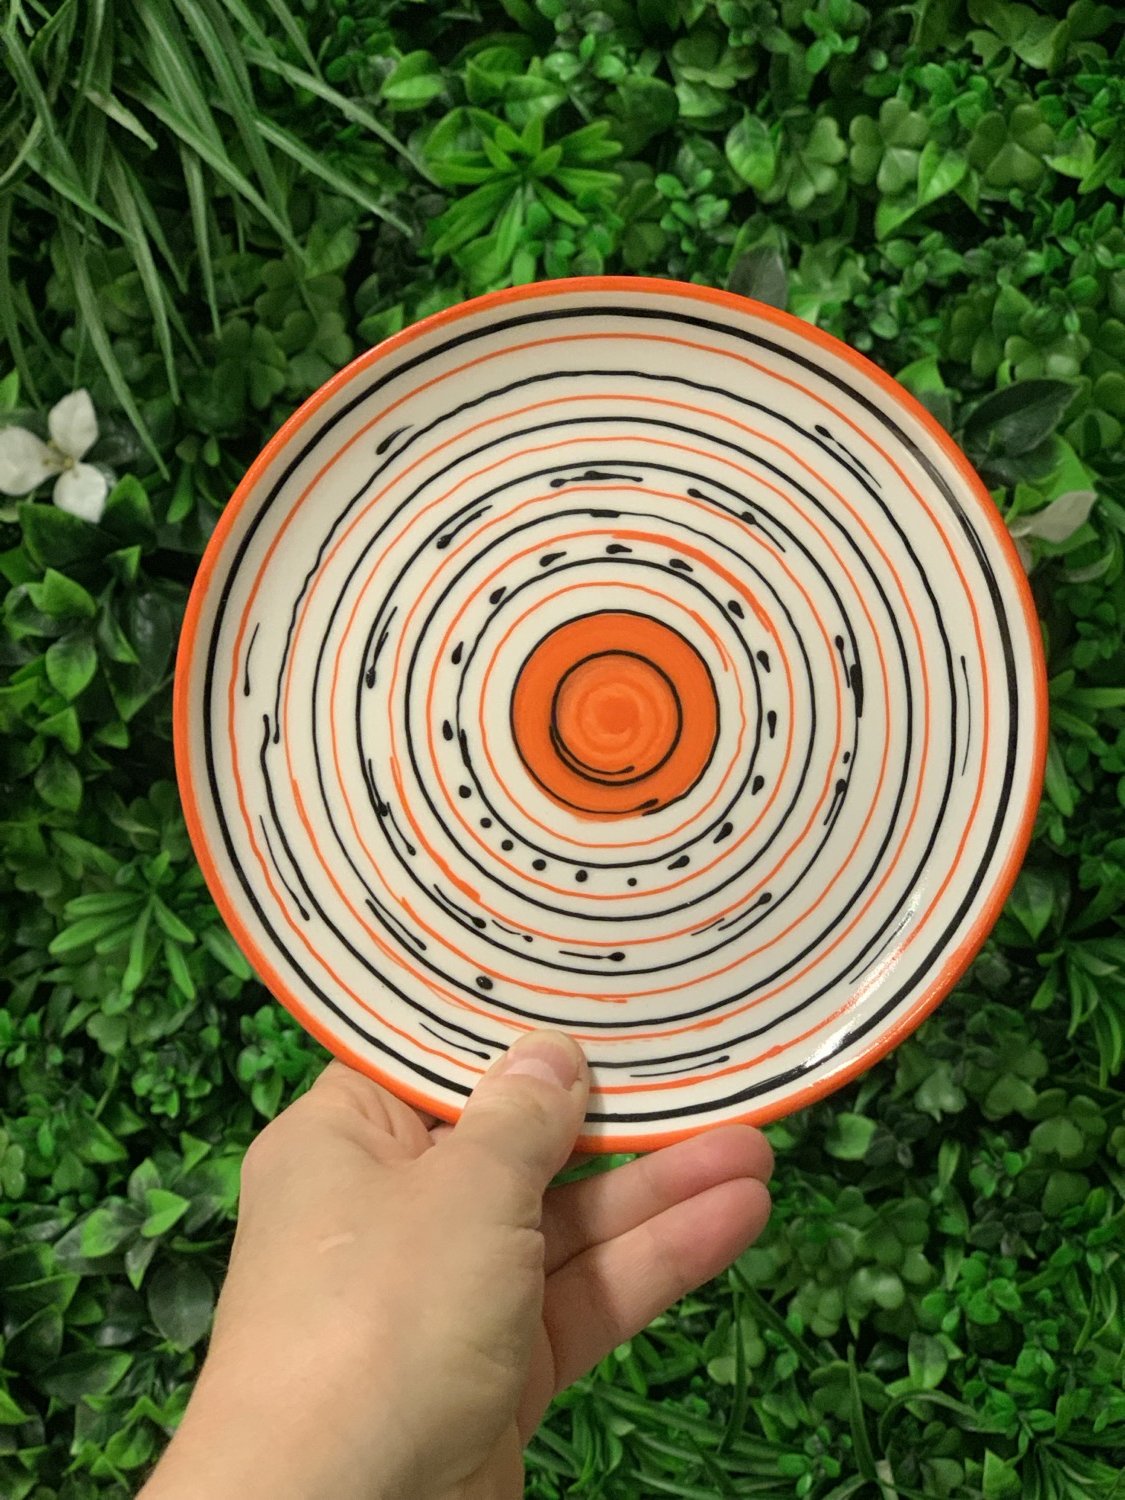
SIMPLE GLAZING TECHNIQUE EXAMPLES
The pieces that you make in a wheel-throwing or handbuilding for beginners workshop can easily be finished using this simple glazing technique during an open studio session with the help of a teacher giving you a quick lesson. The only exception is if you are segmenting your pieces into many parts using tape and need extensive time to tape the segments. We have 4 open studio sessions a week - Wednesday evenings, Friday mornings, Friday afternoons and Saturday mornings.


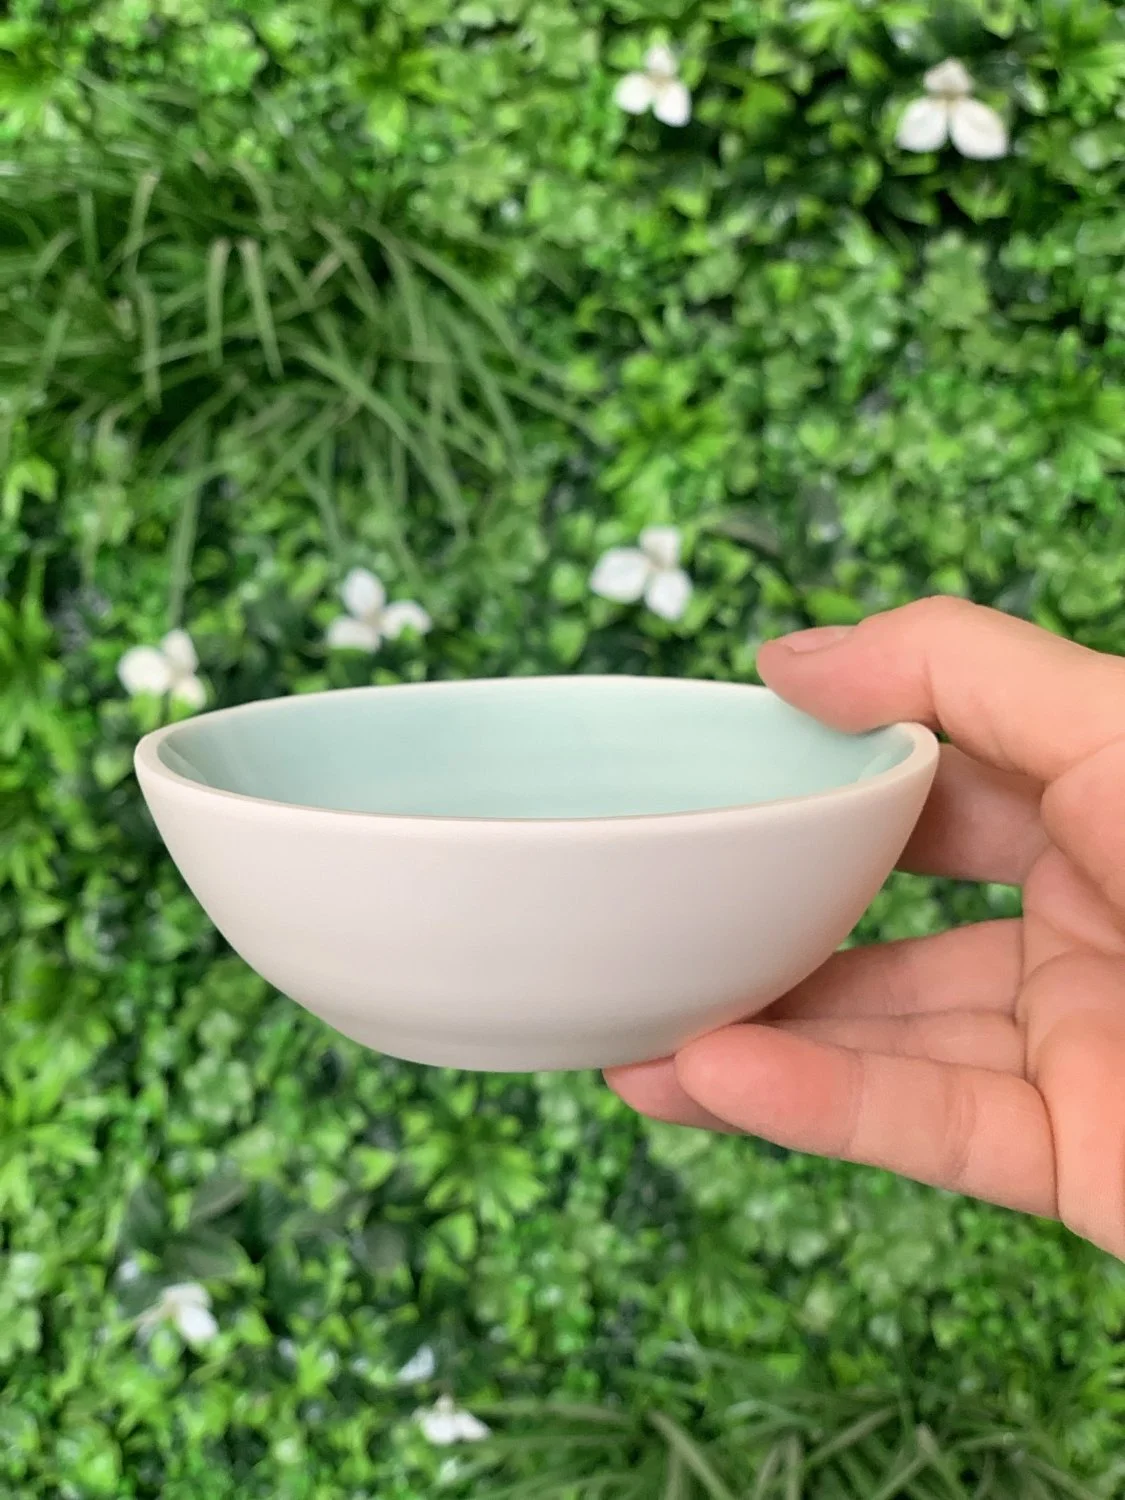
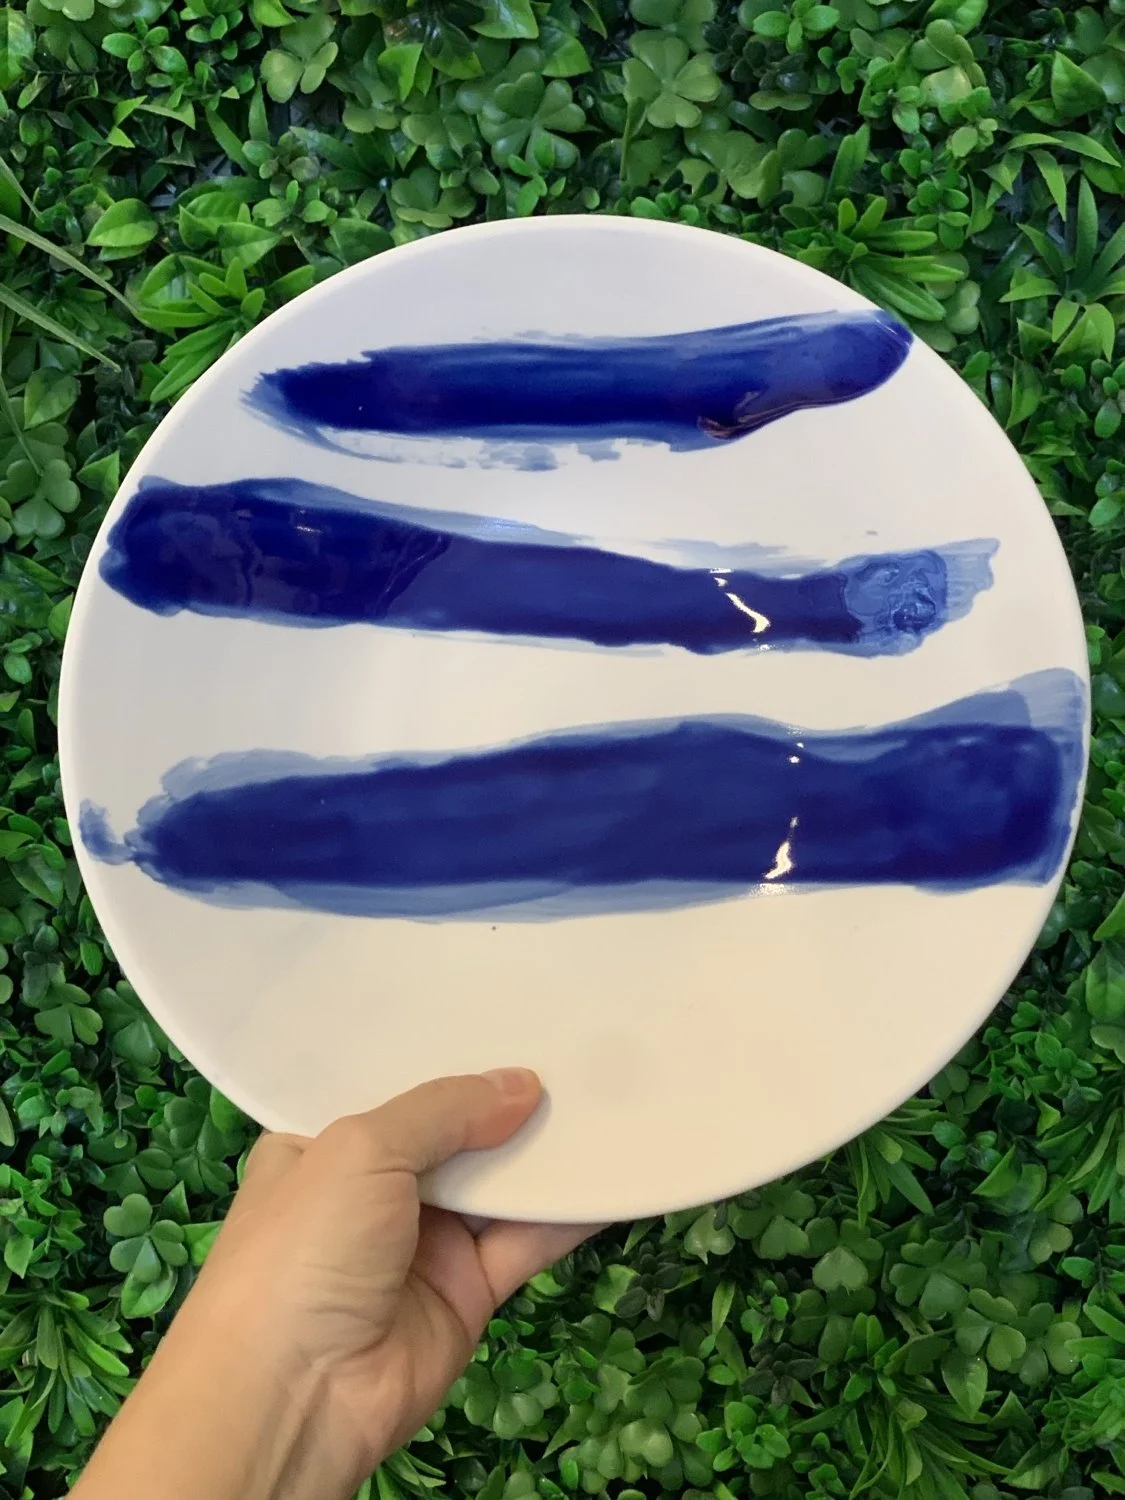
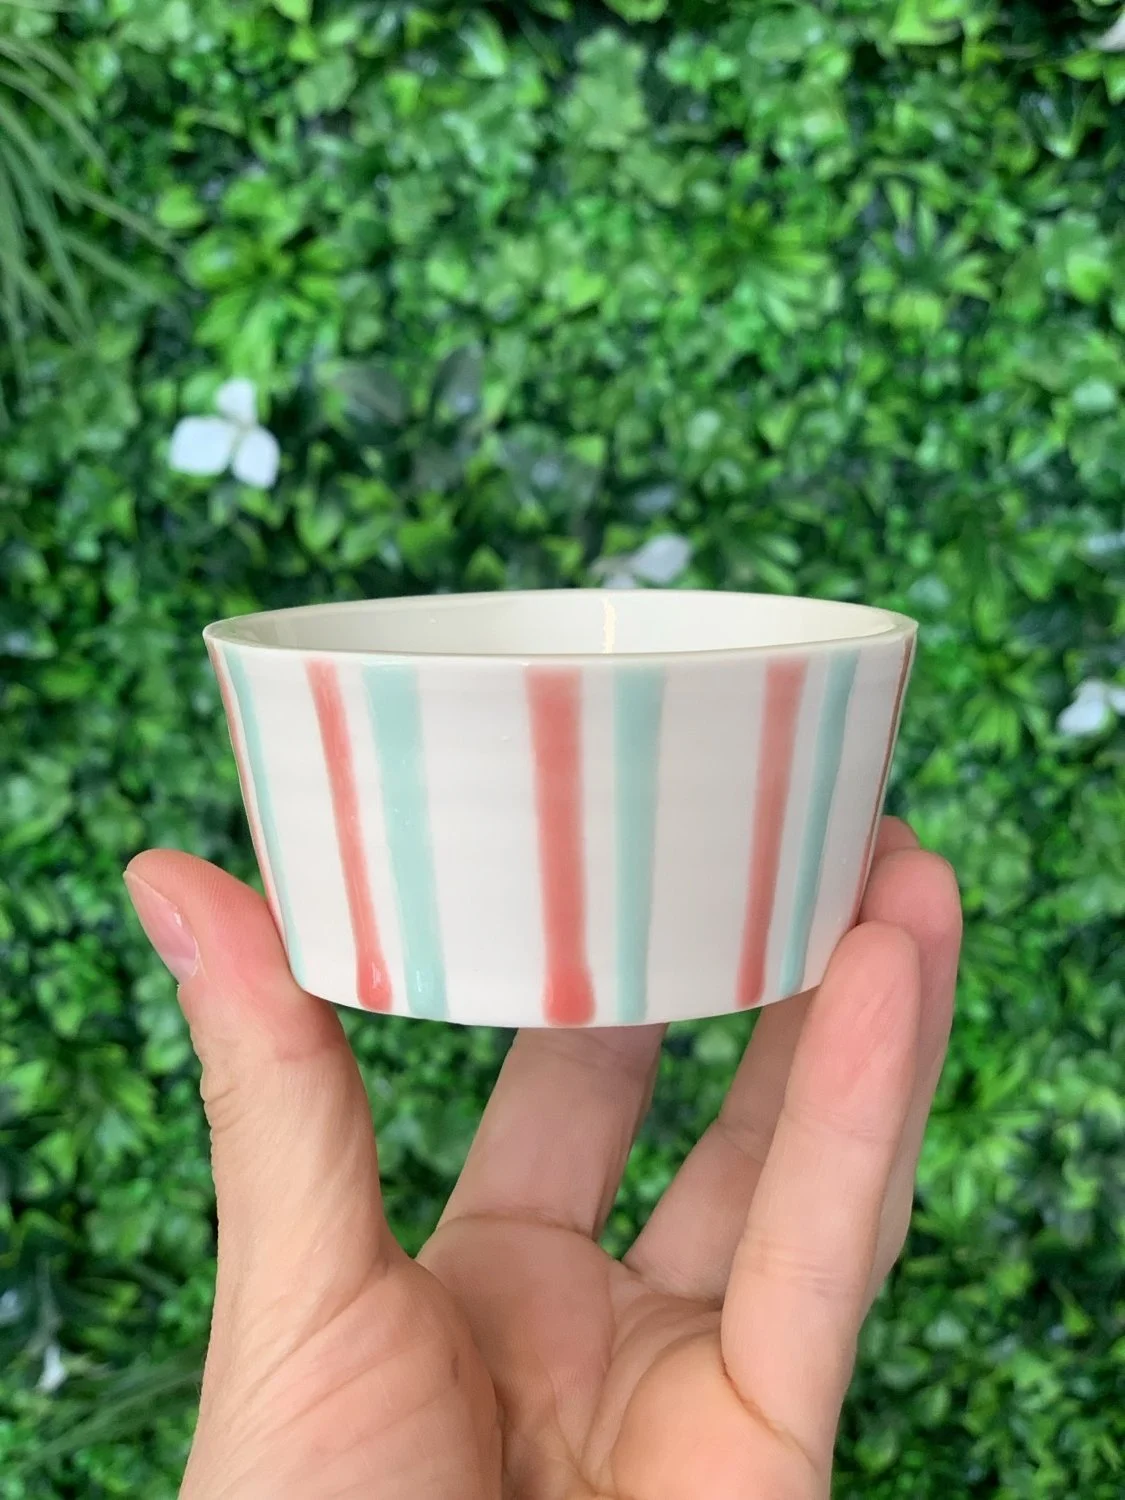
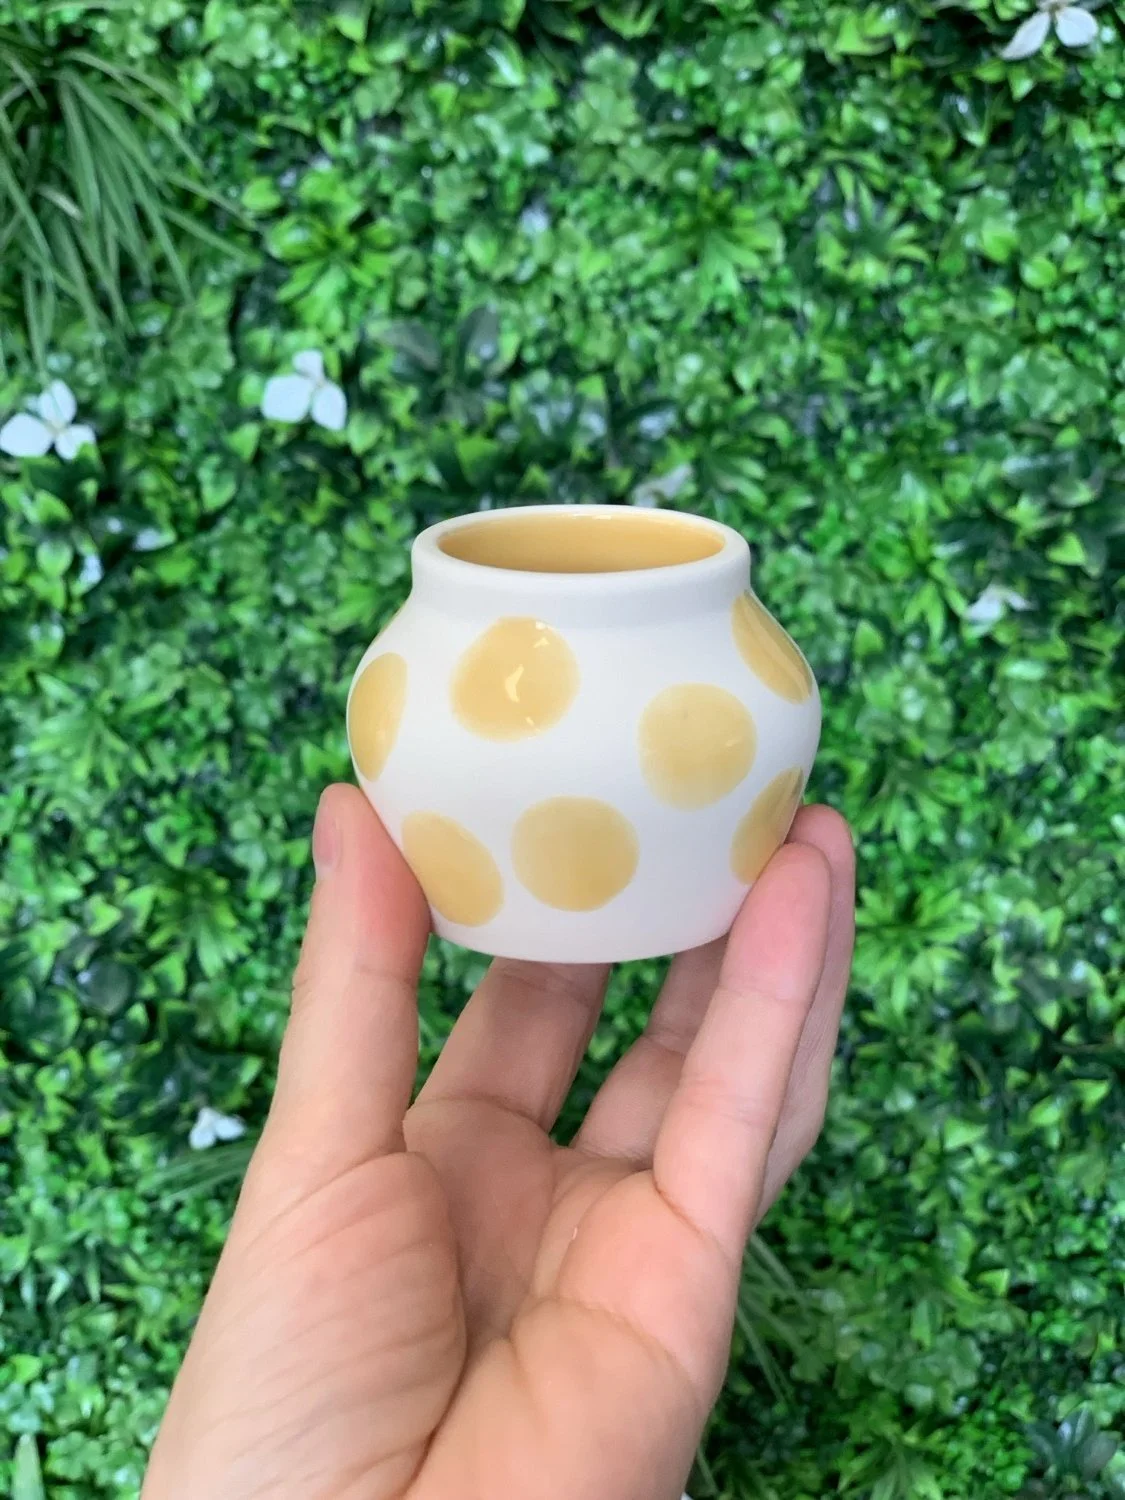
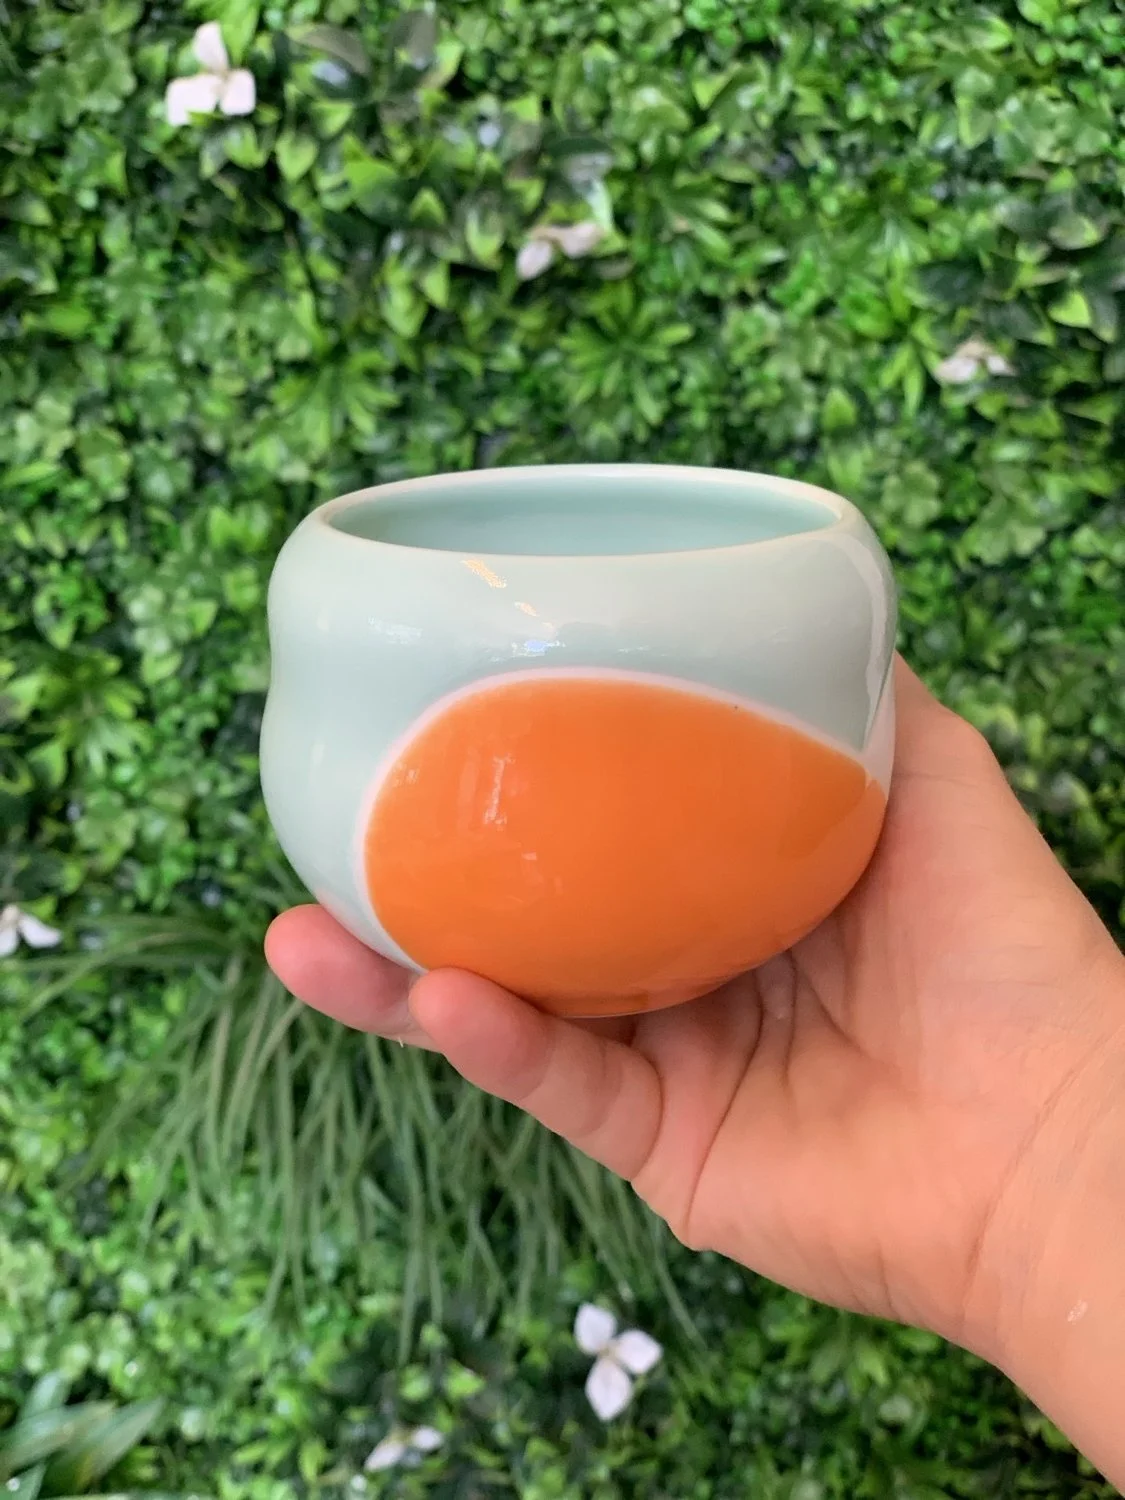
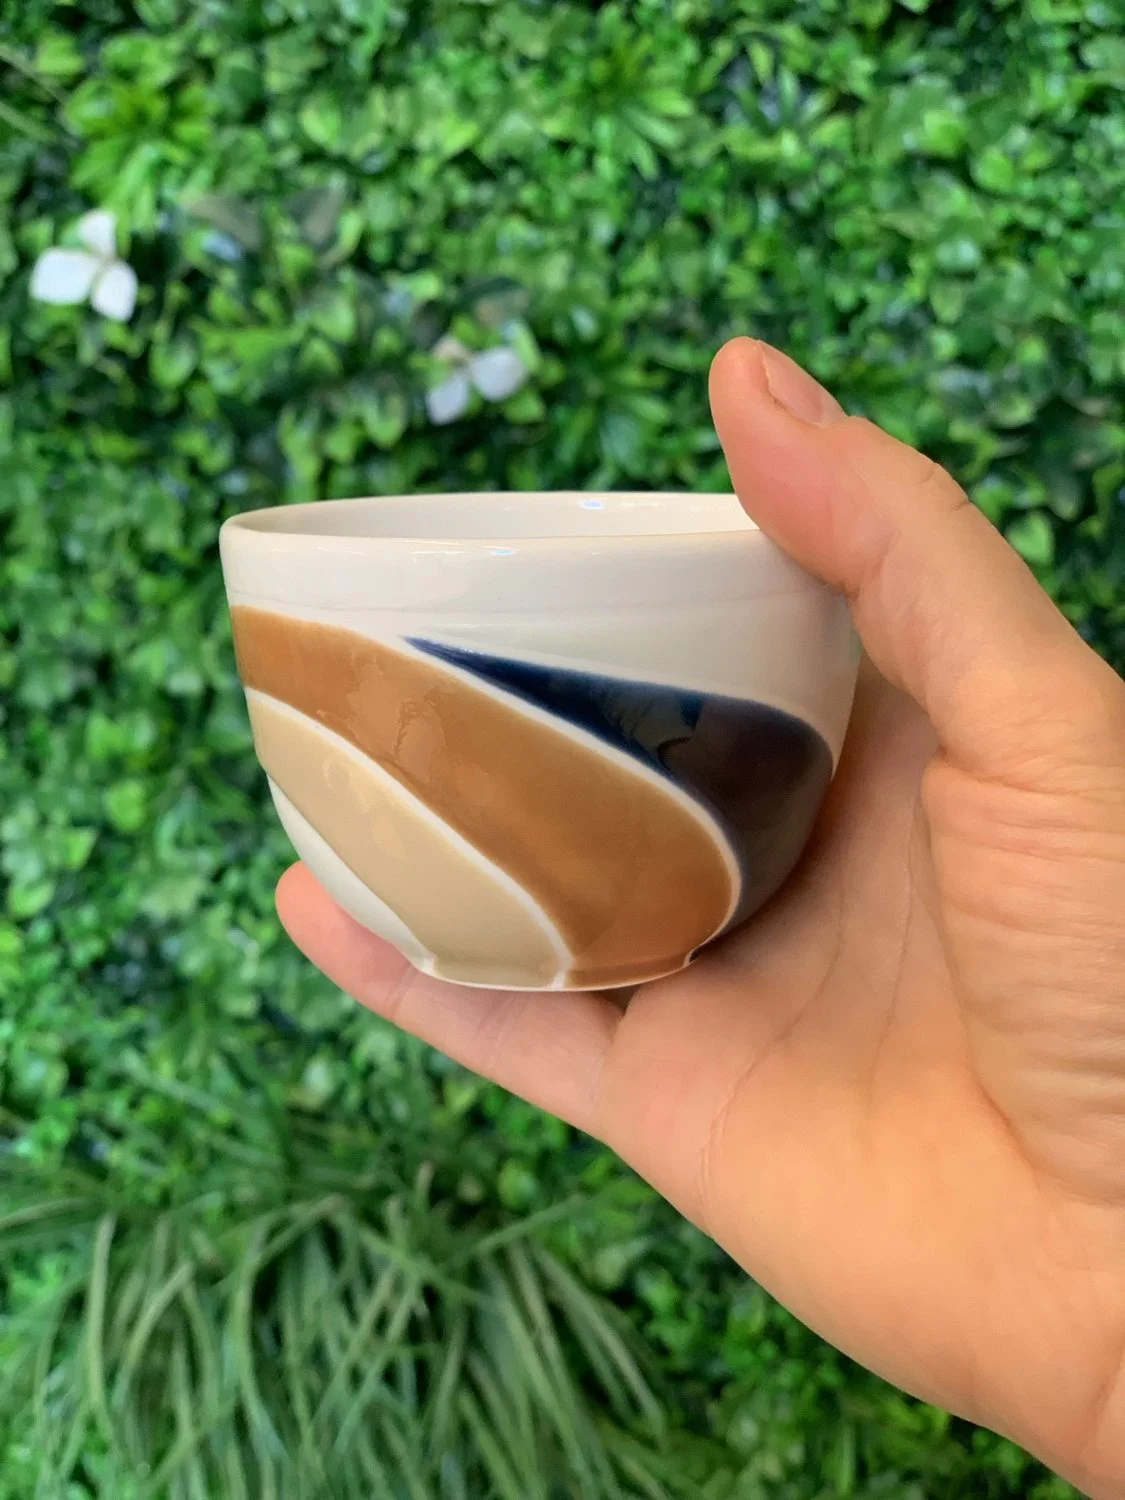
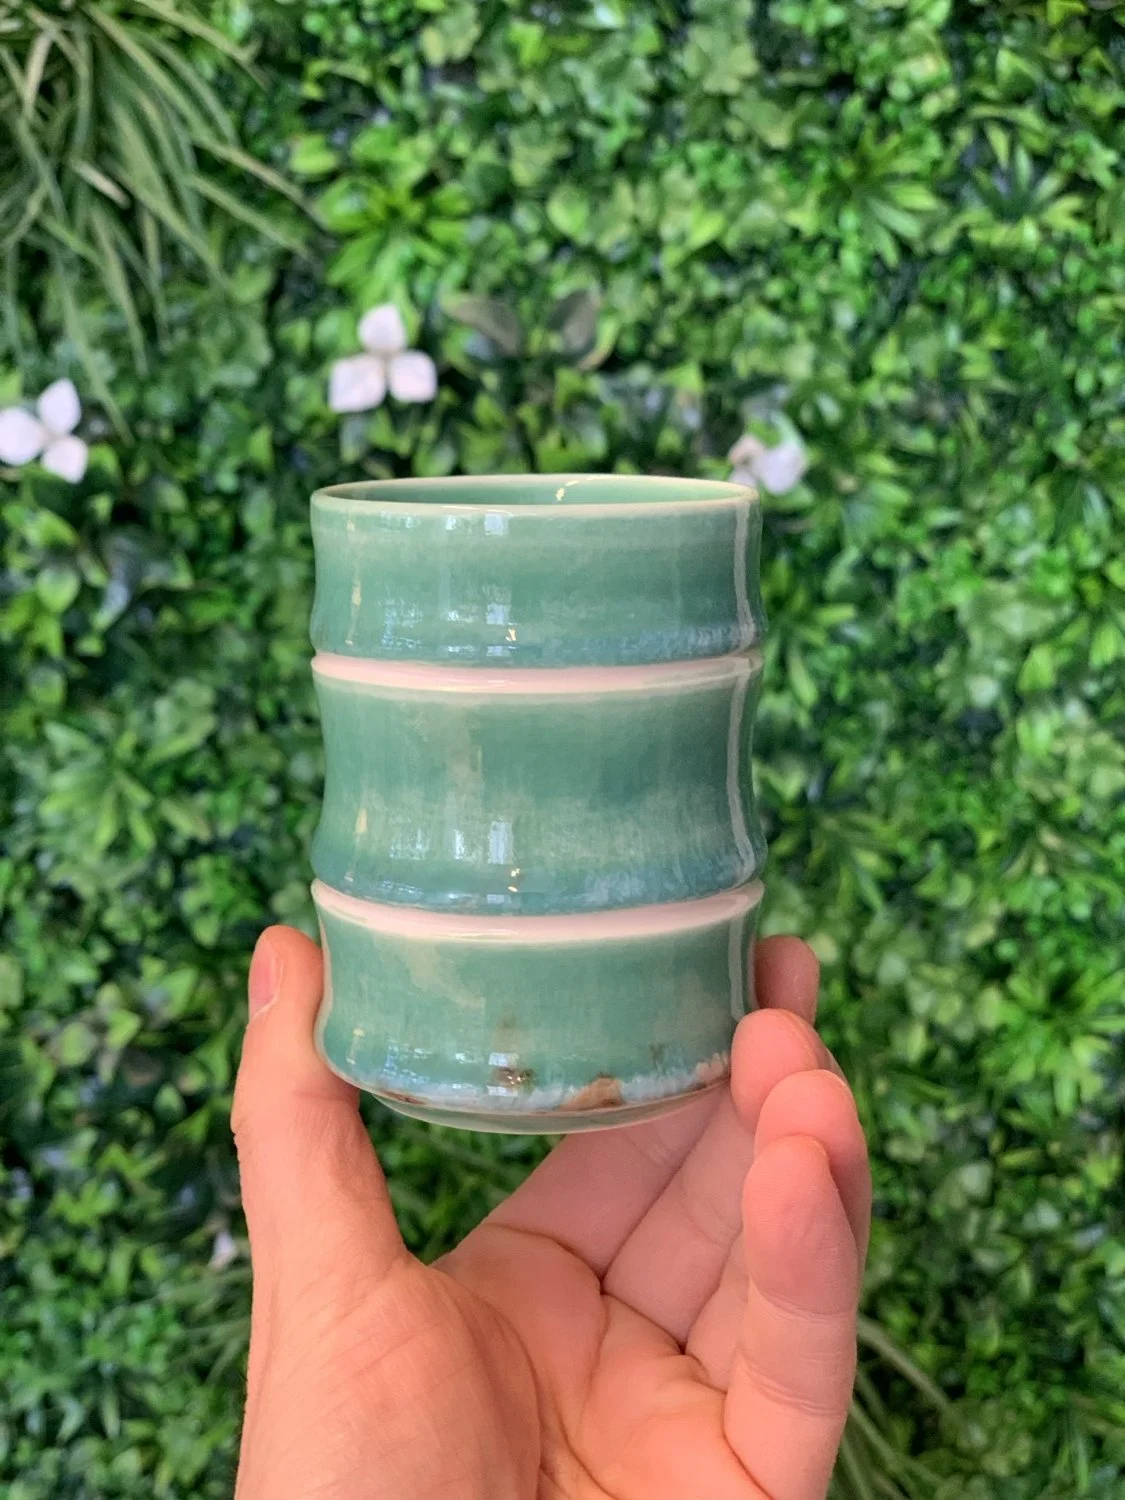
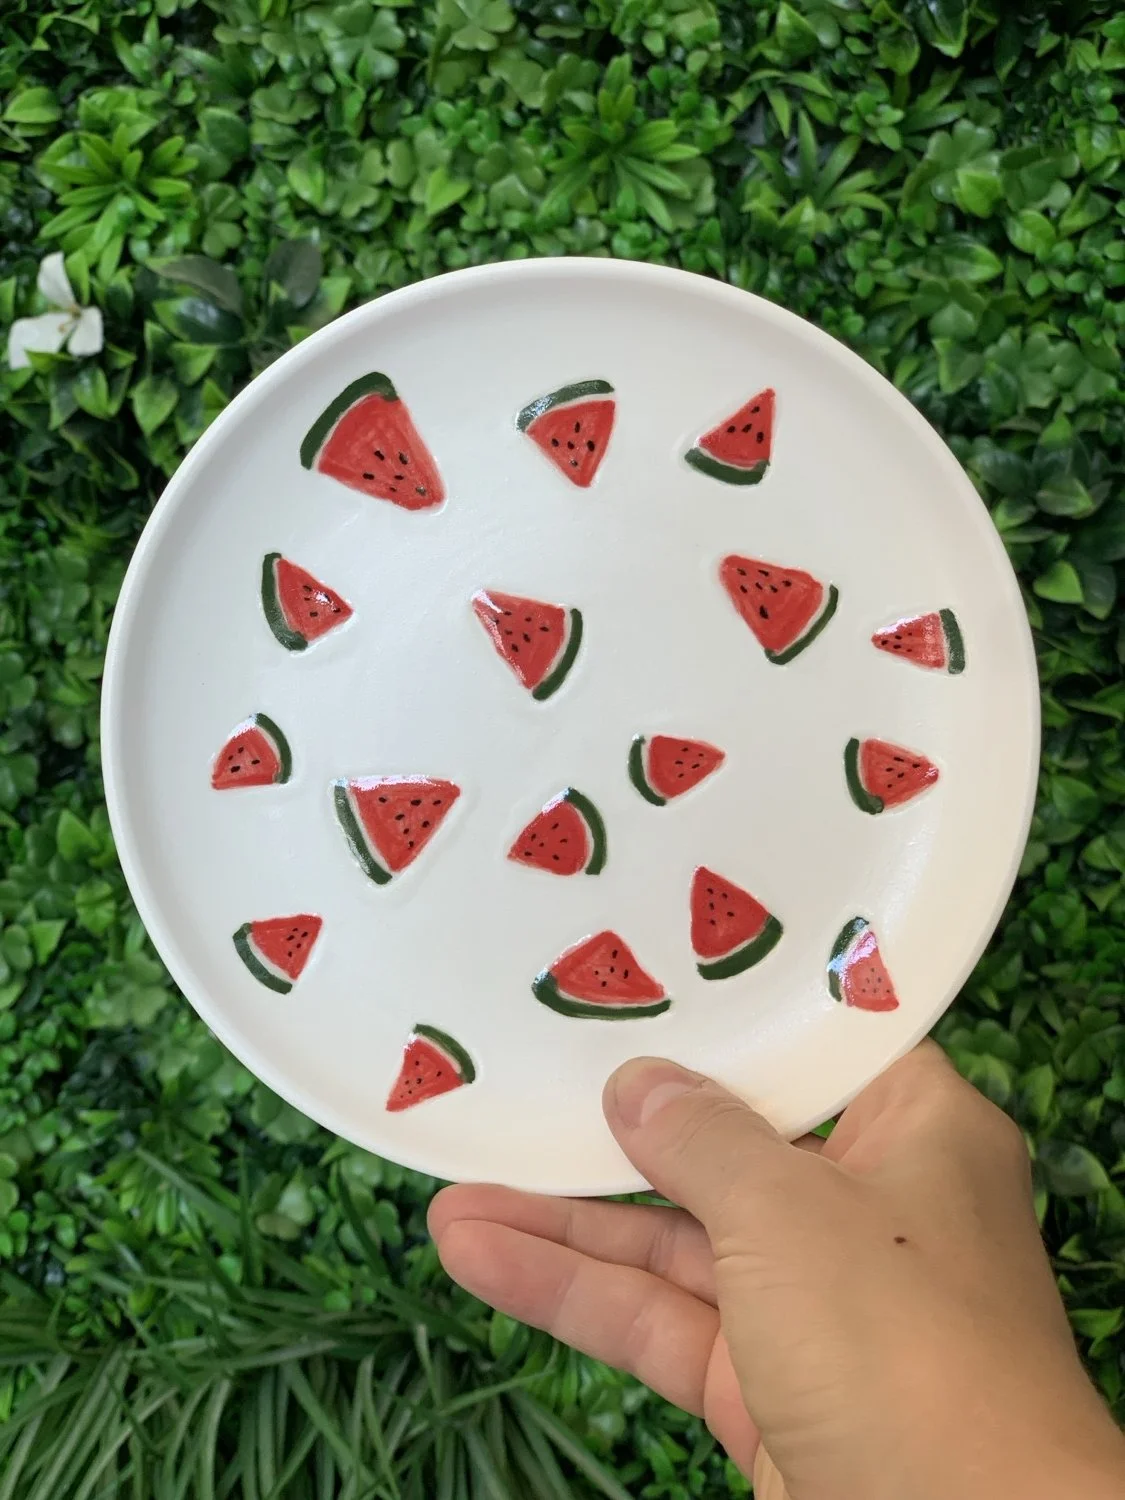
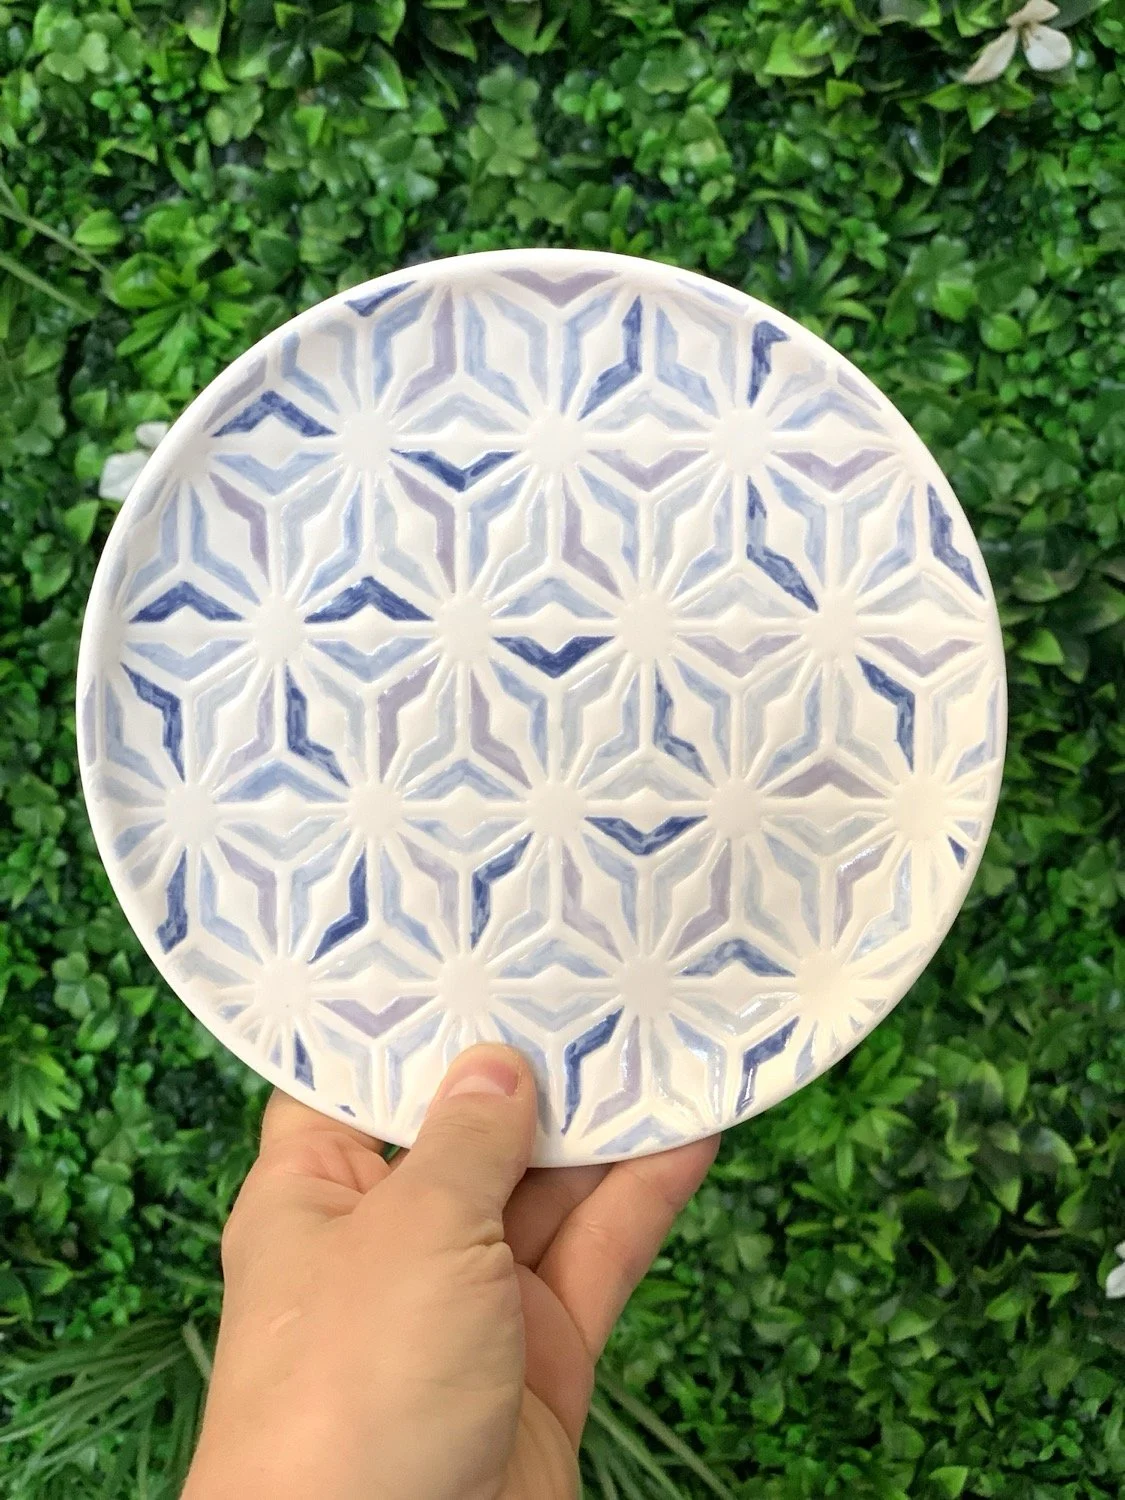
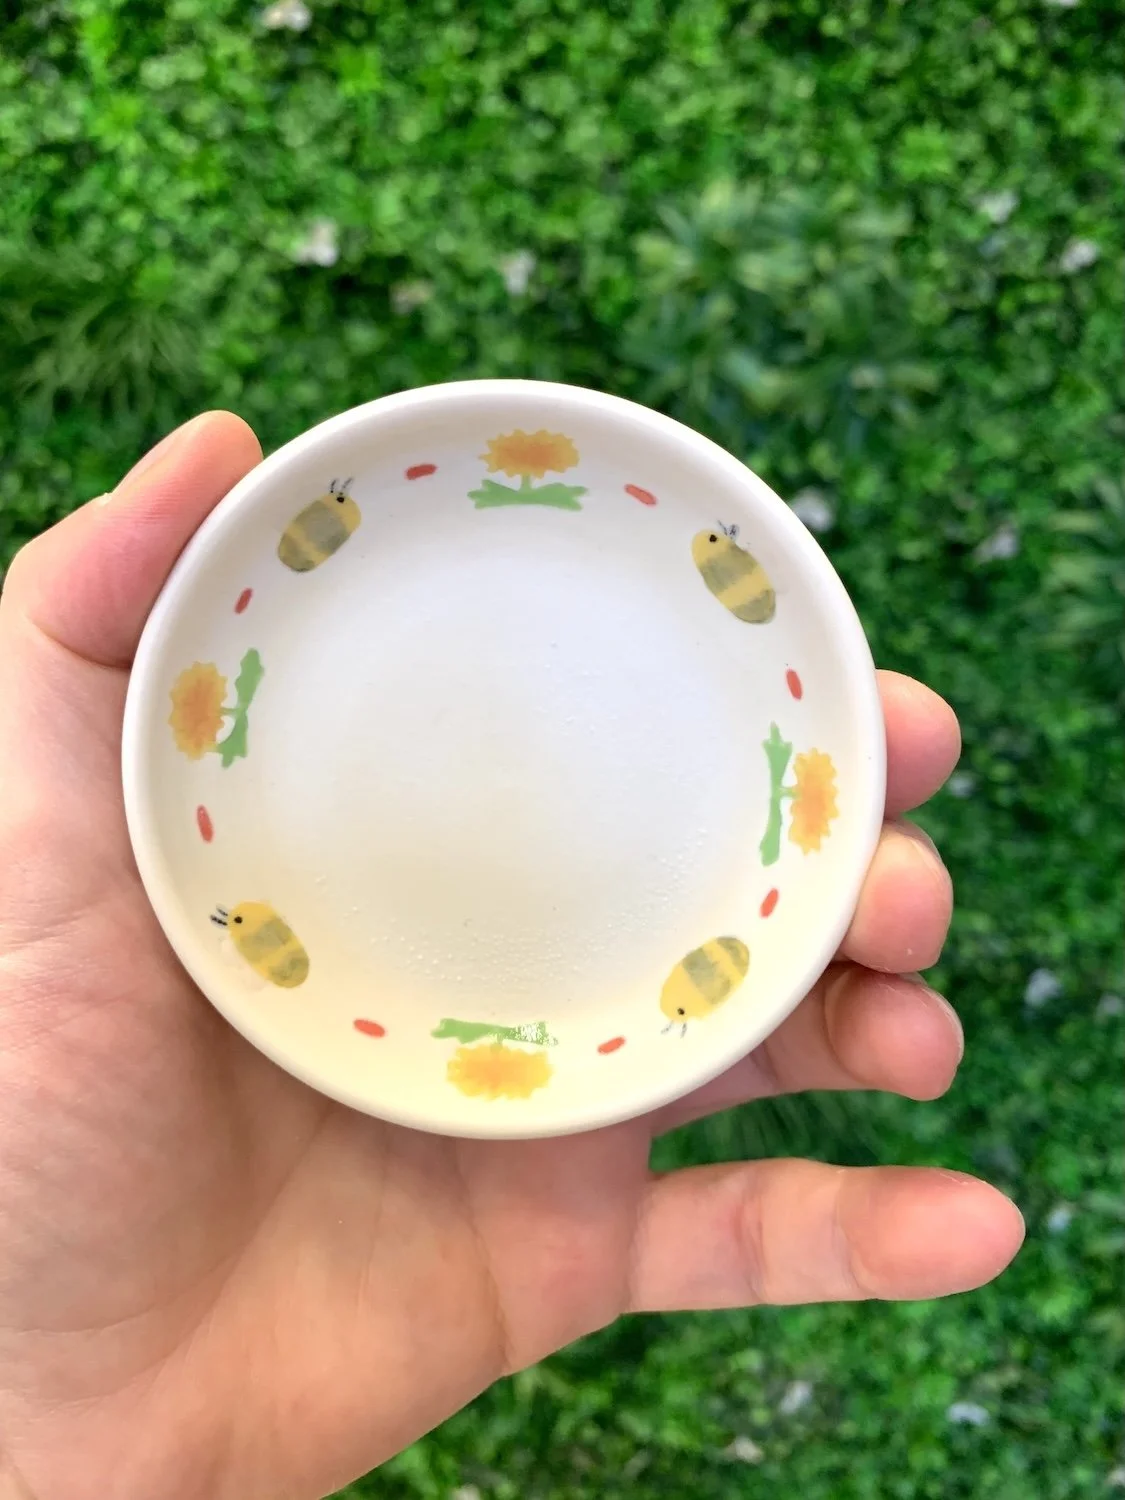
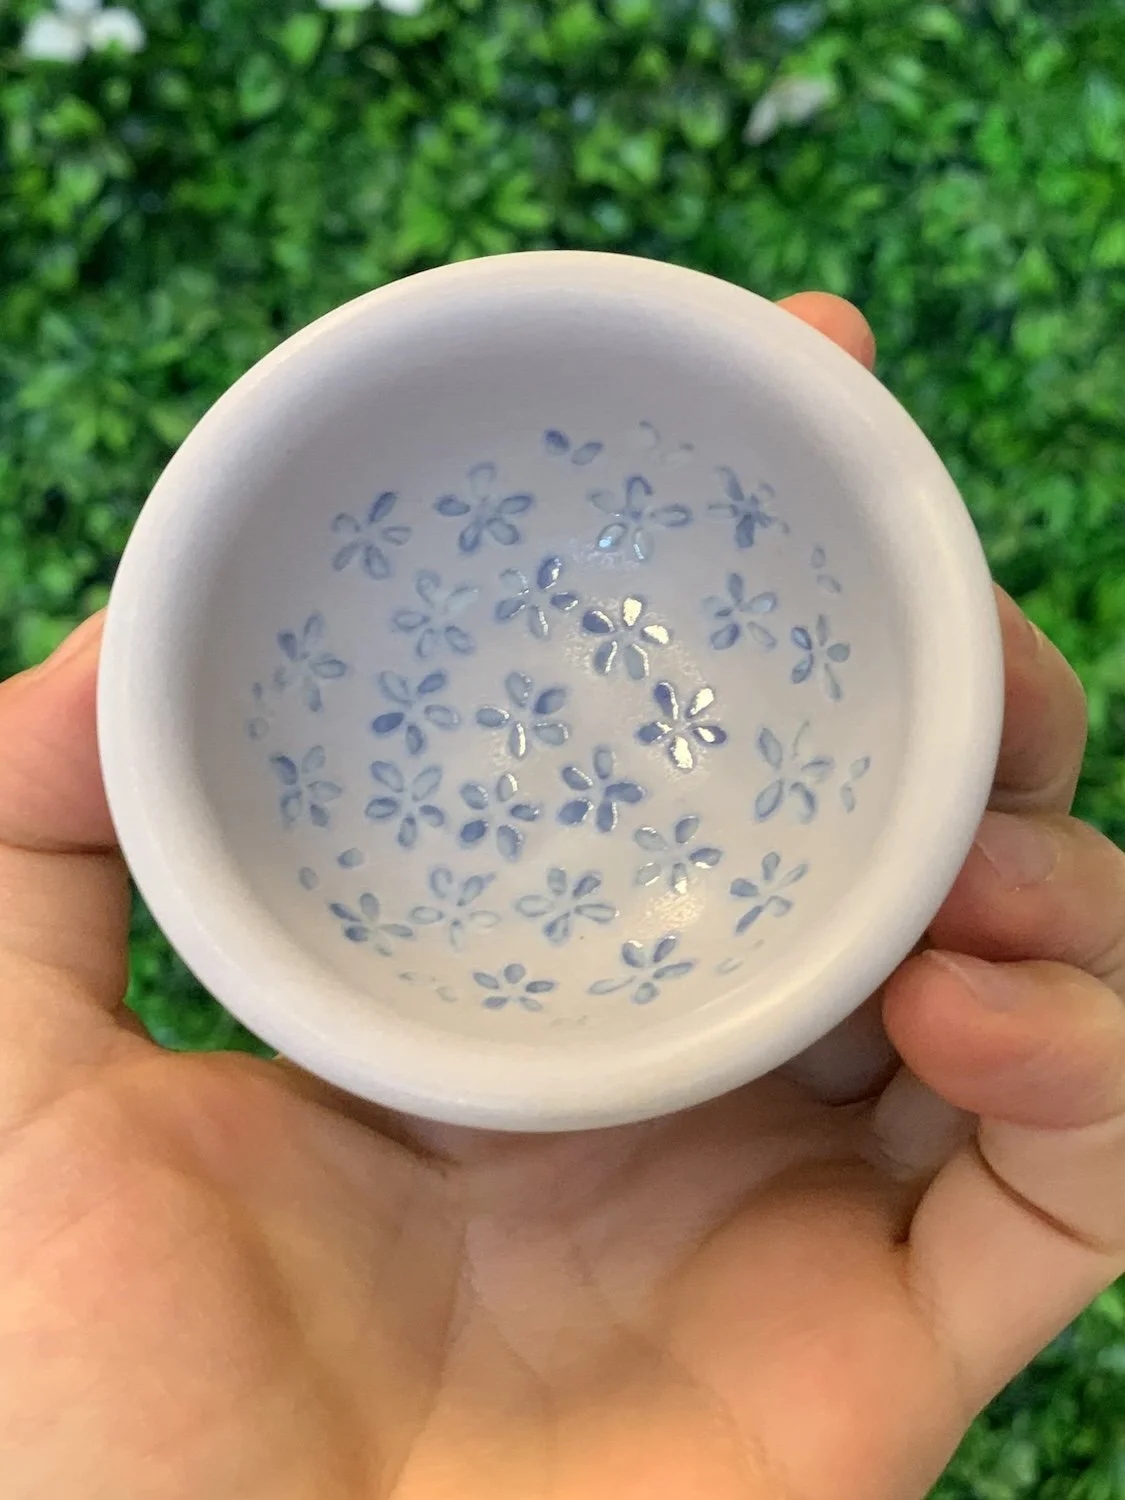
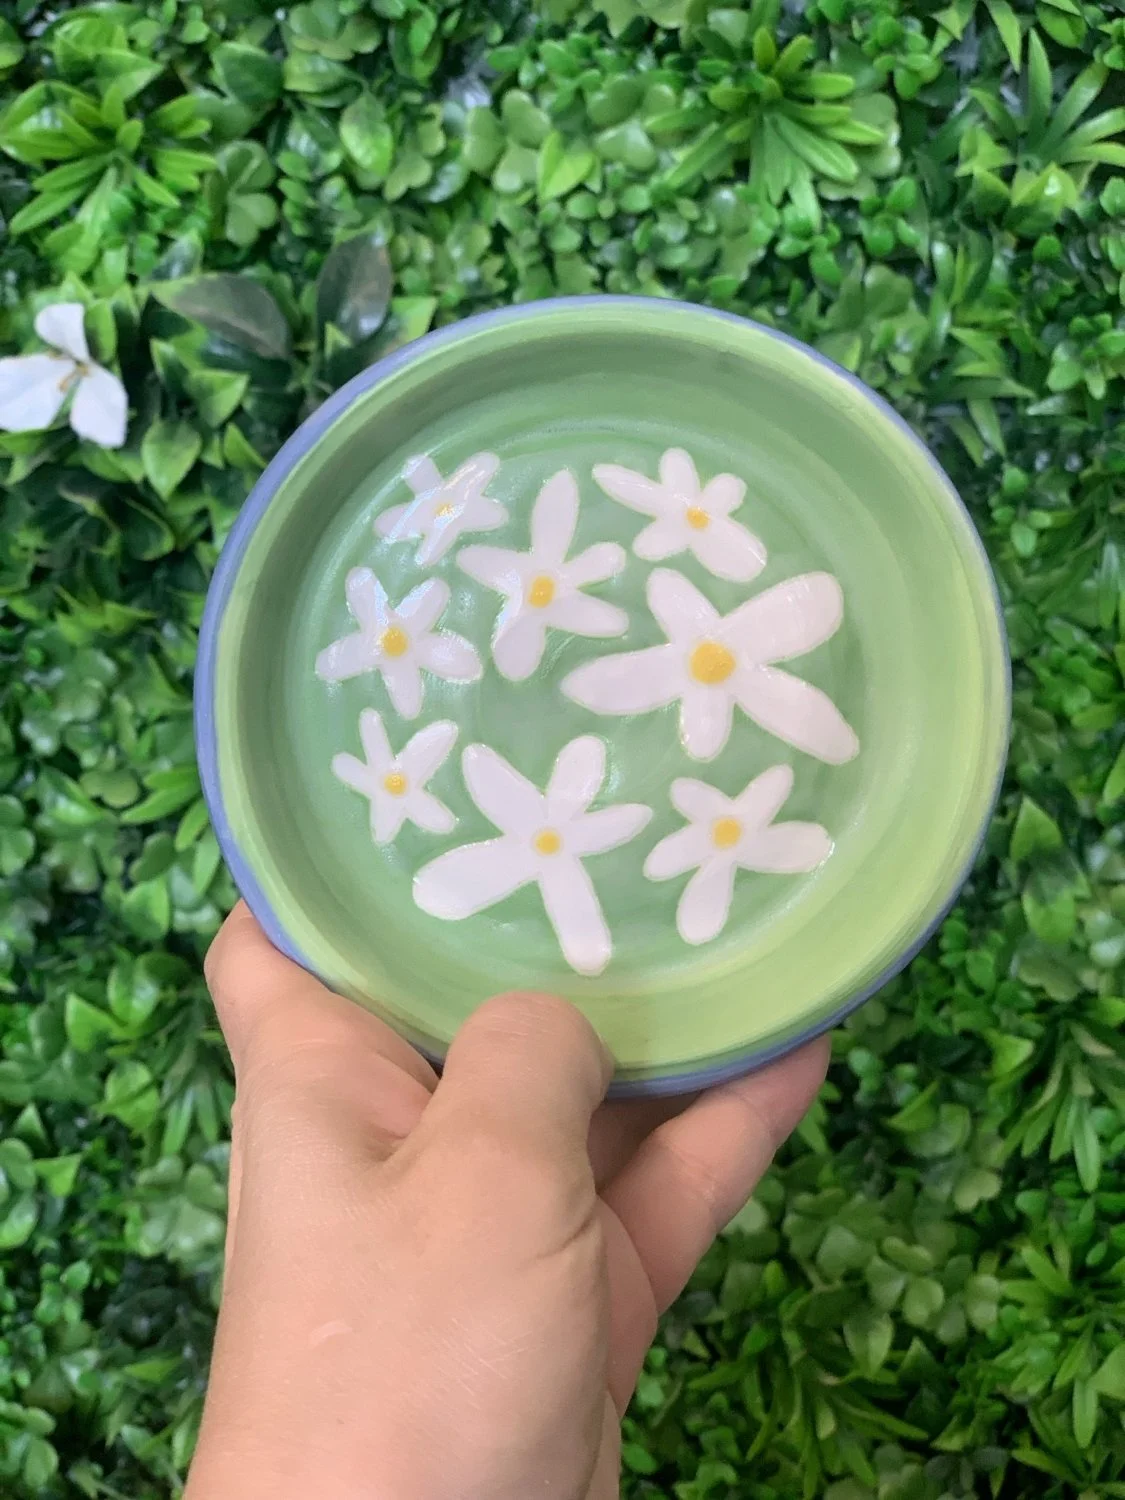
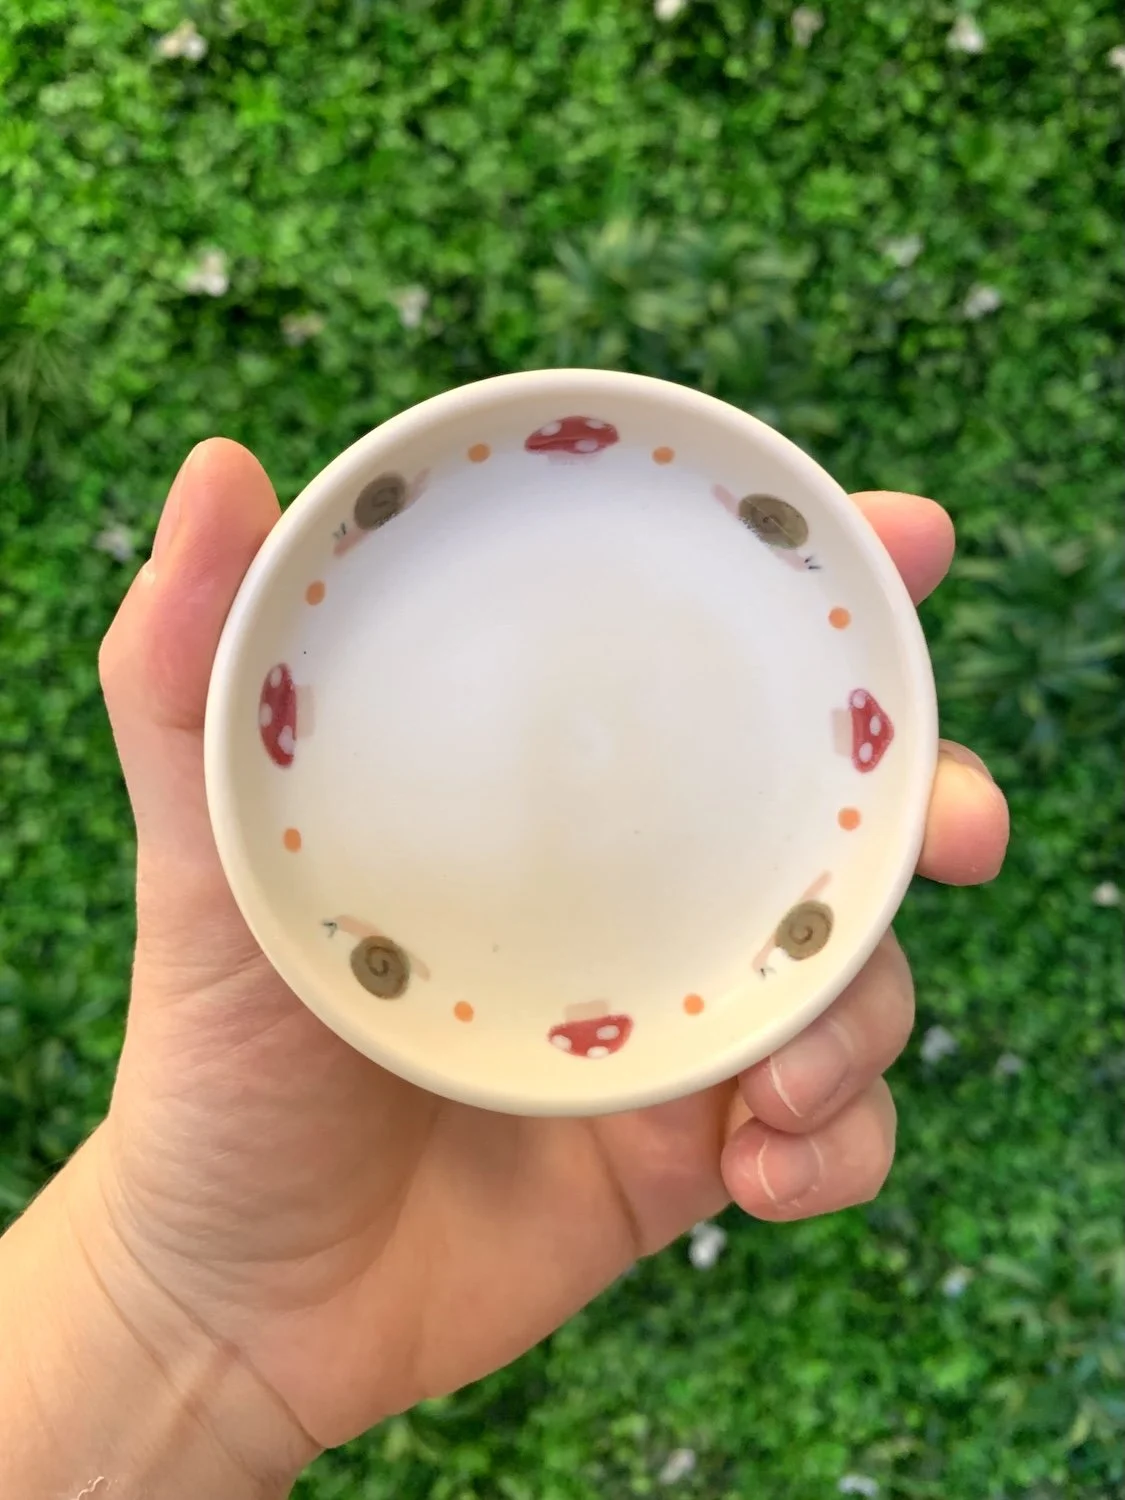
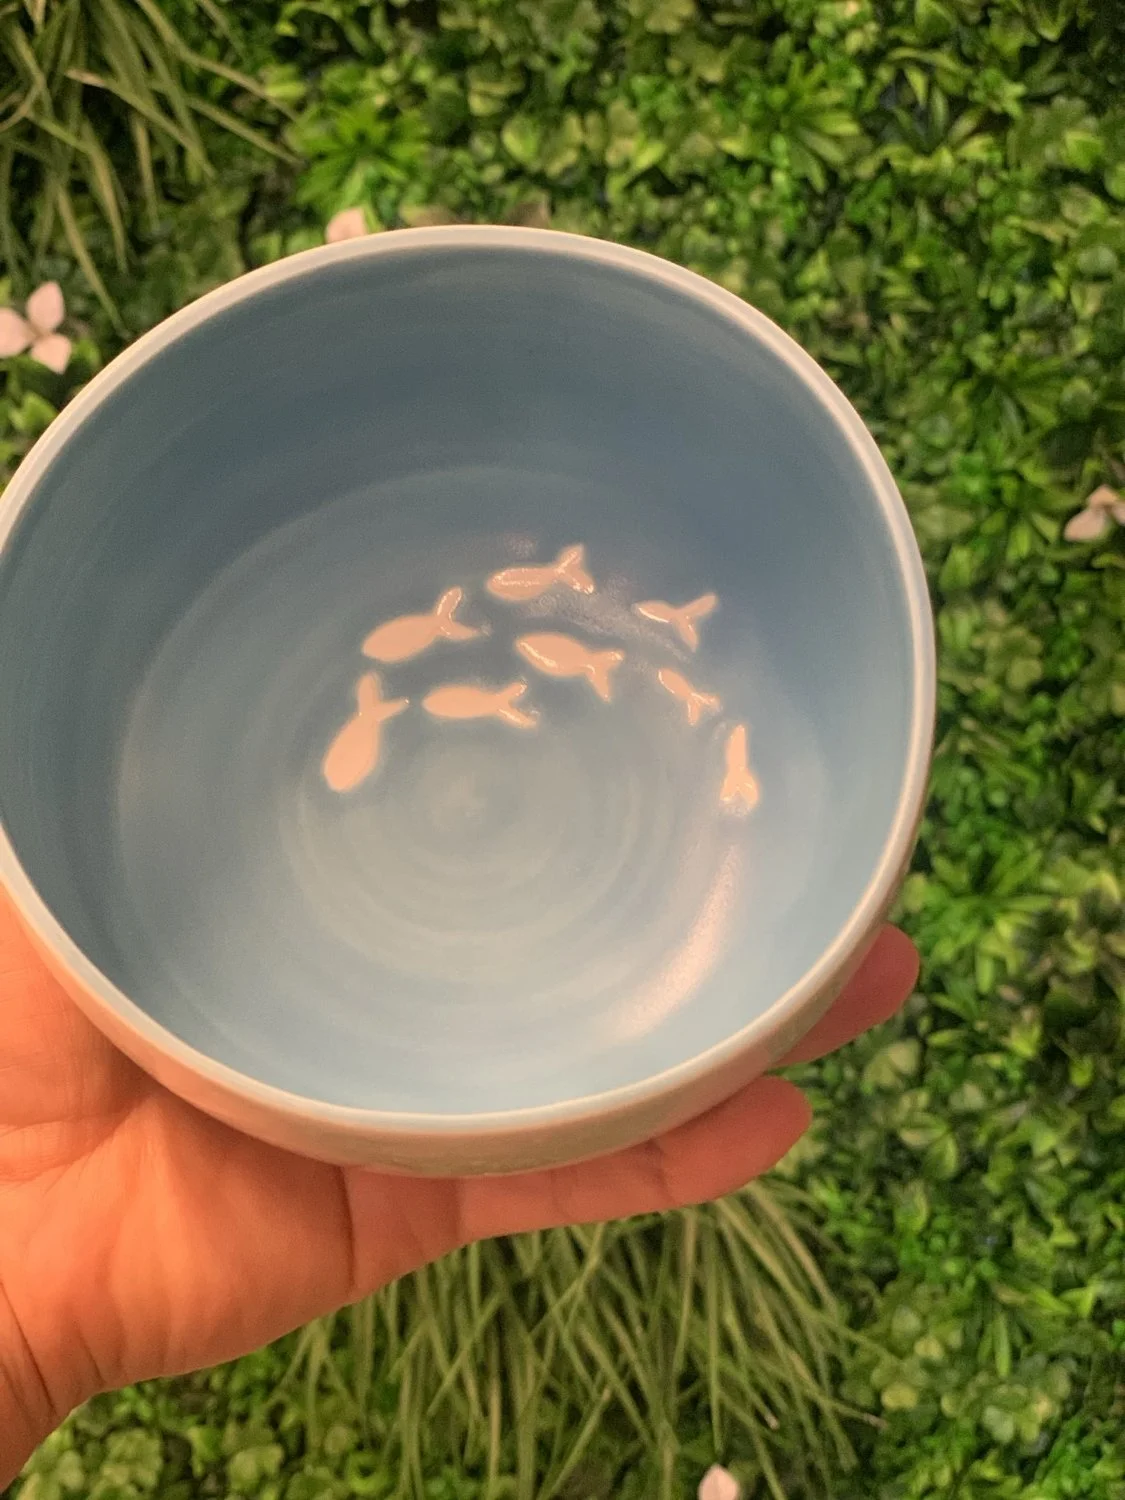
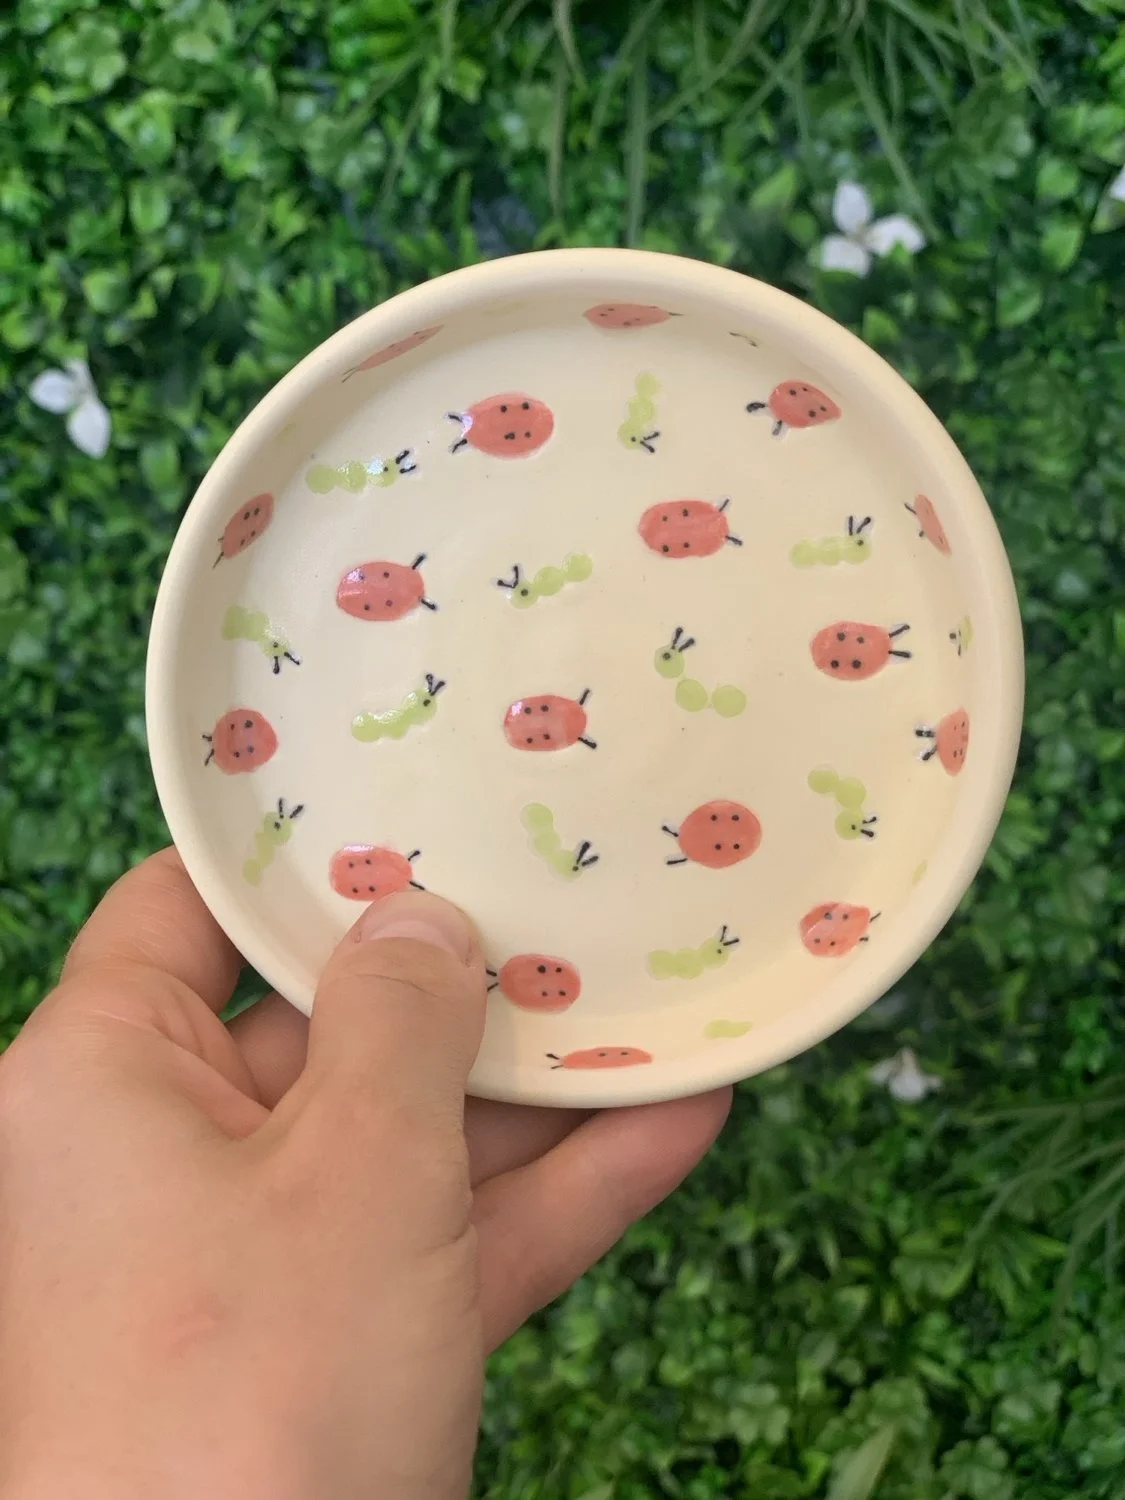
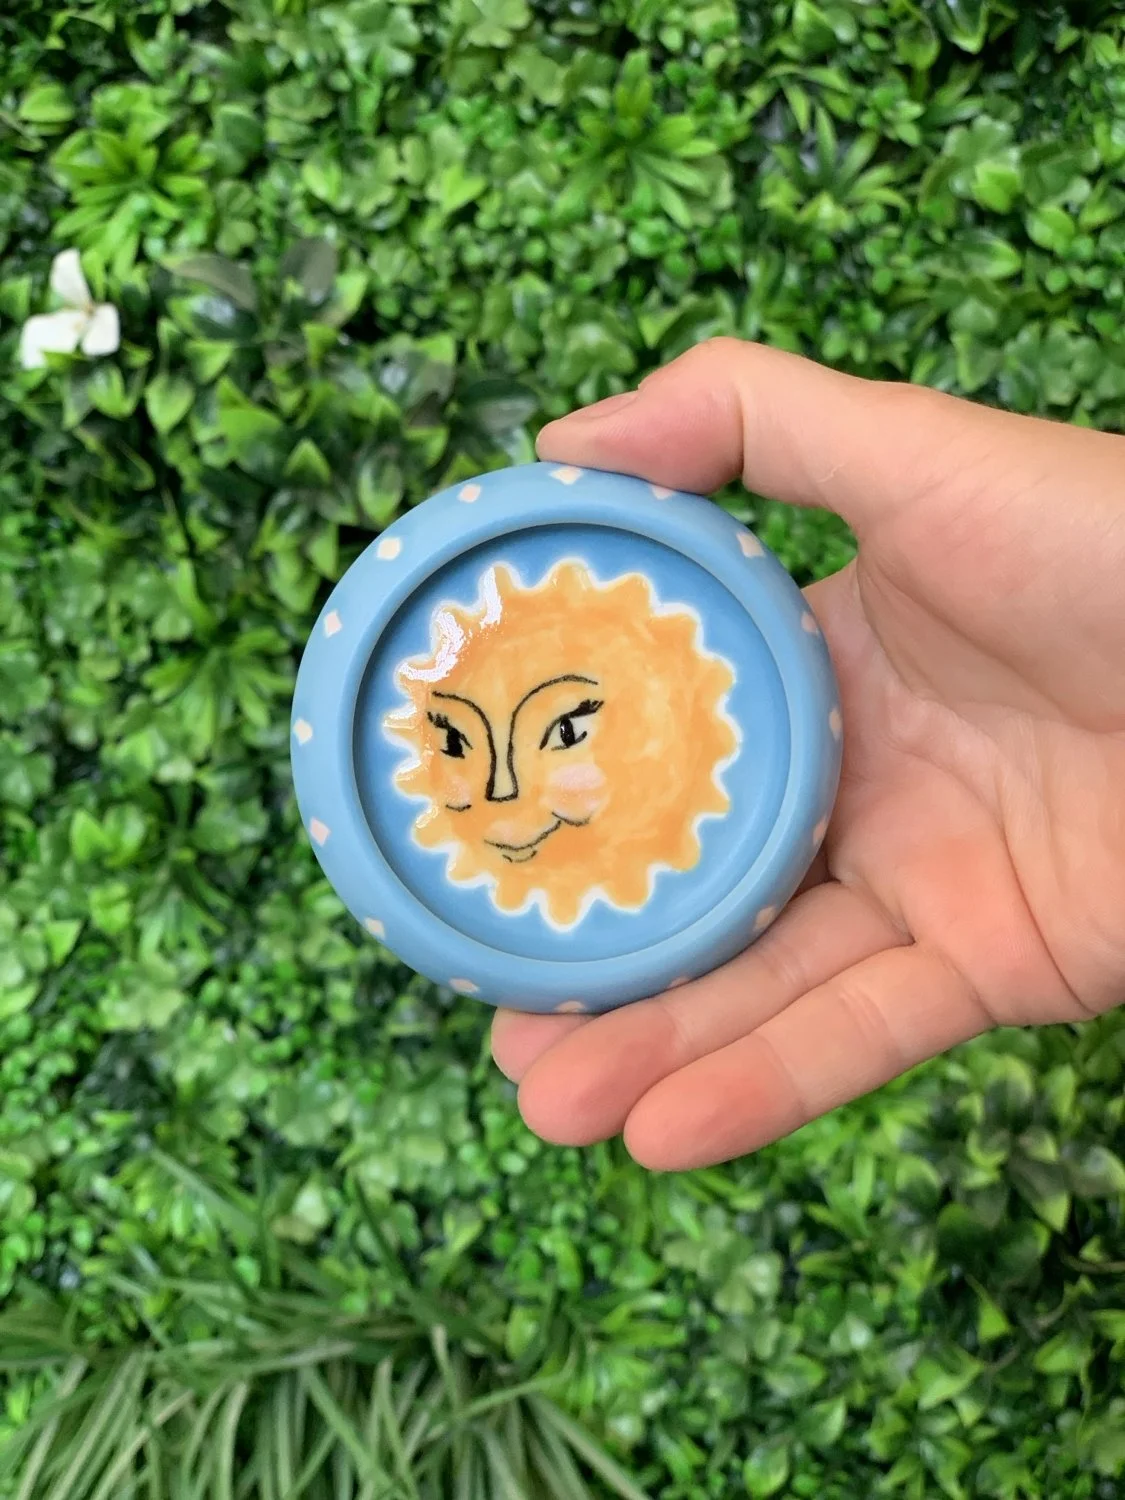
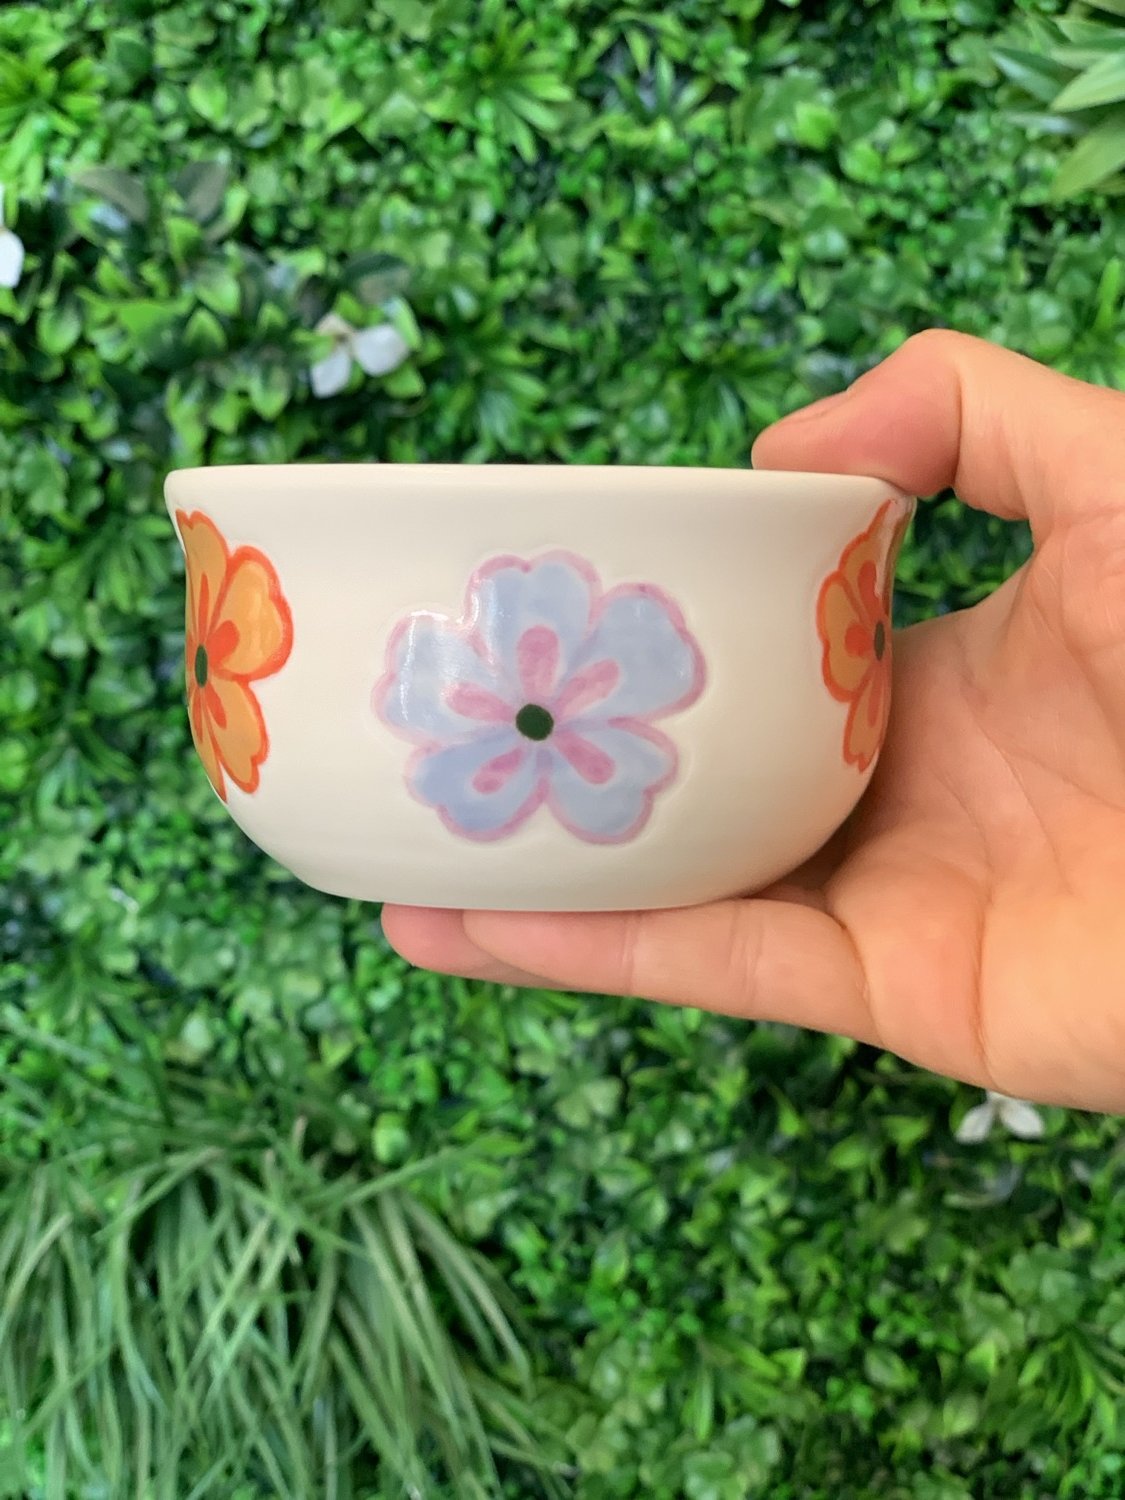
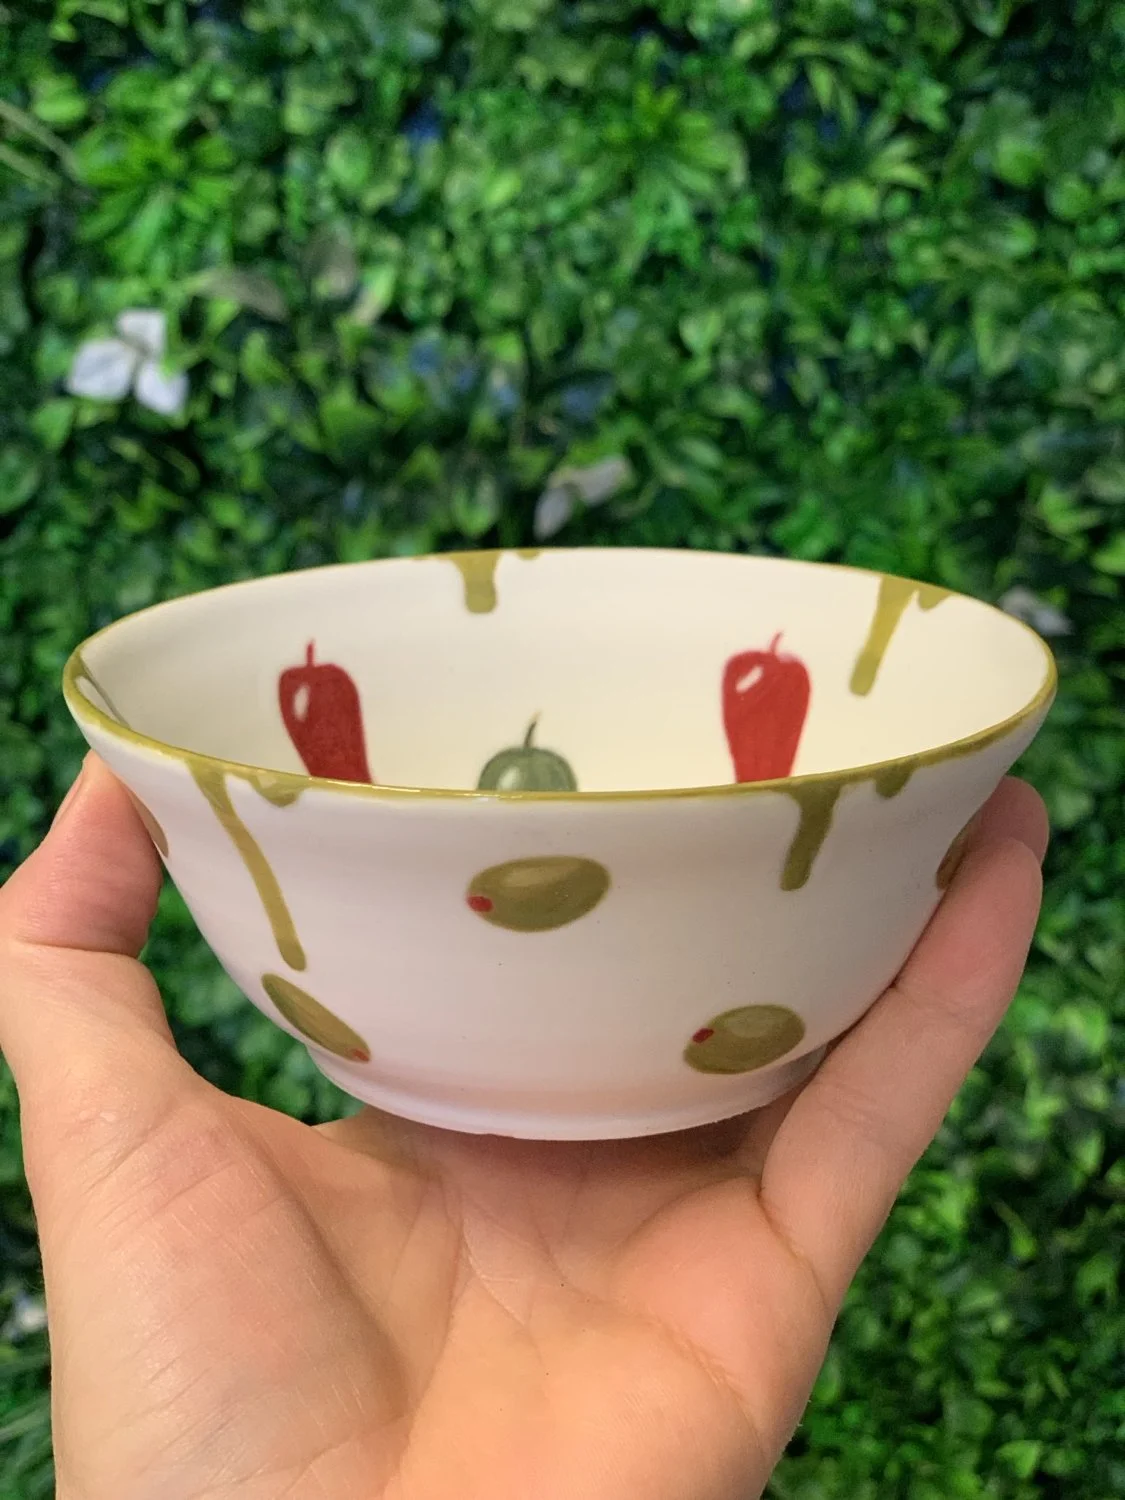
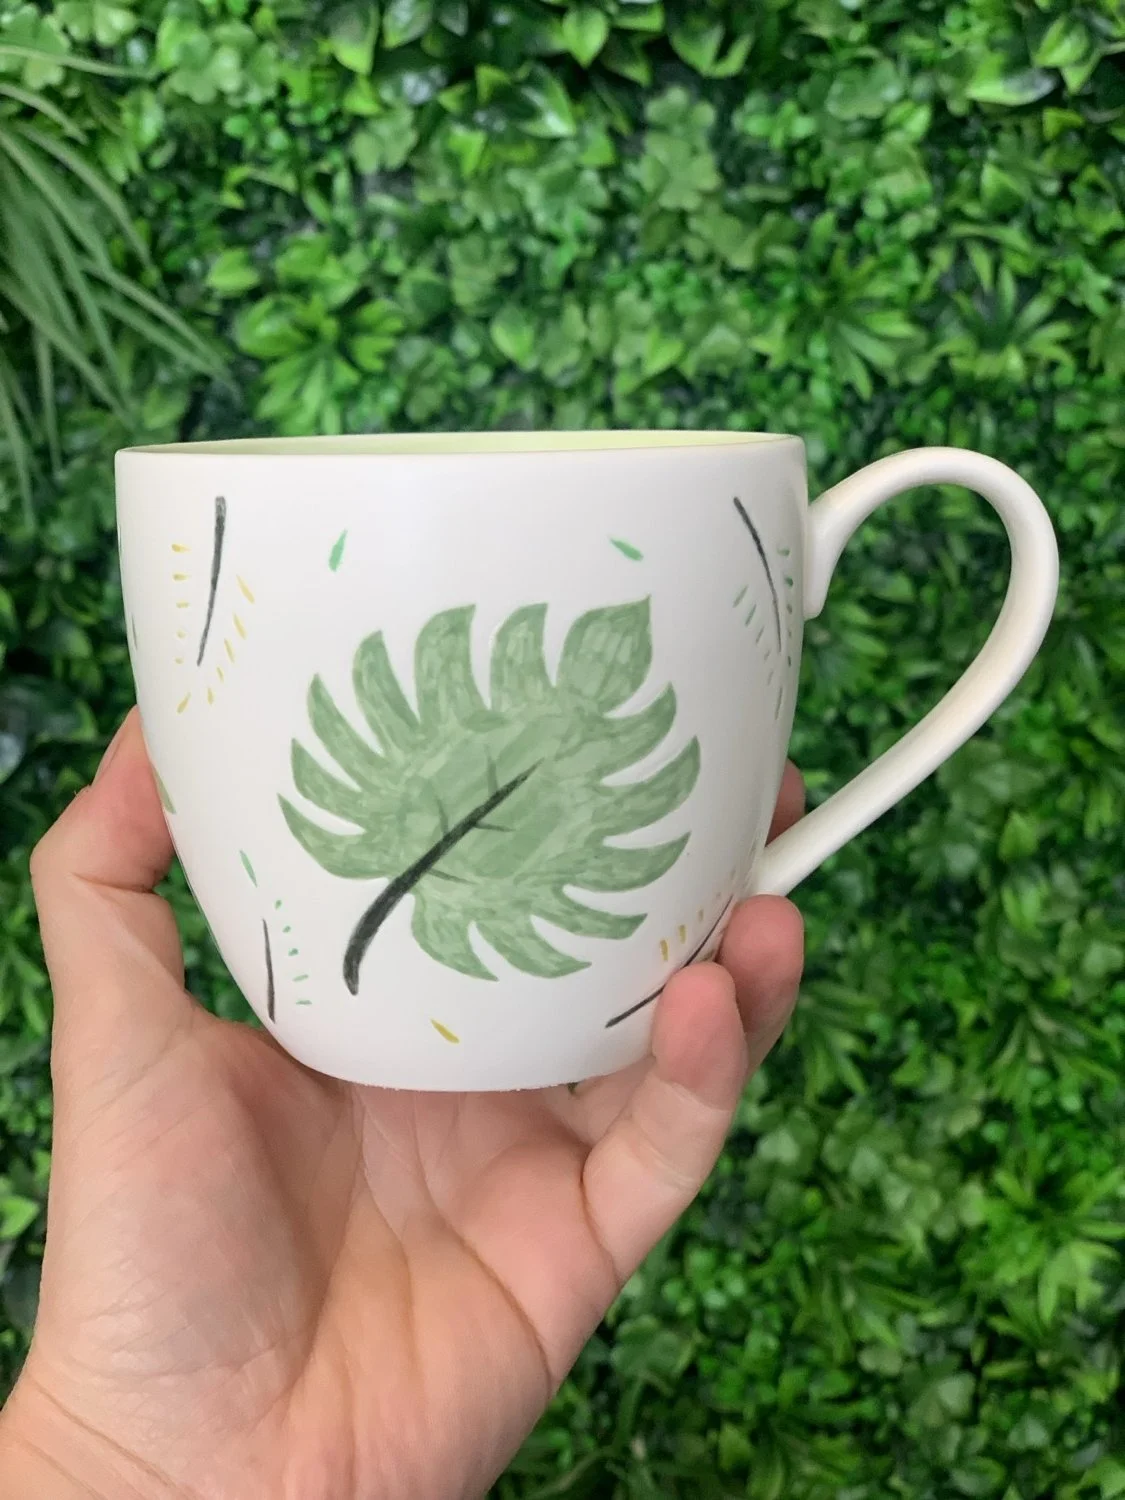
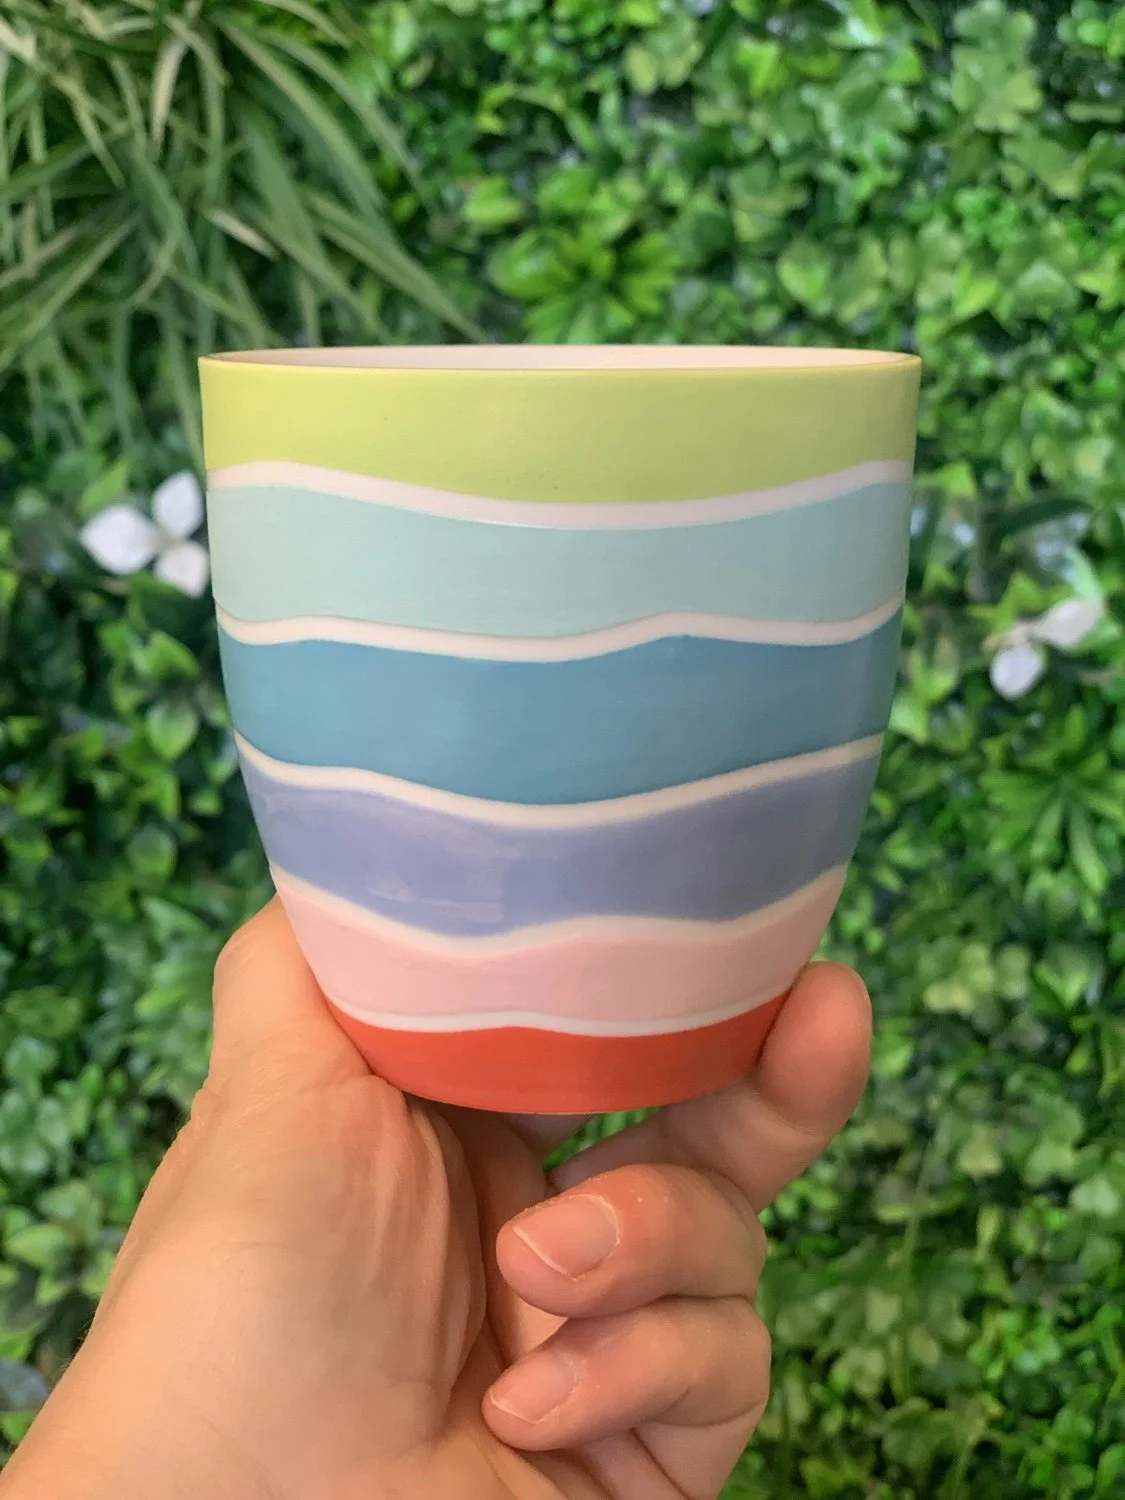
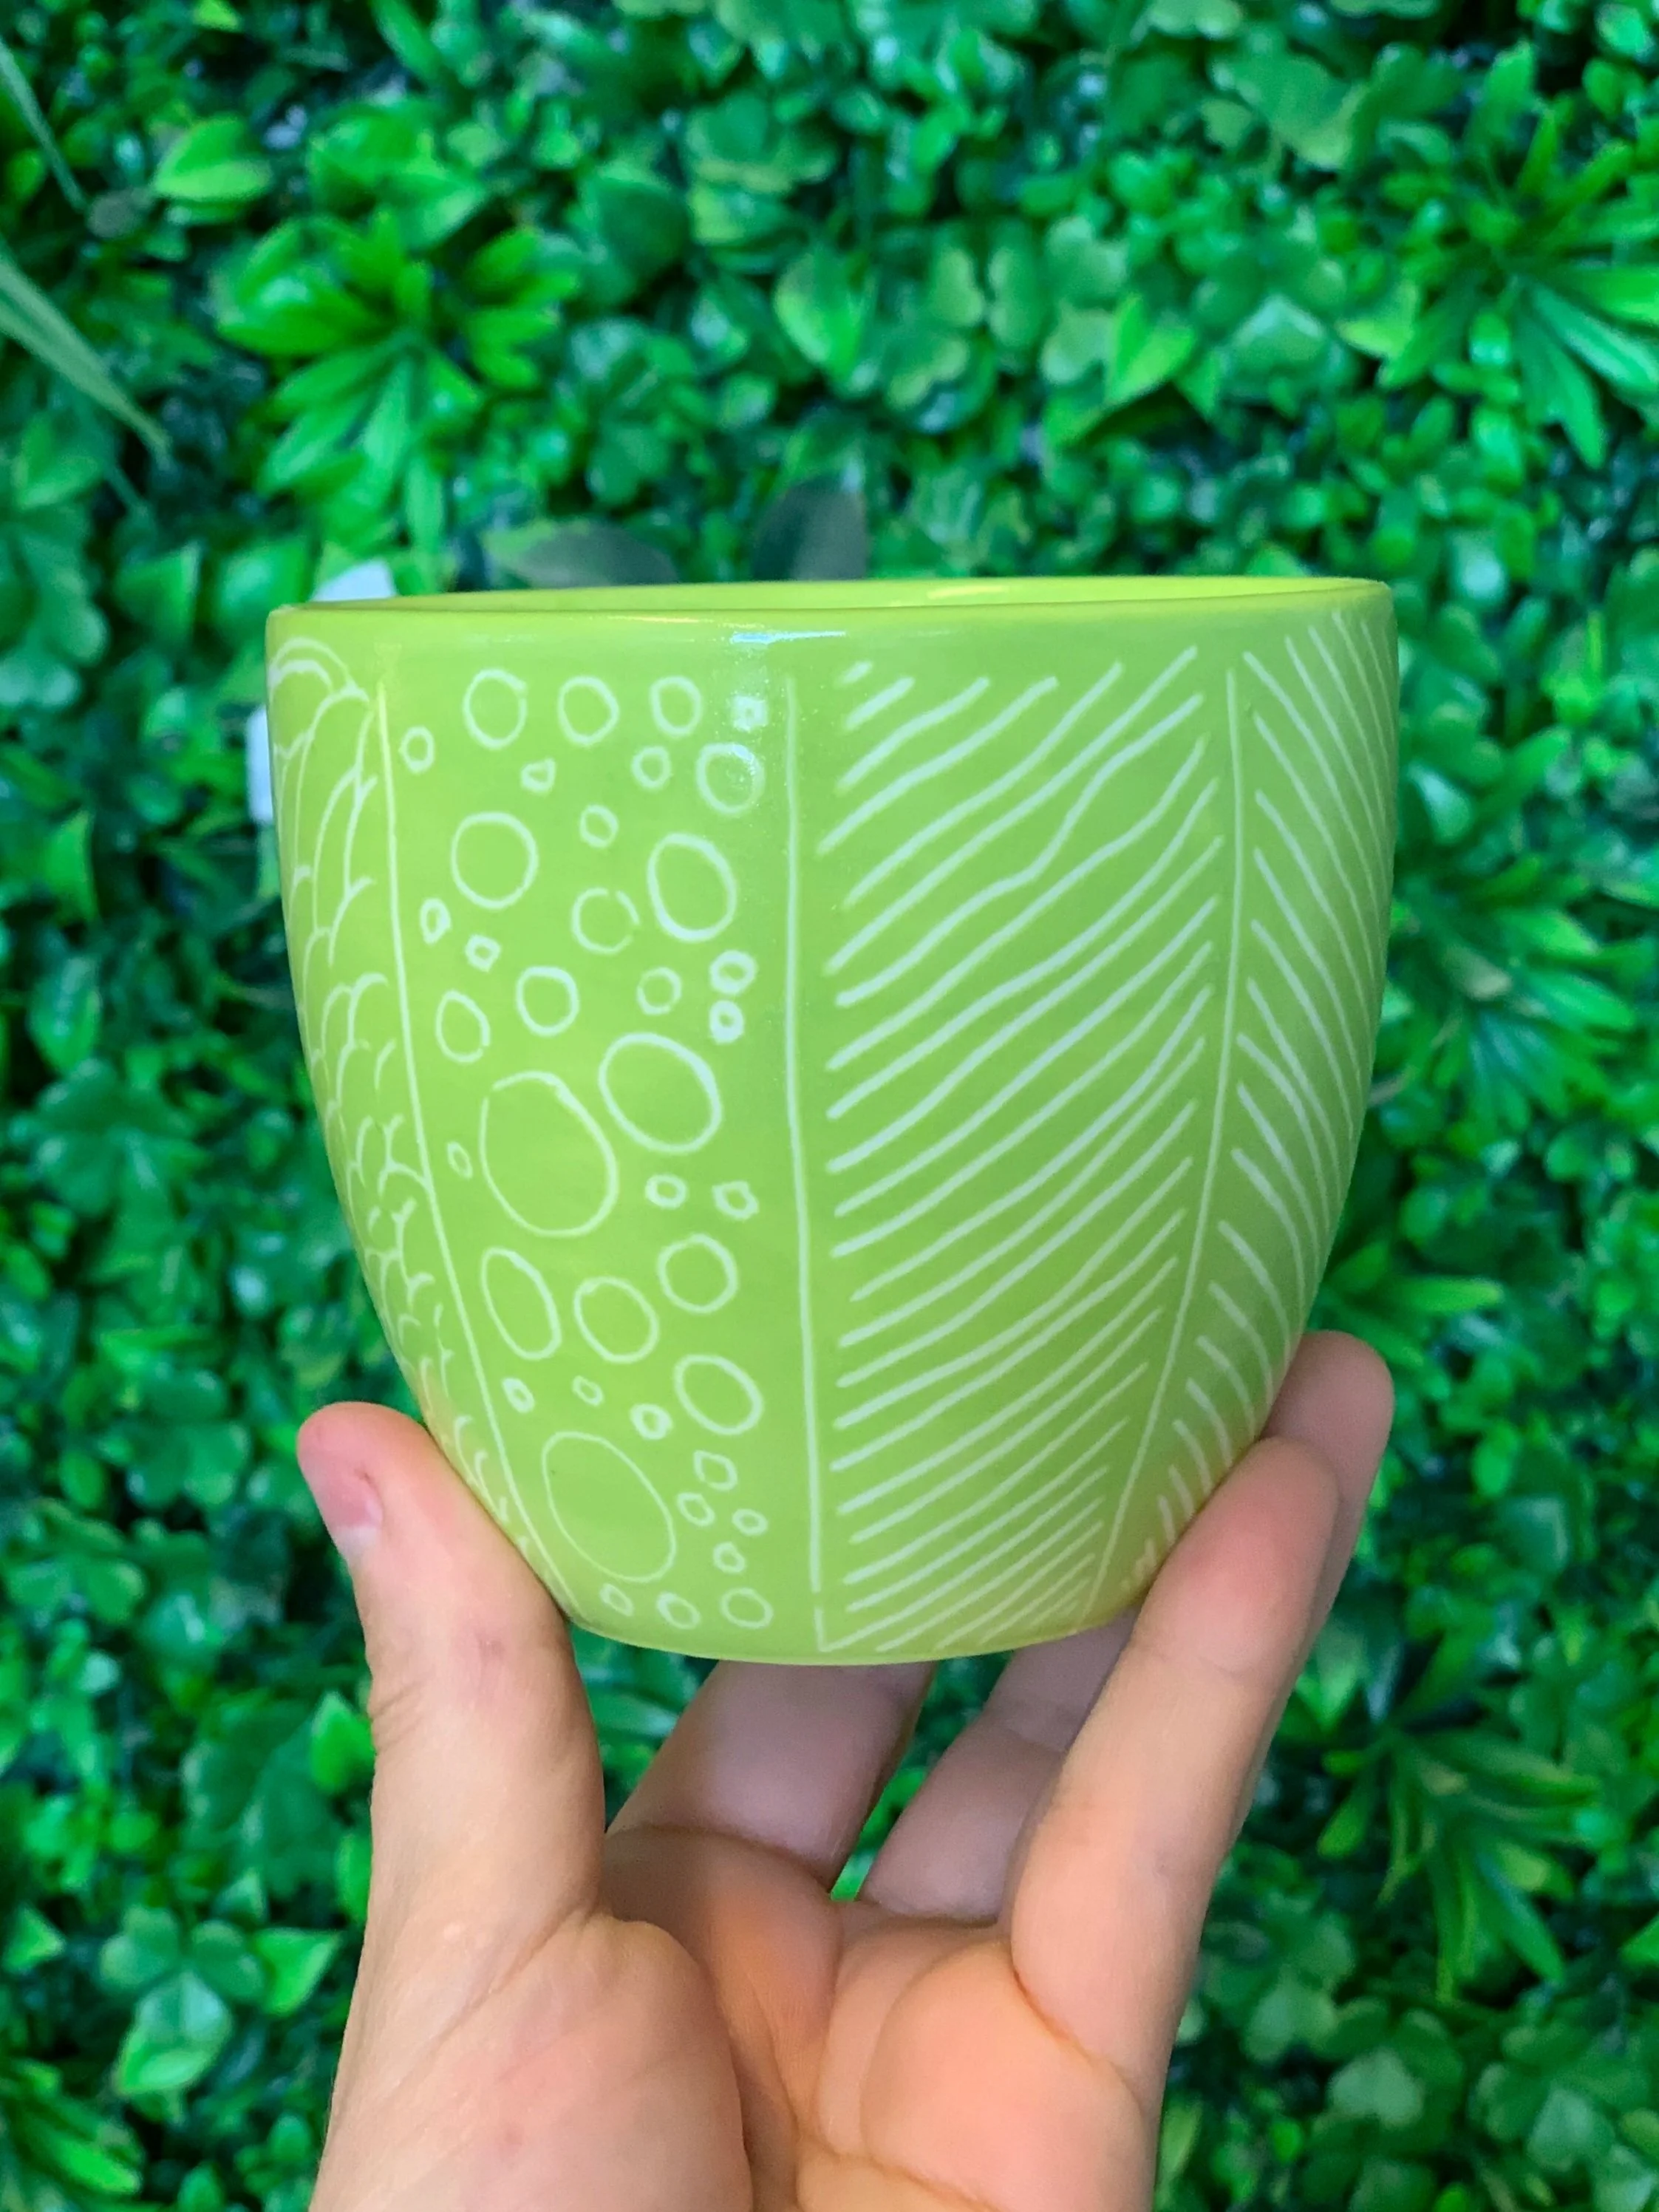
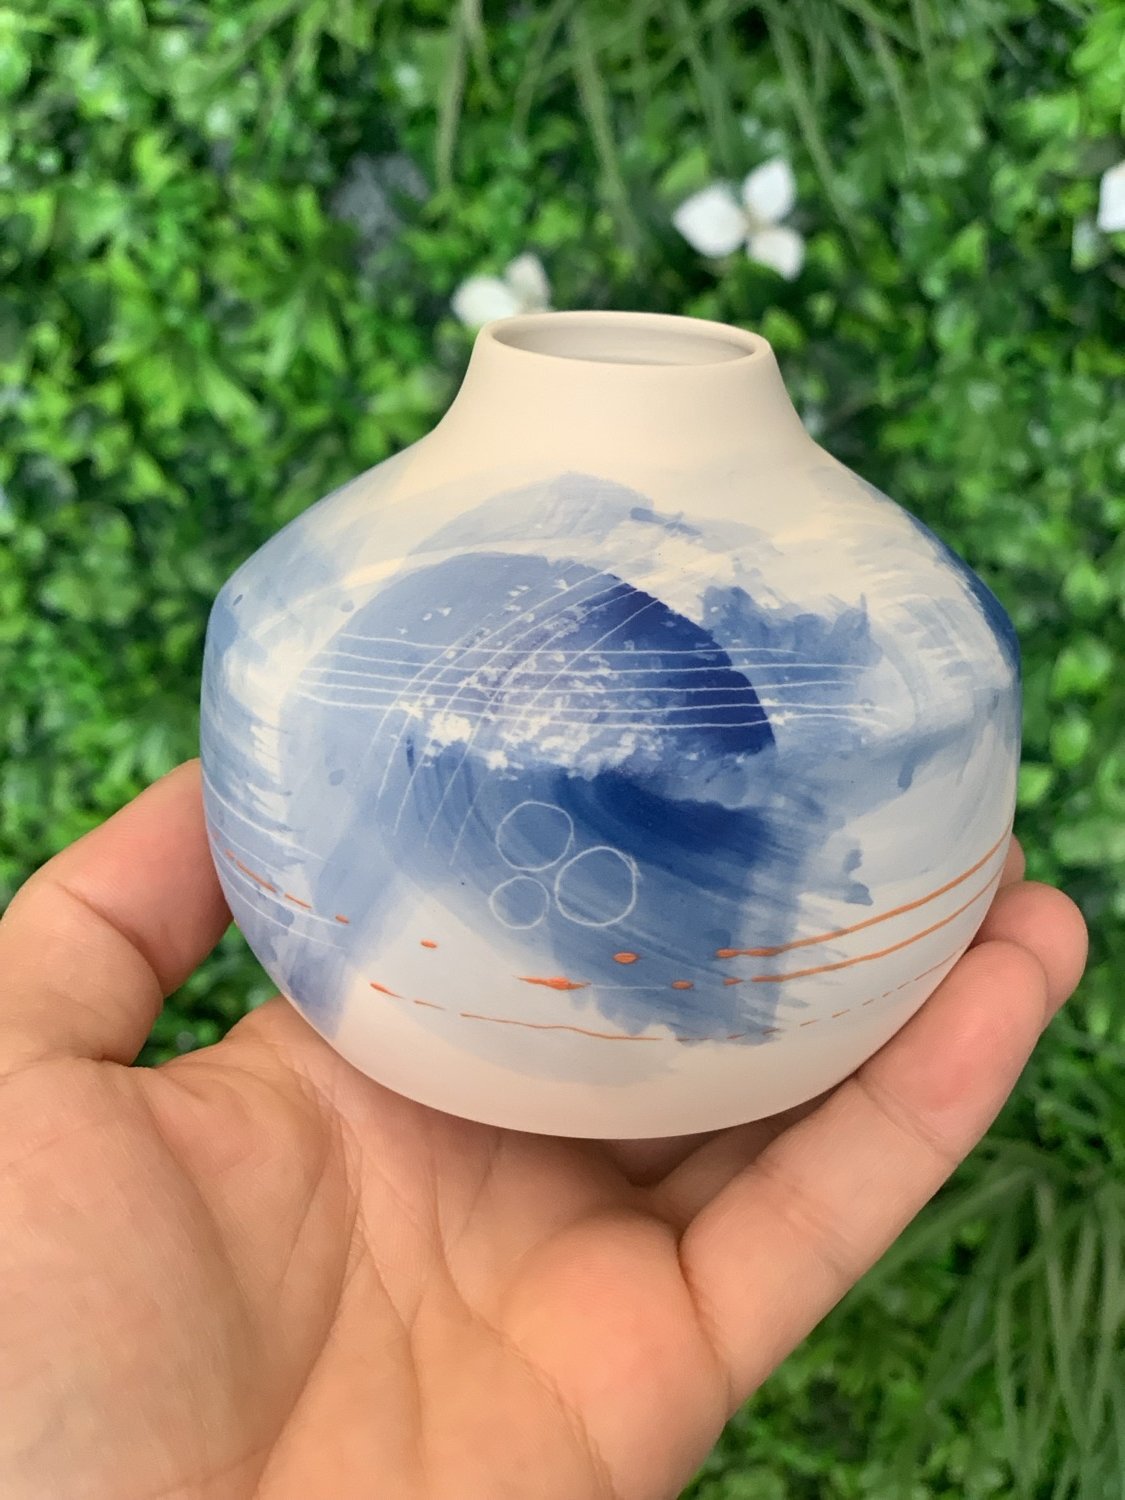
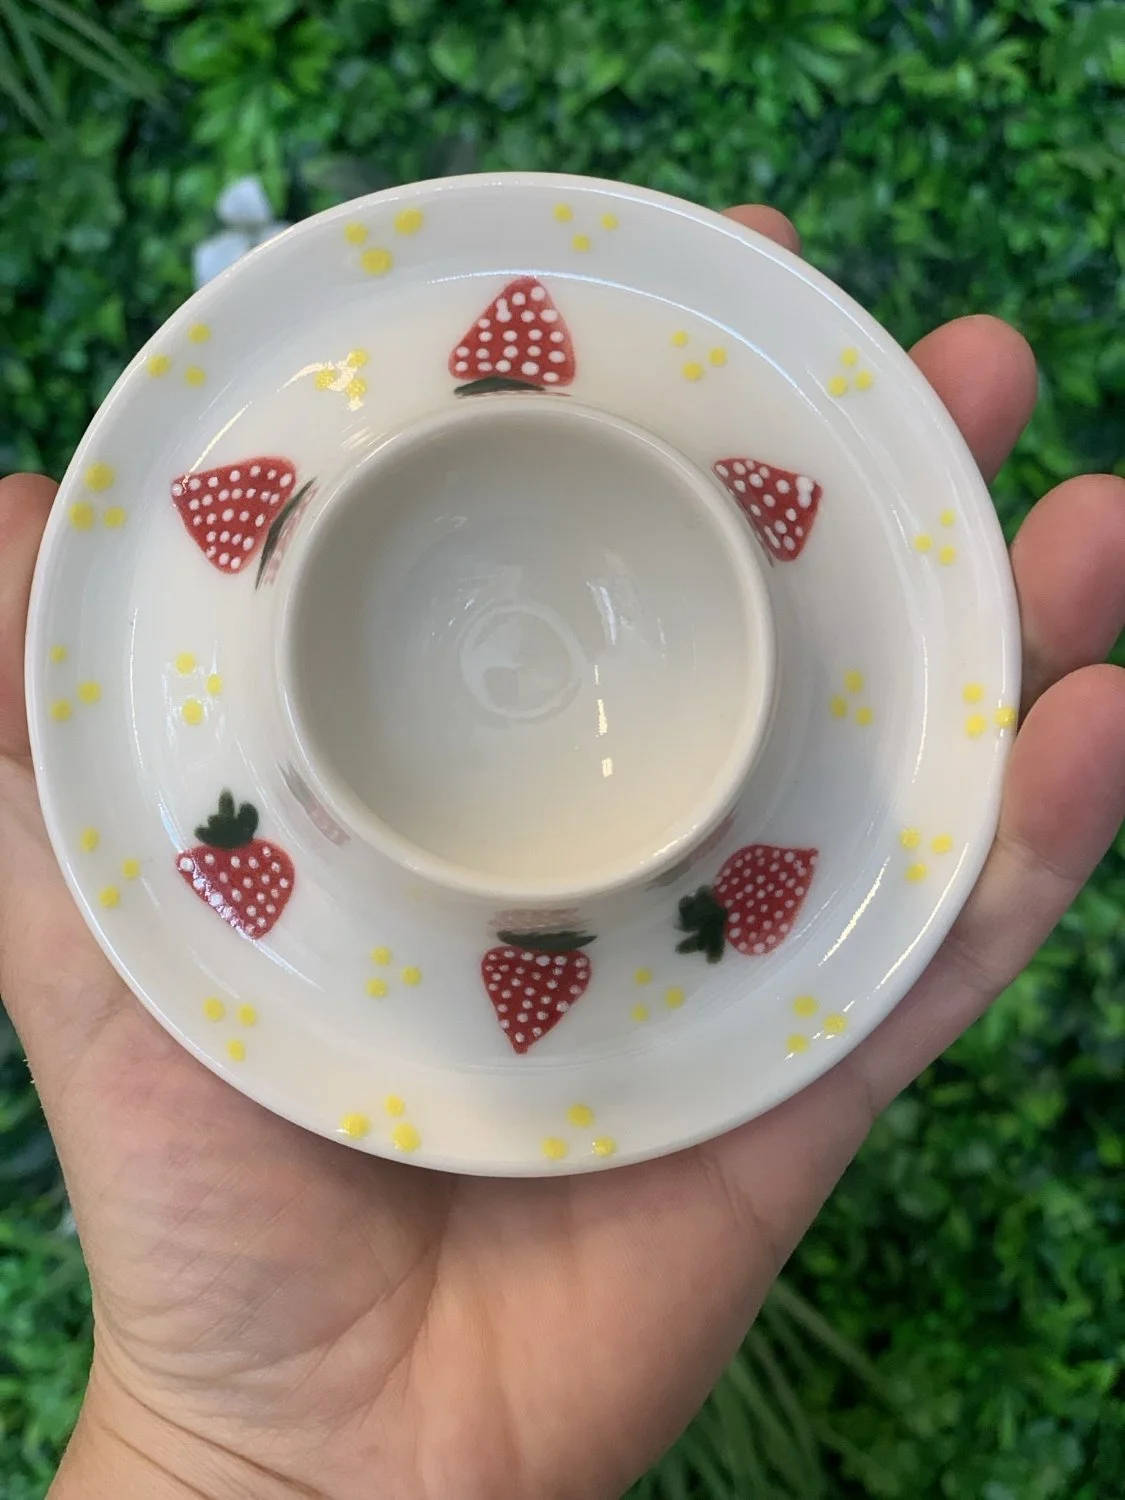
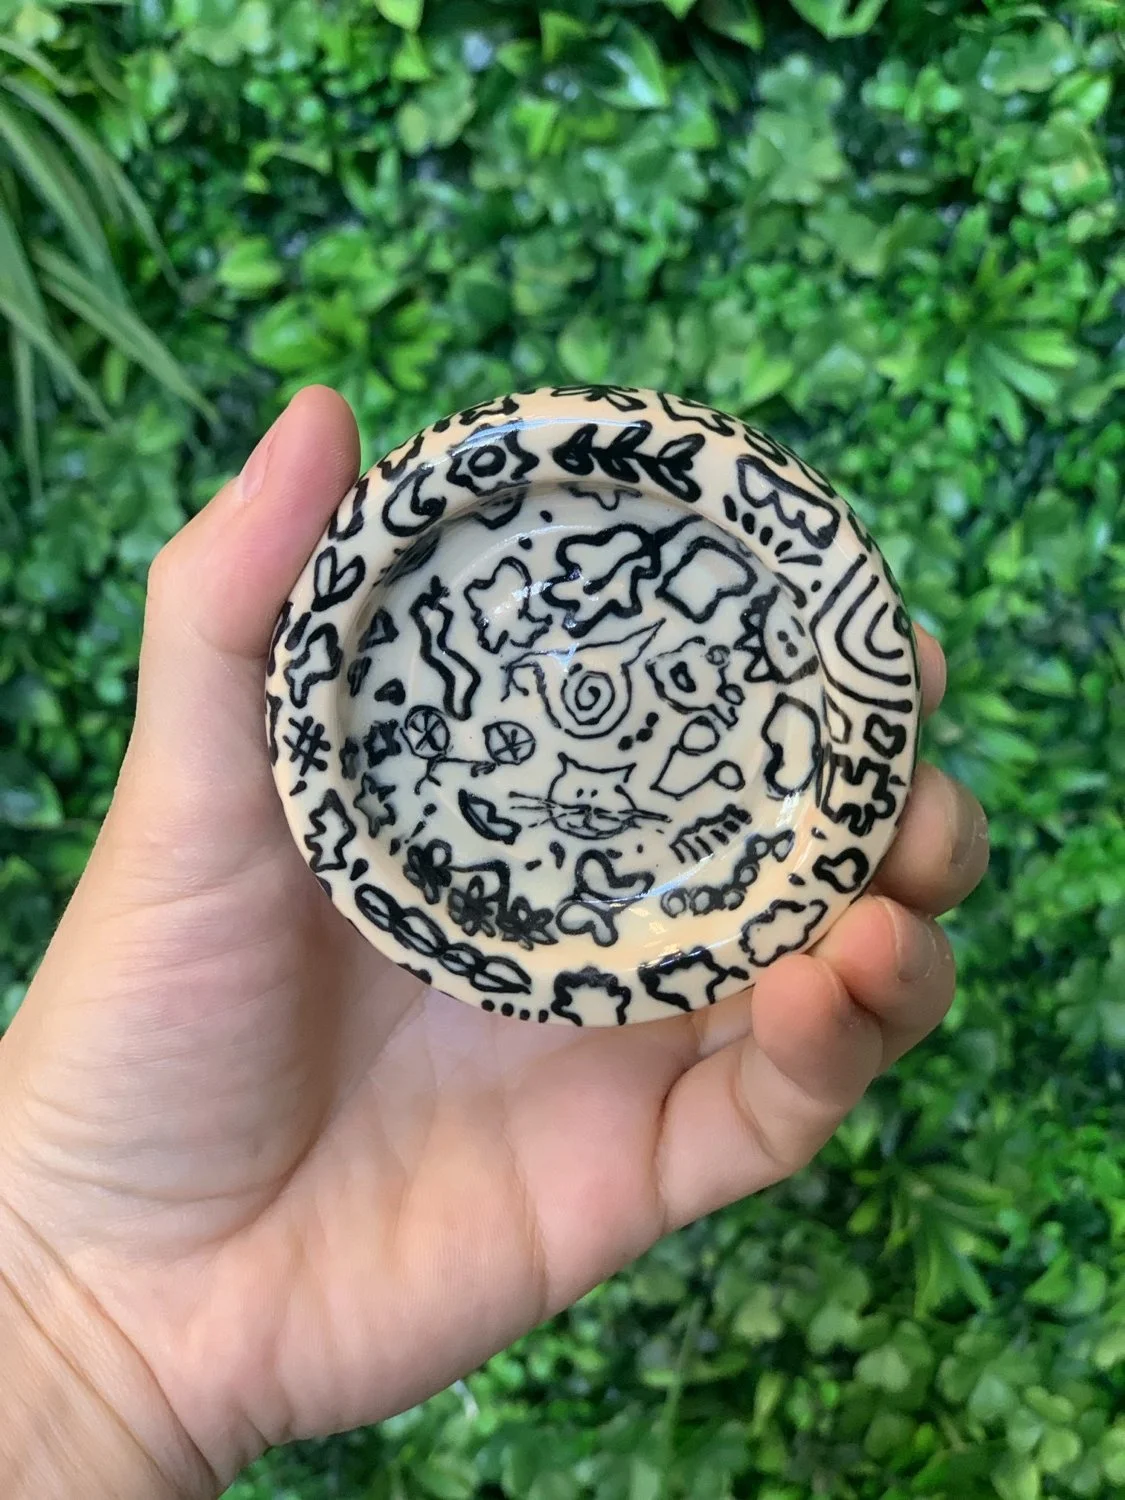
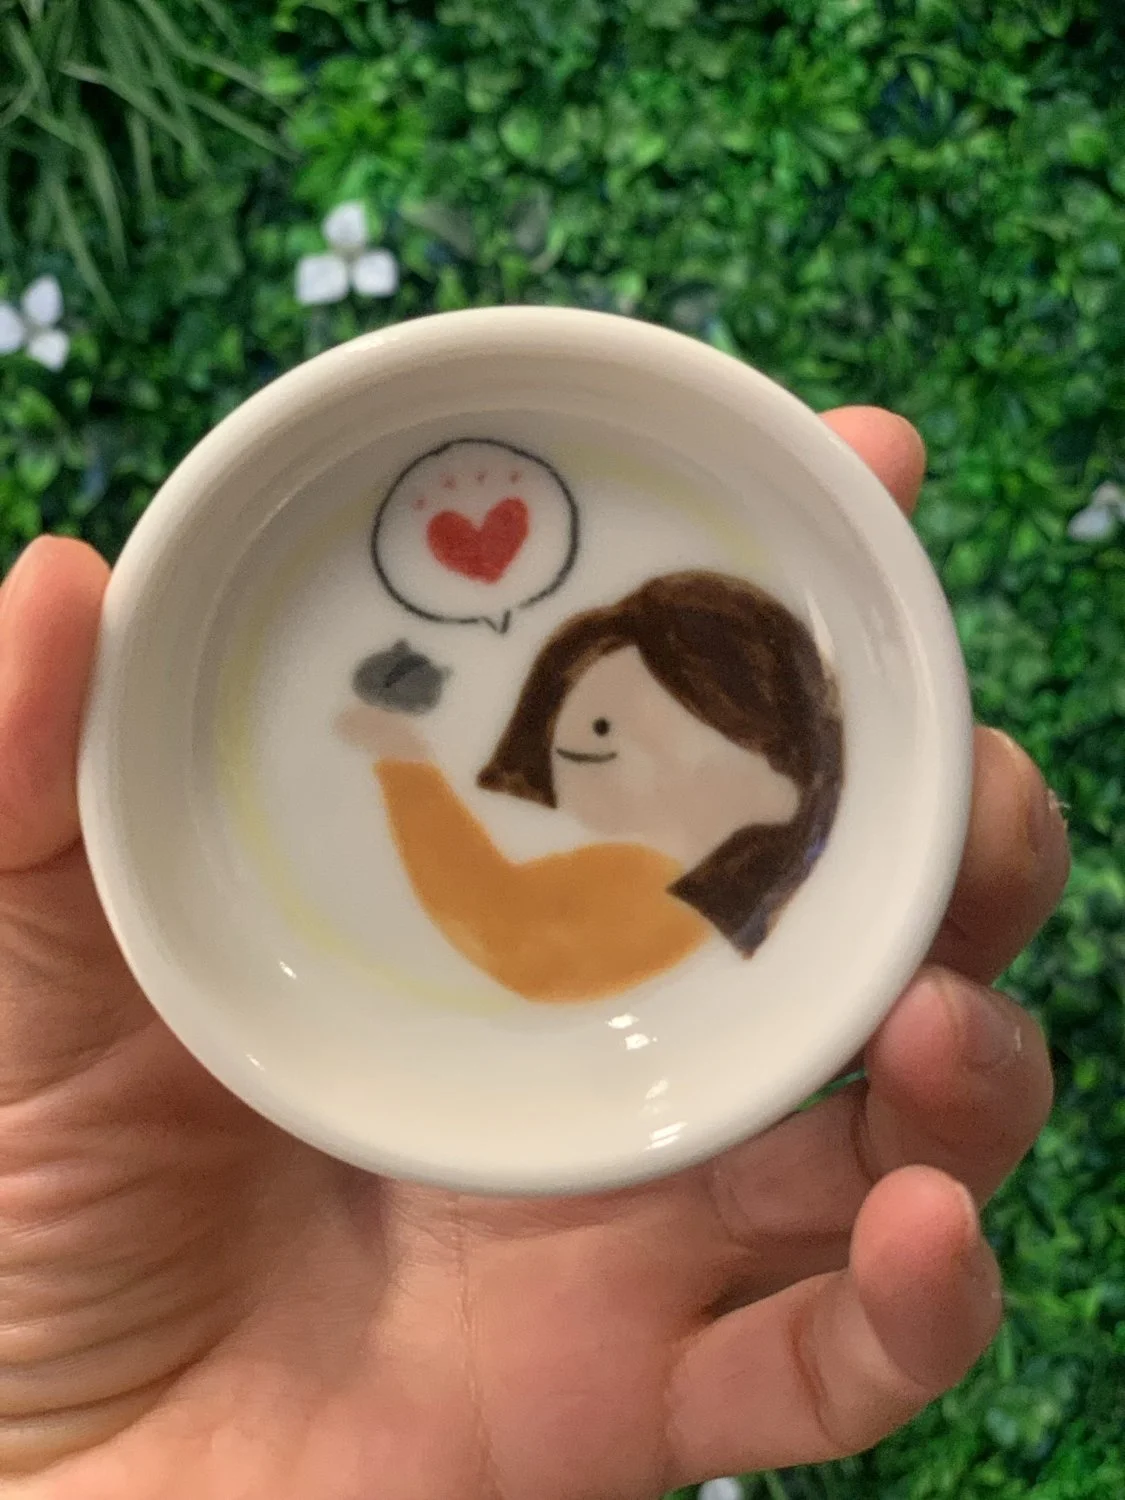
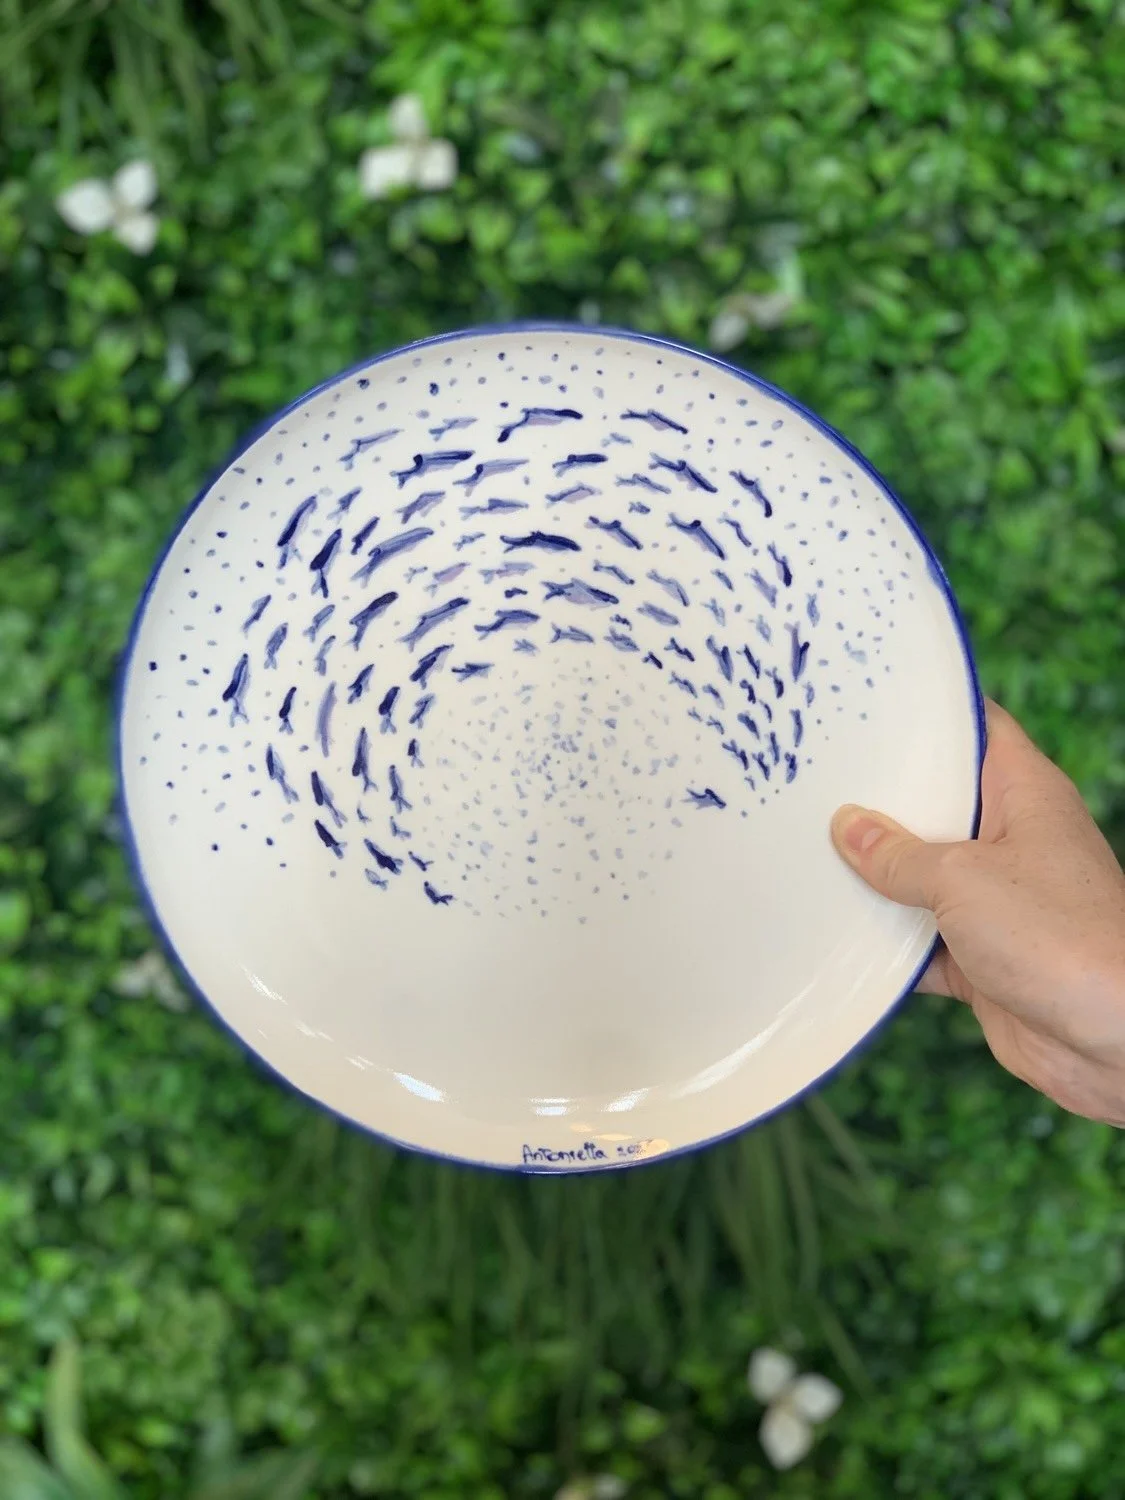
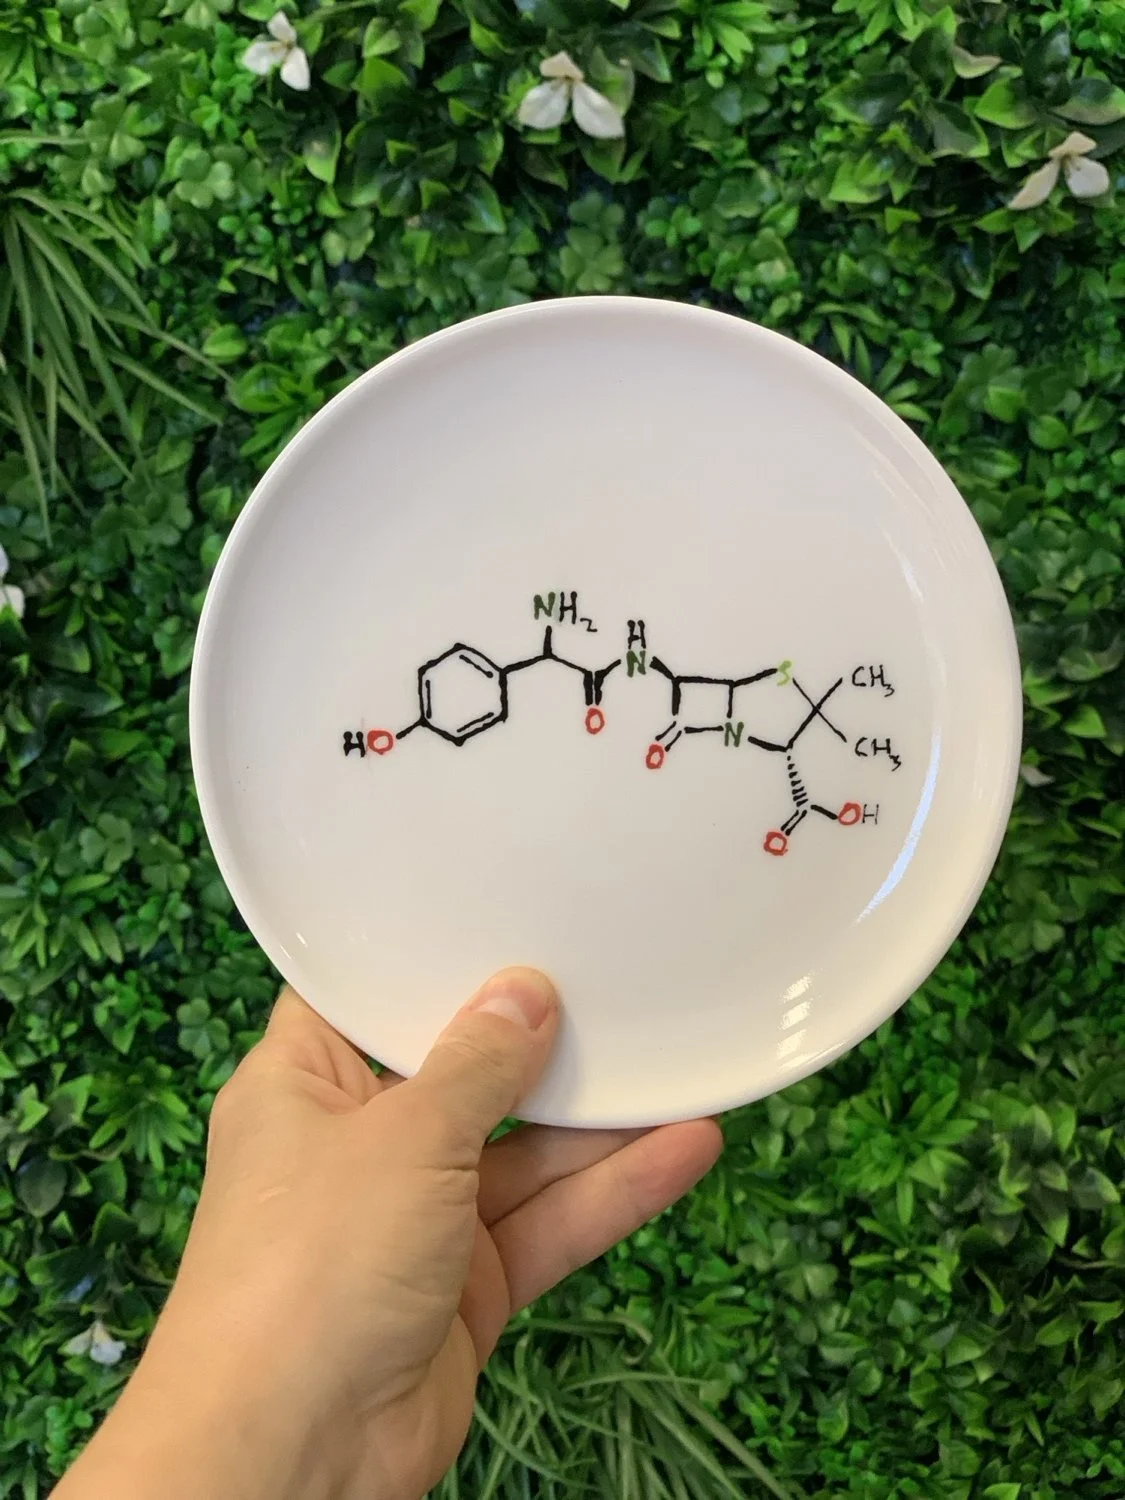
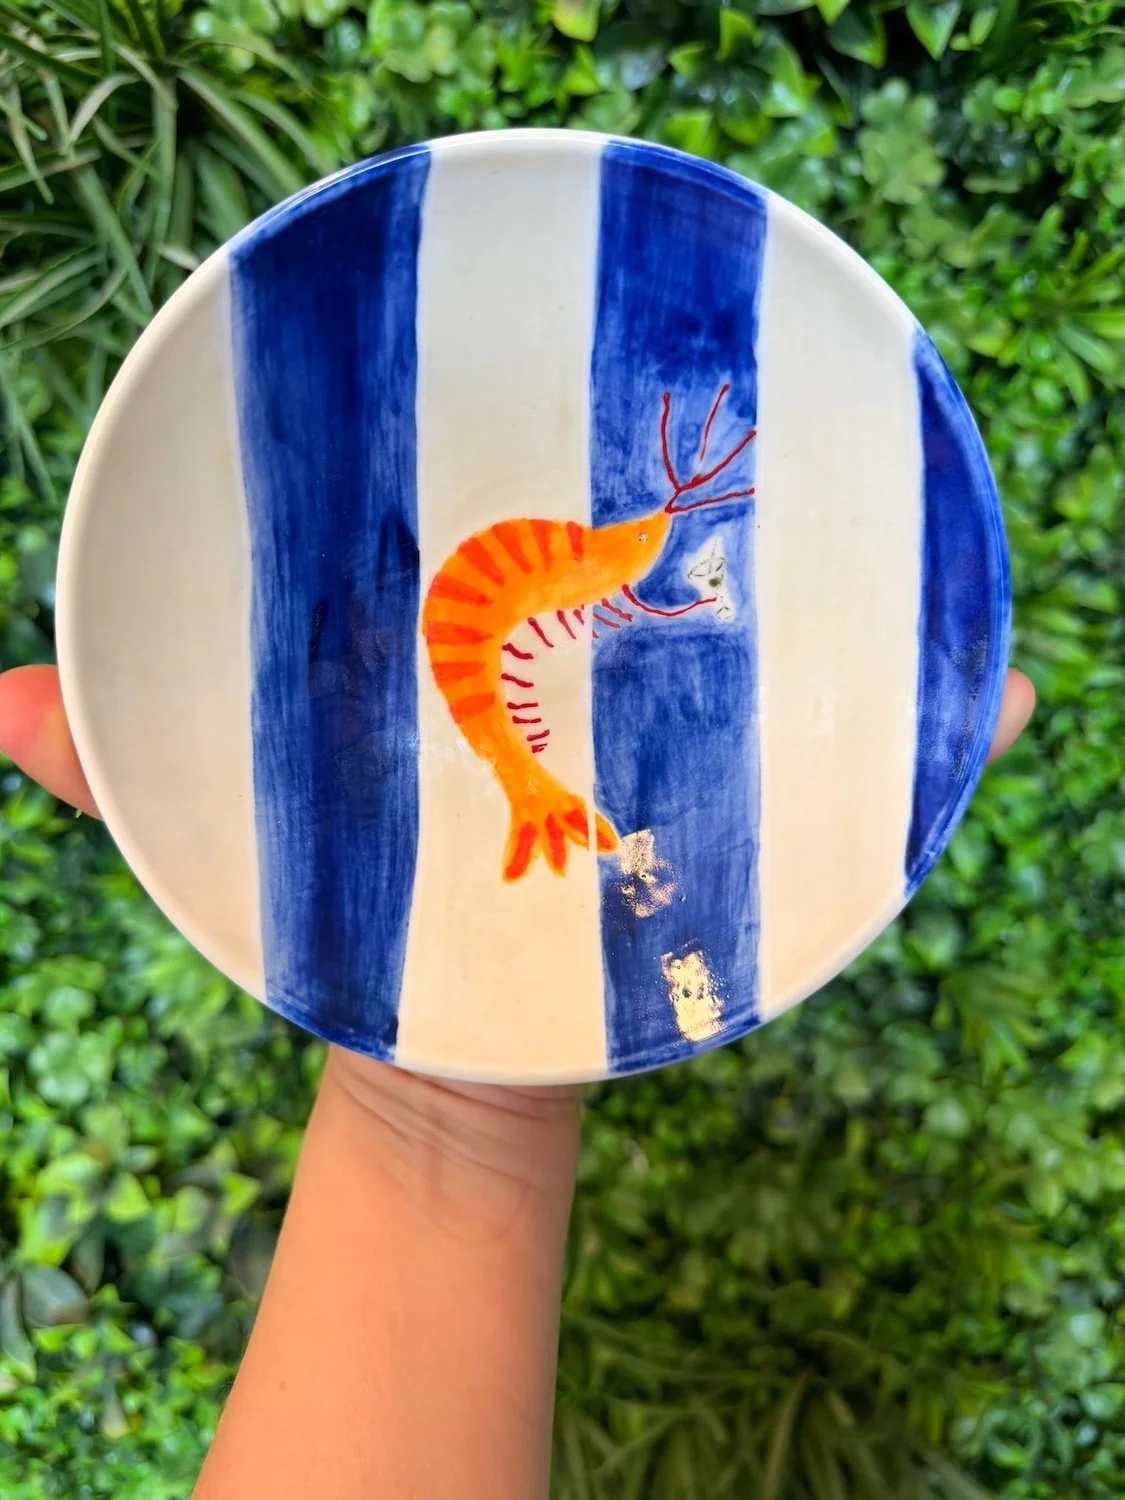
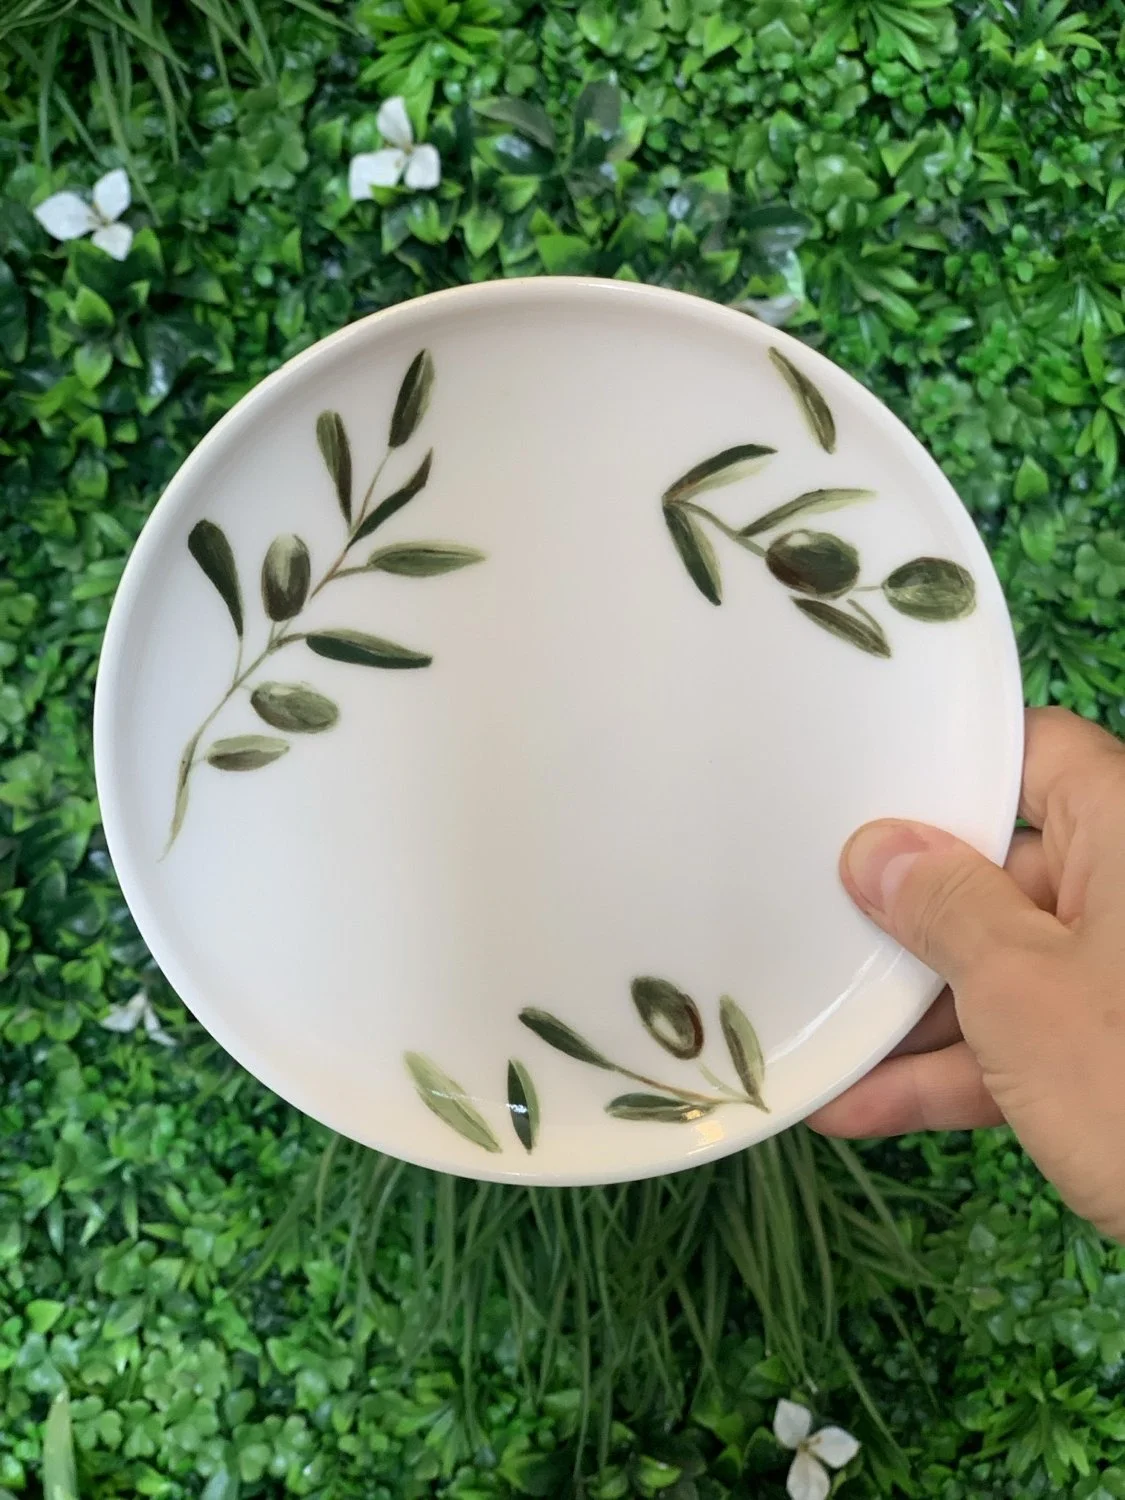
UNDERGLAZING TECHNIQUE EXAMPLES
These designs below can easily be finished in a single 3-hour underglazing workshop which is suitable for all levels, even beginners who have never done ceramics before - provided that you are already comfortable with with freehand drawing/painting or you bring a print-out of your design to the underglazing workshop so you can copy it using a carbon copy paper on to your object before painting.


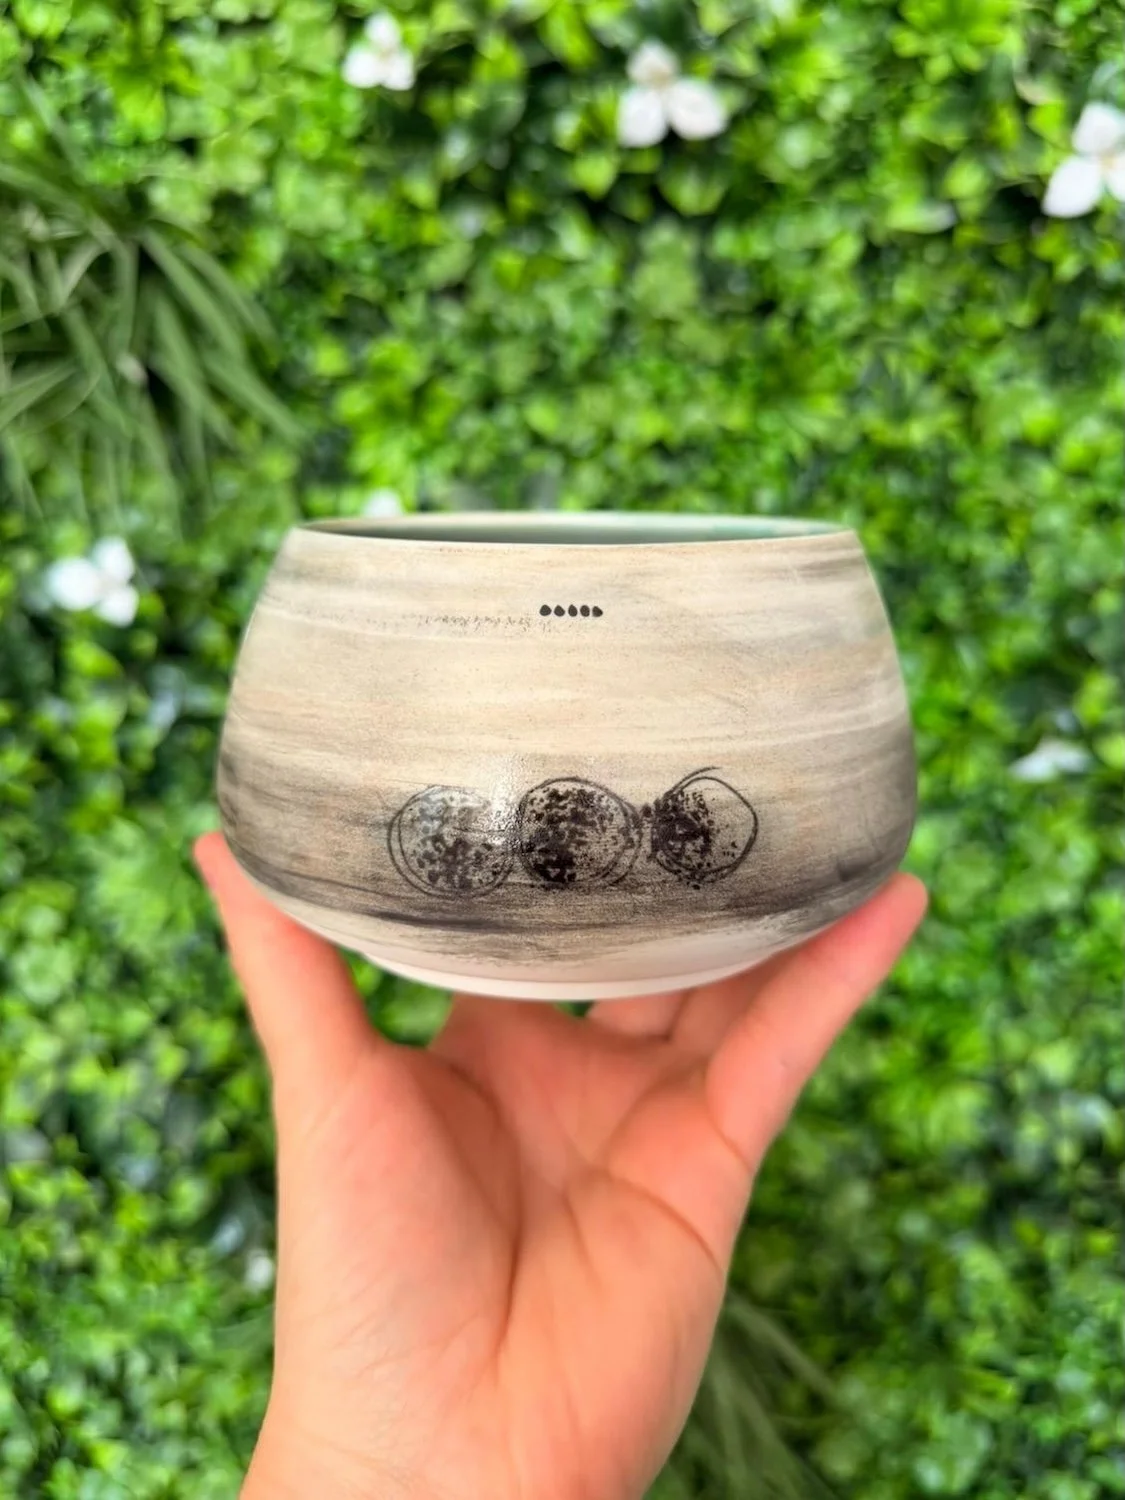
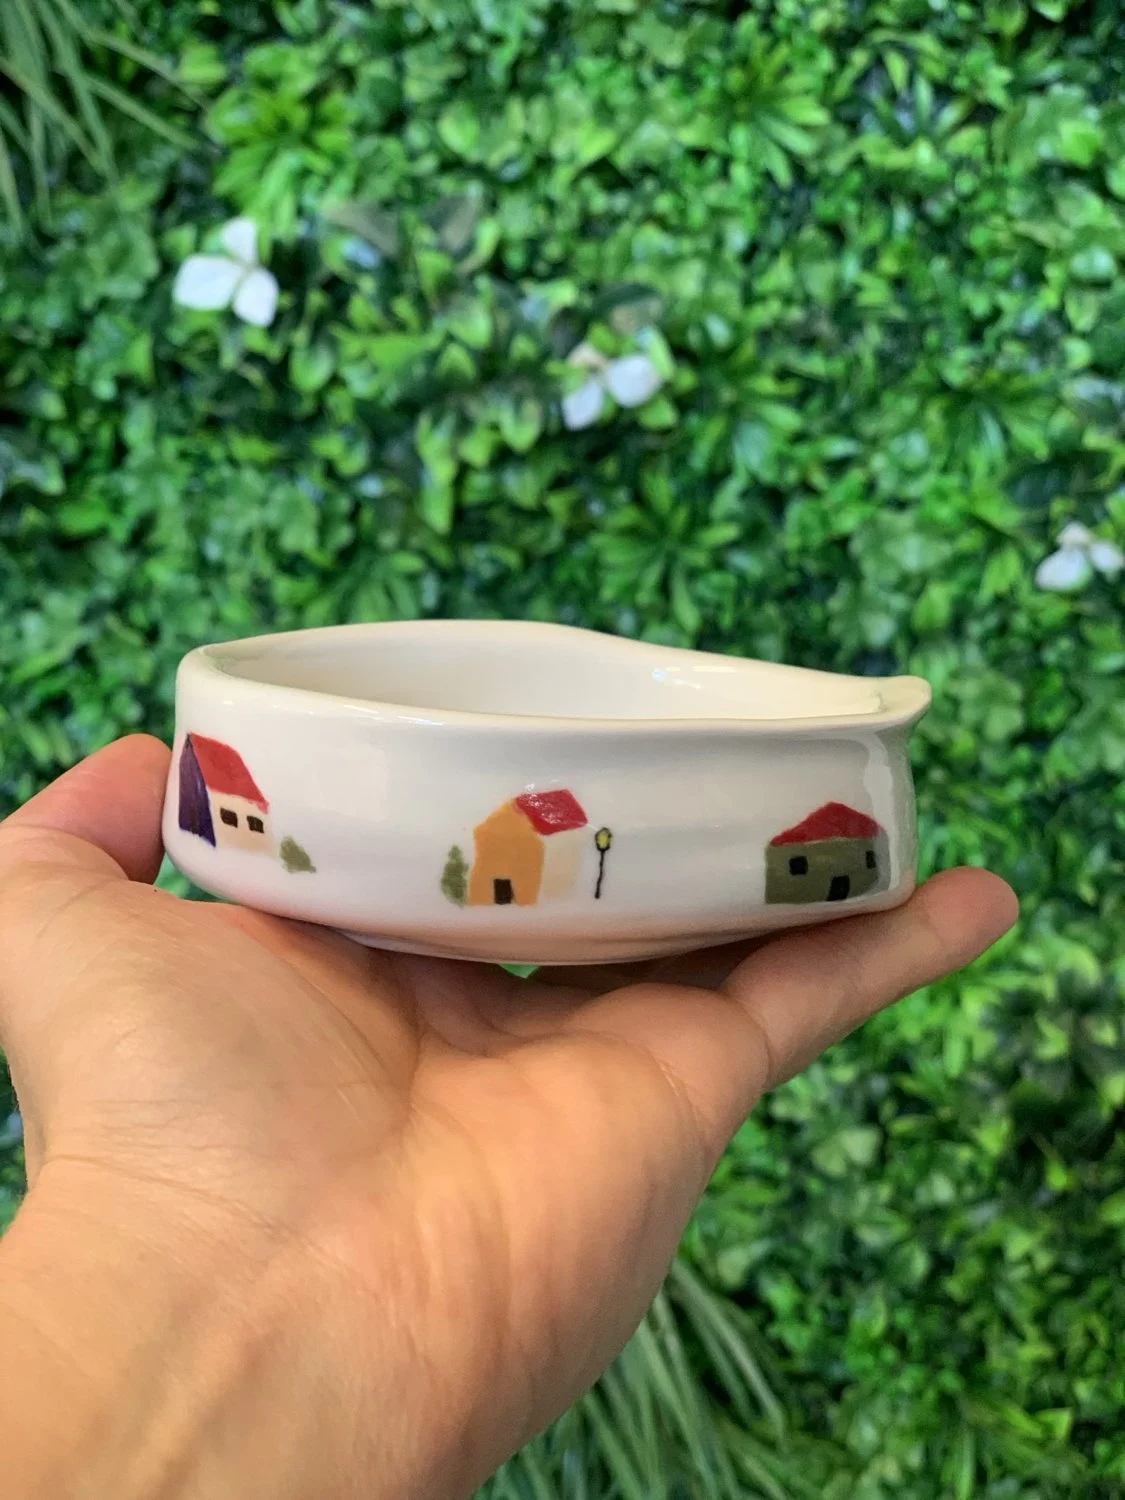


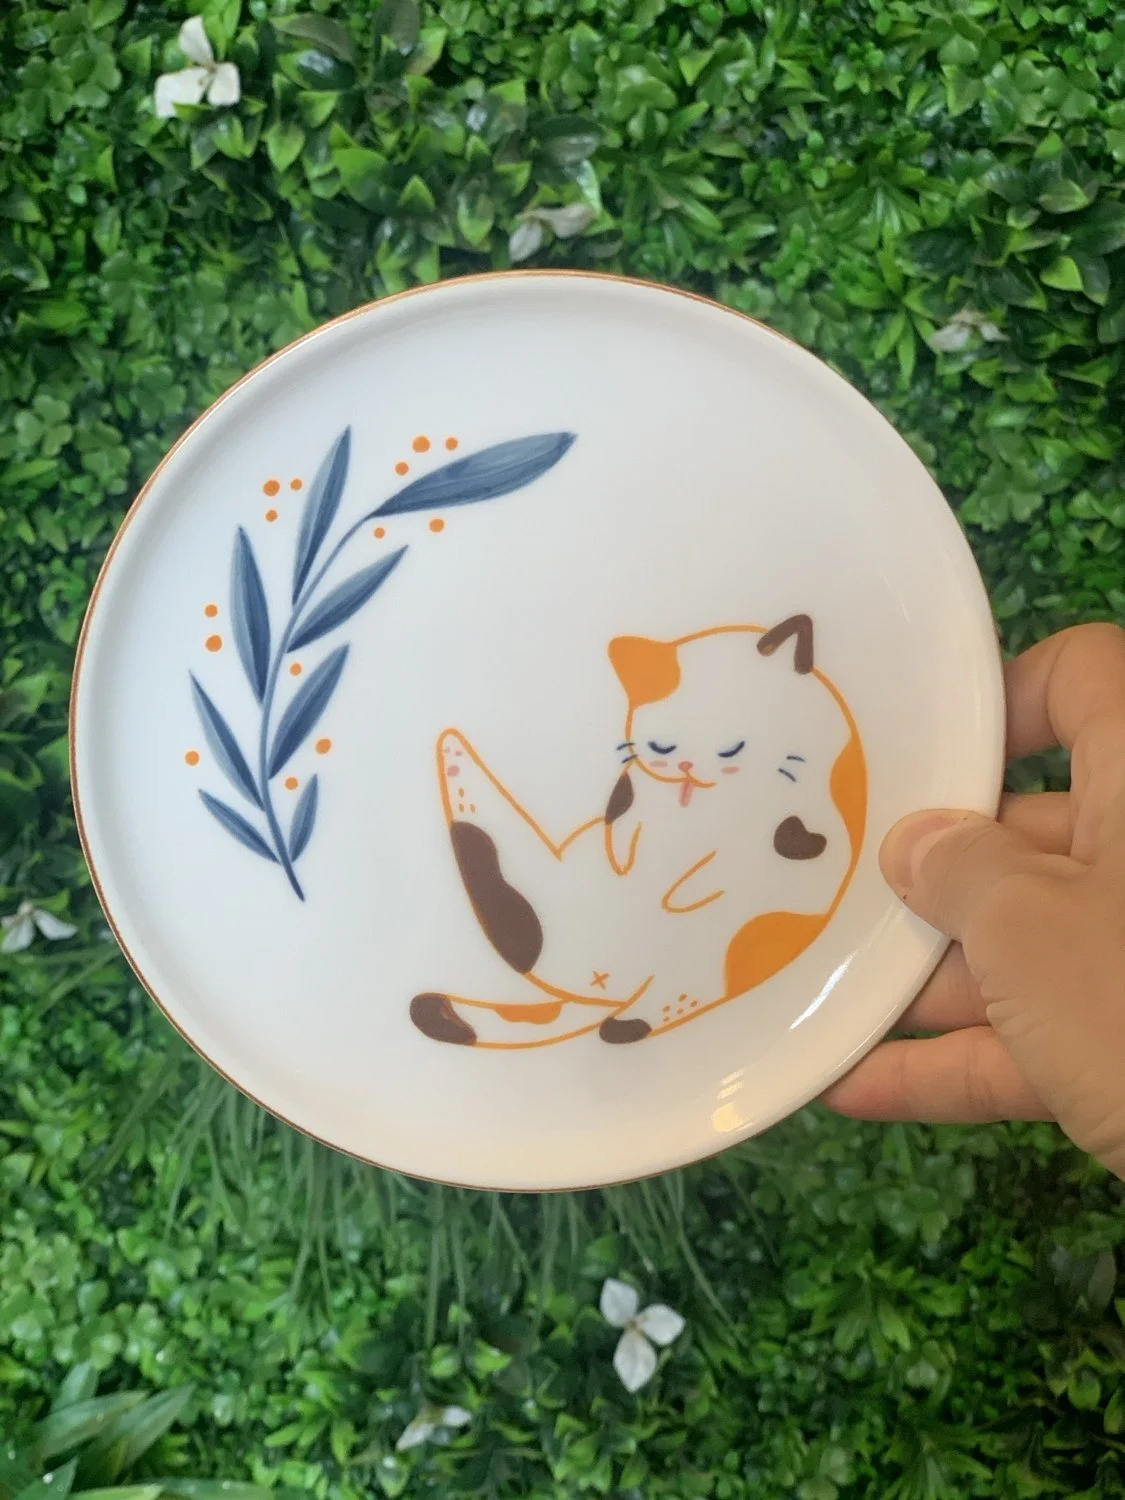
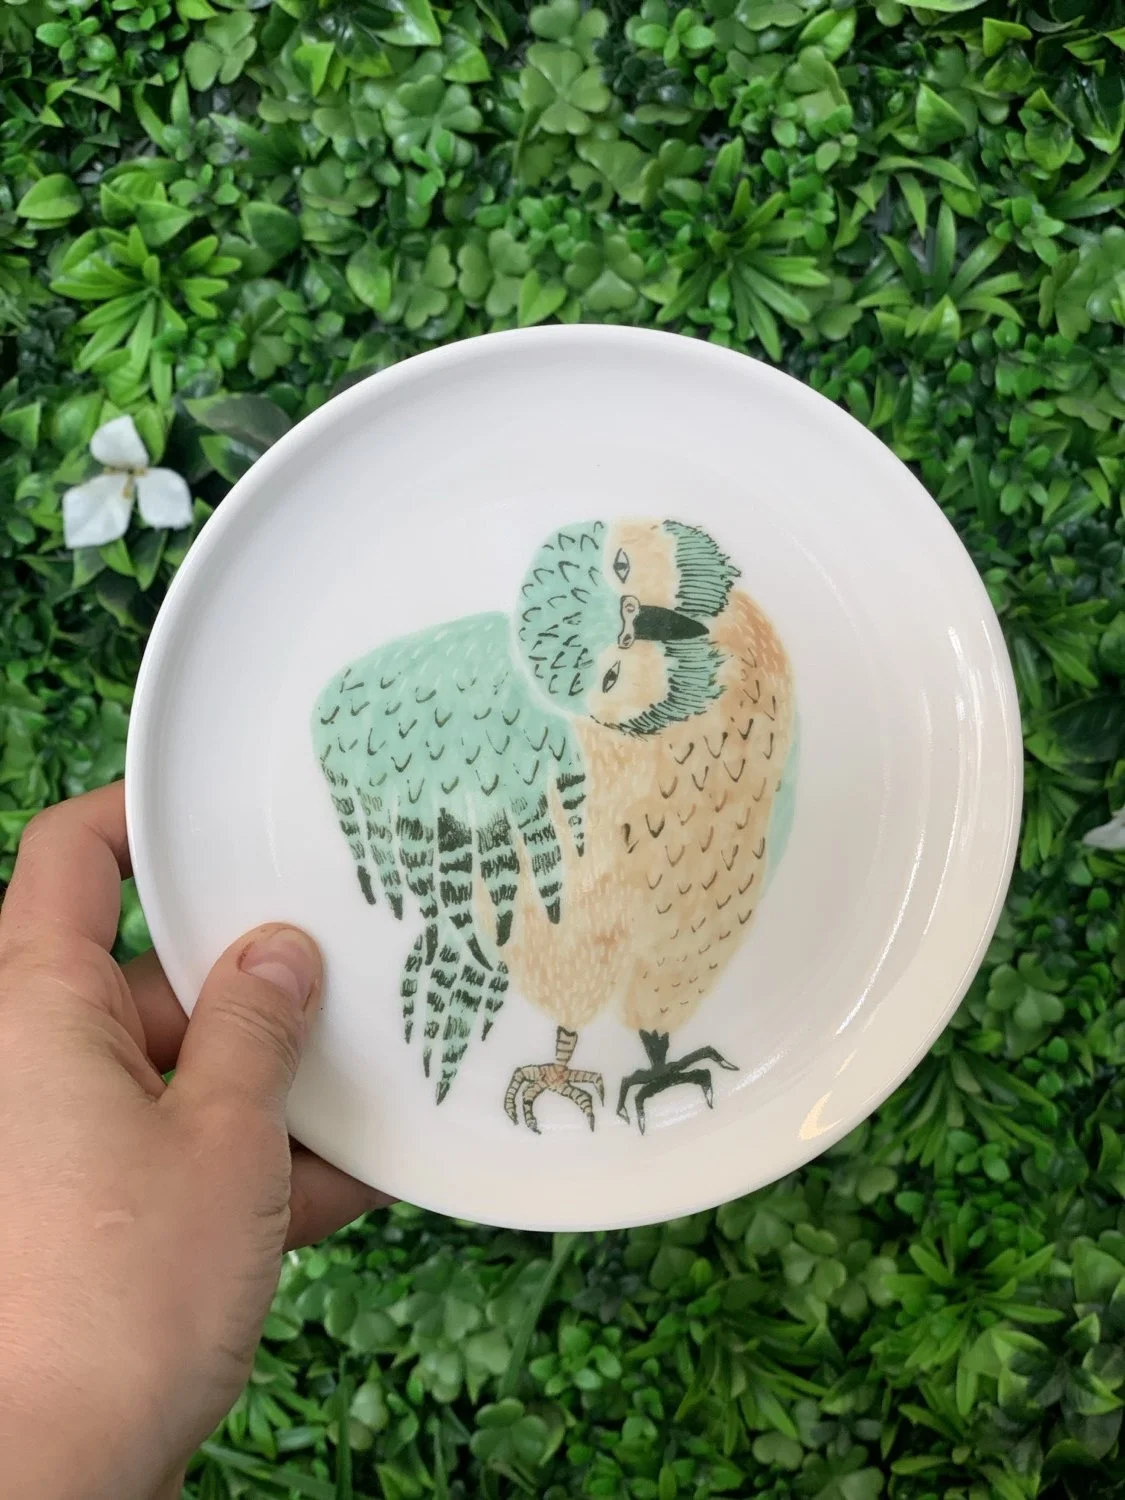
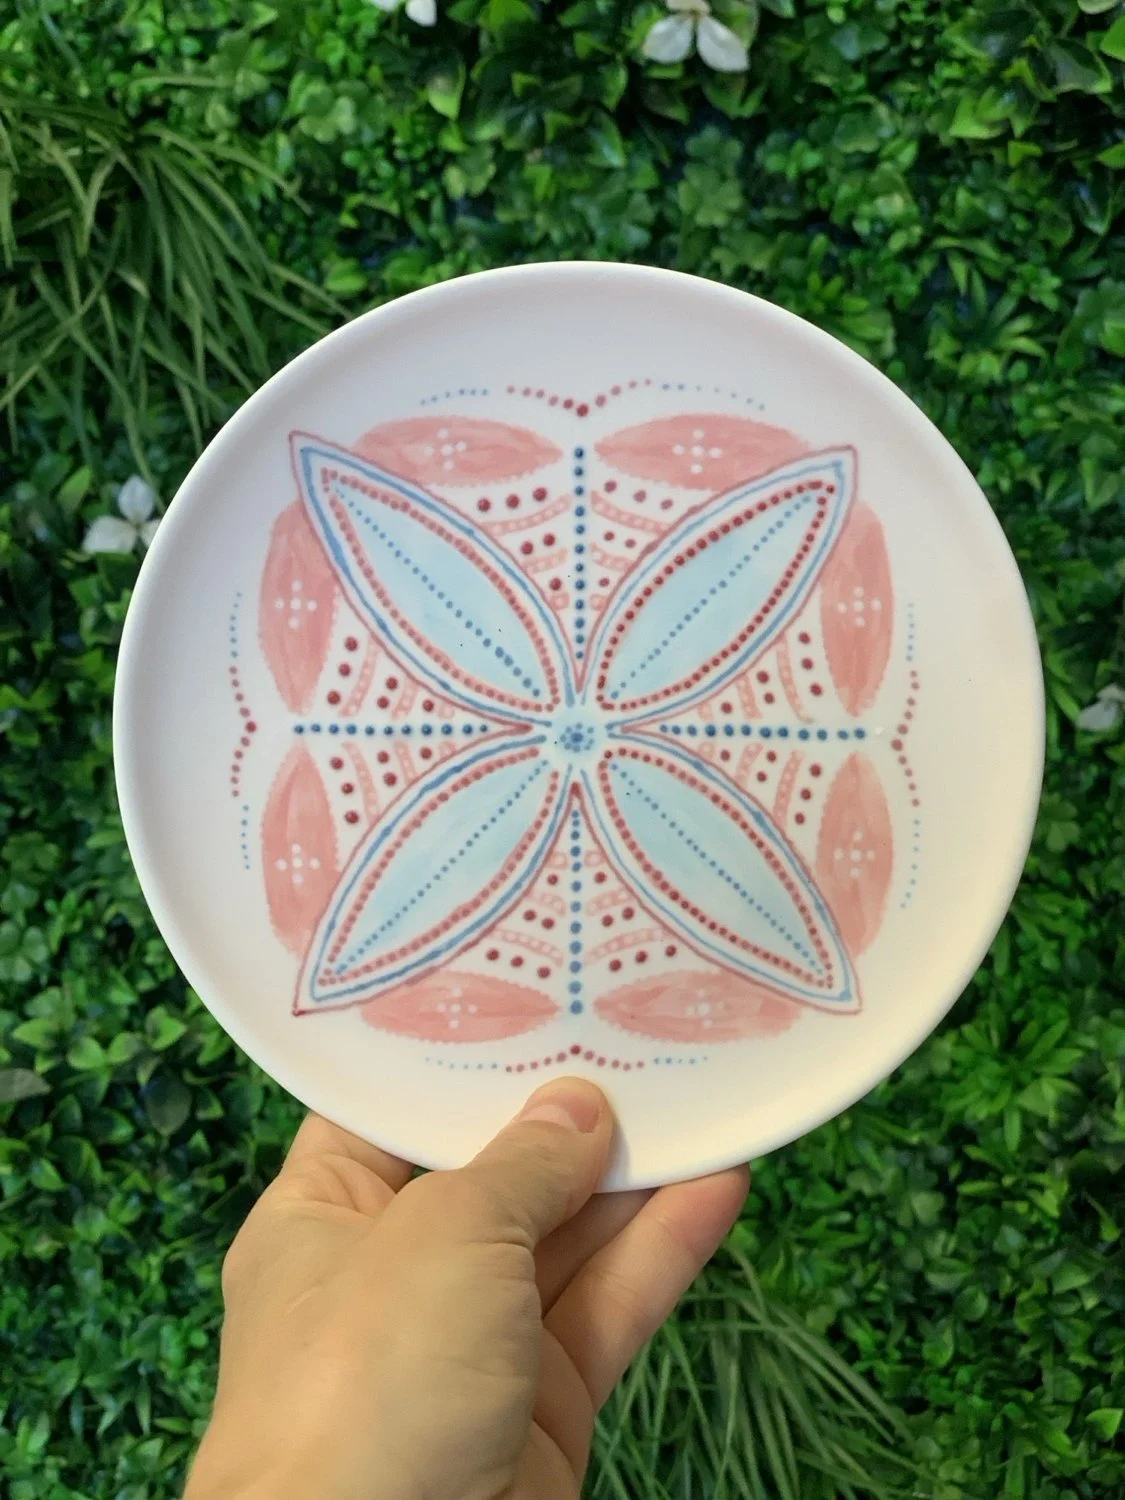
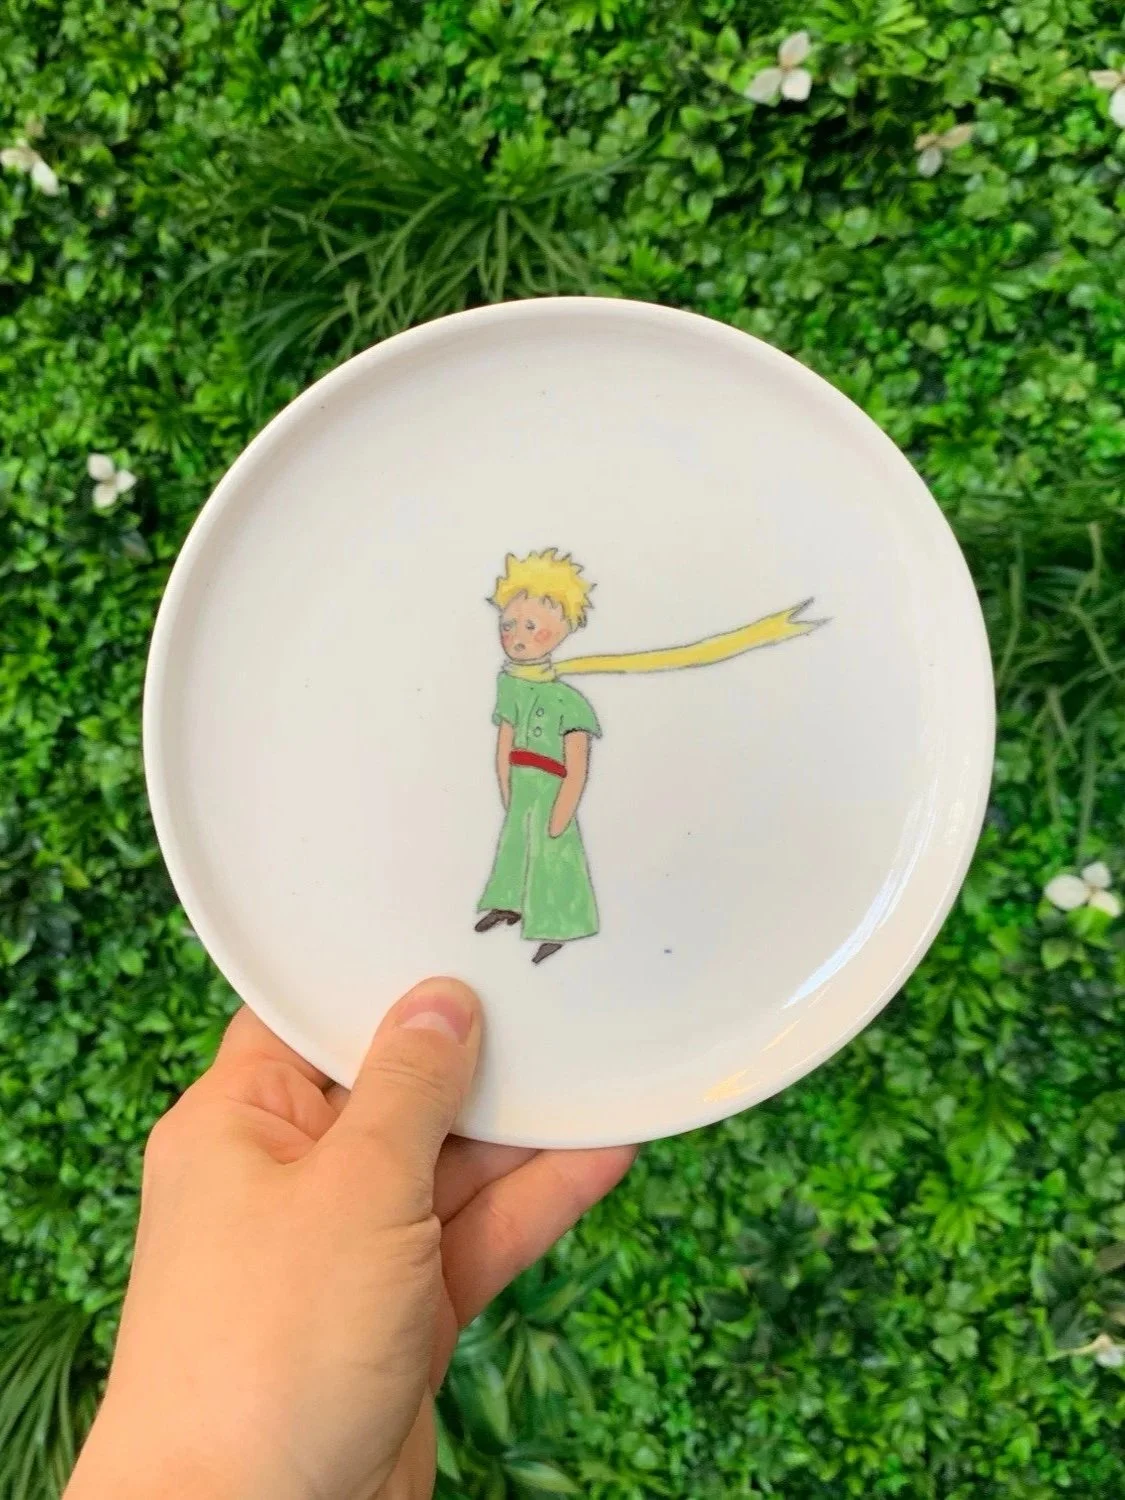
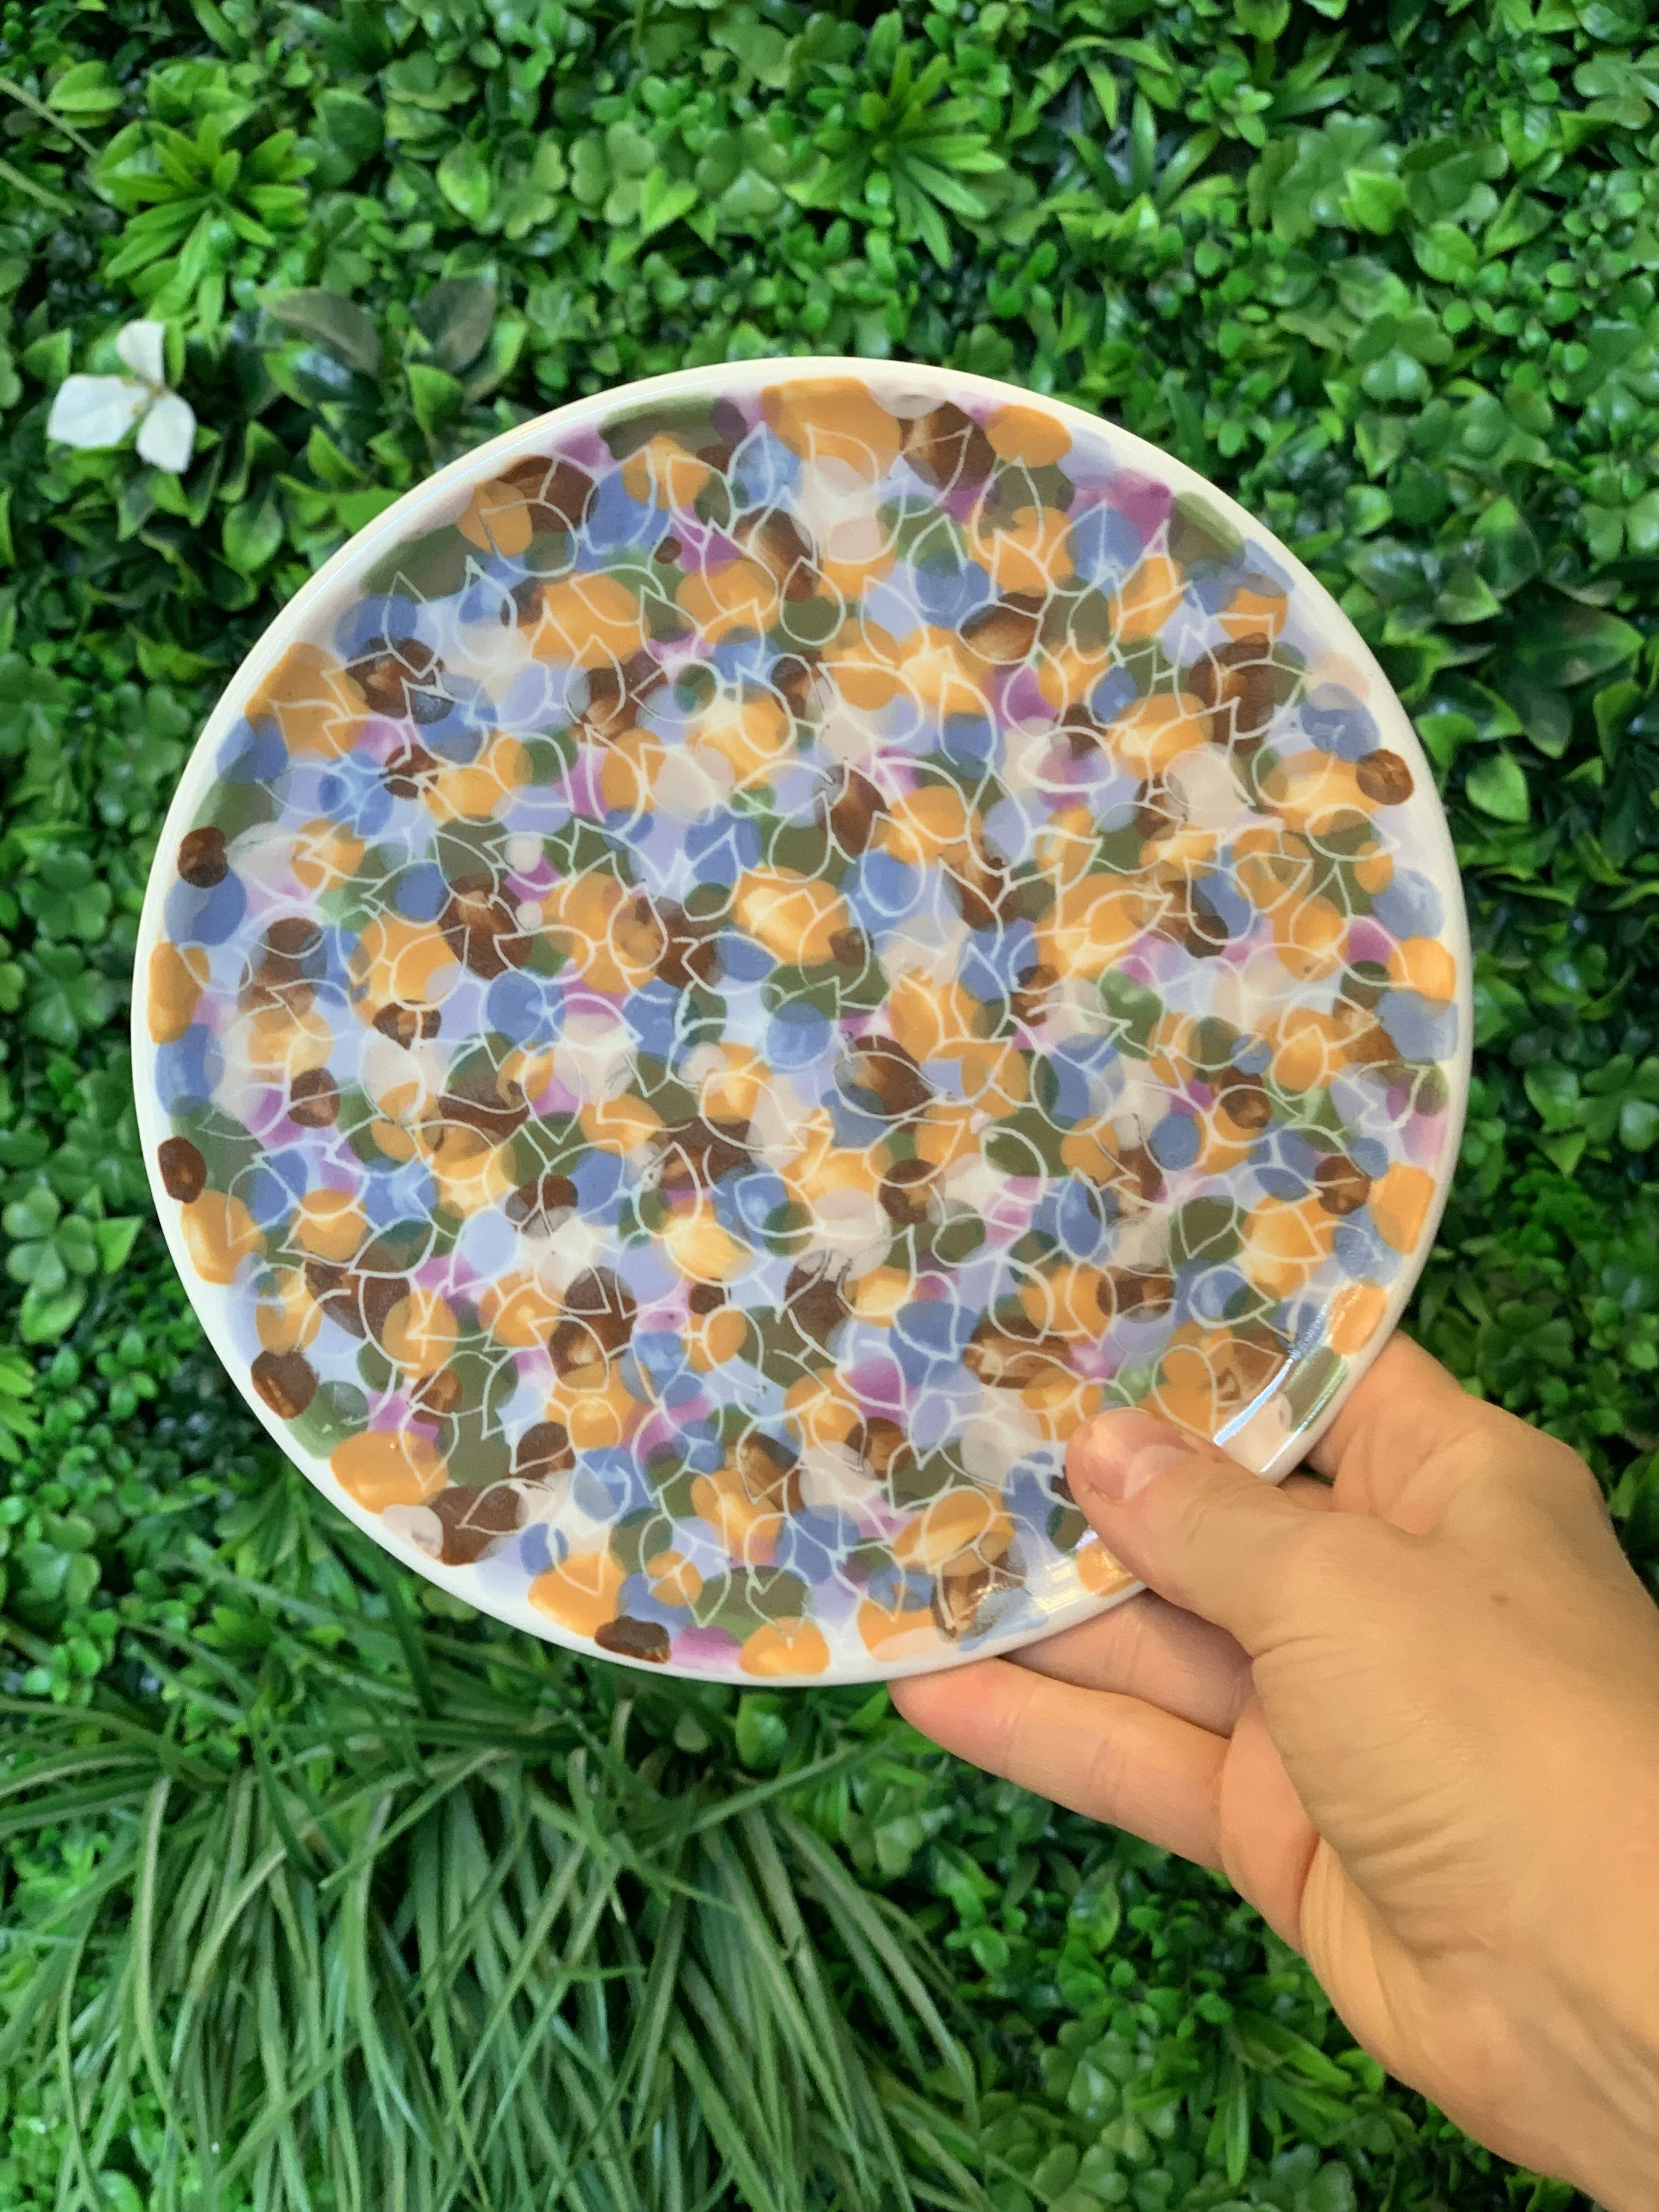

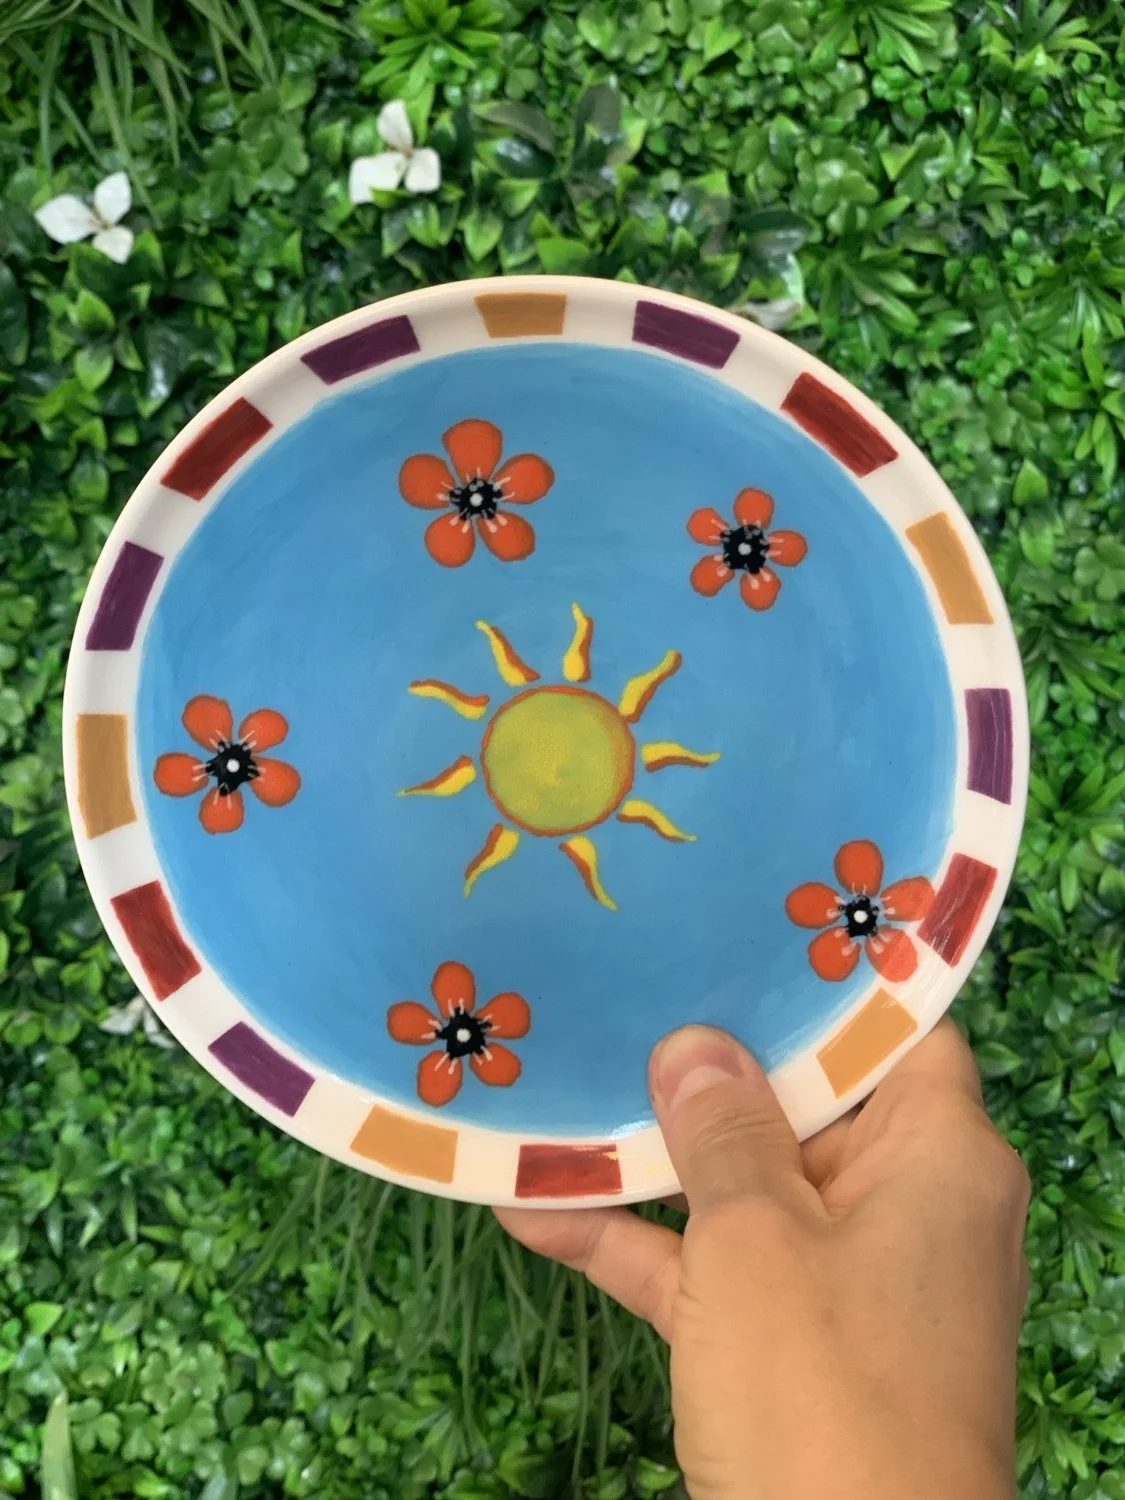
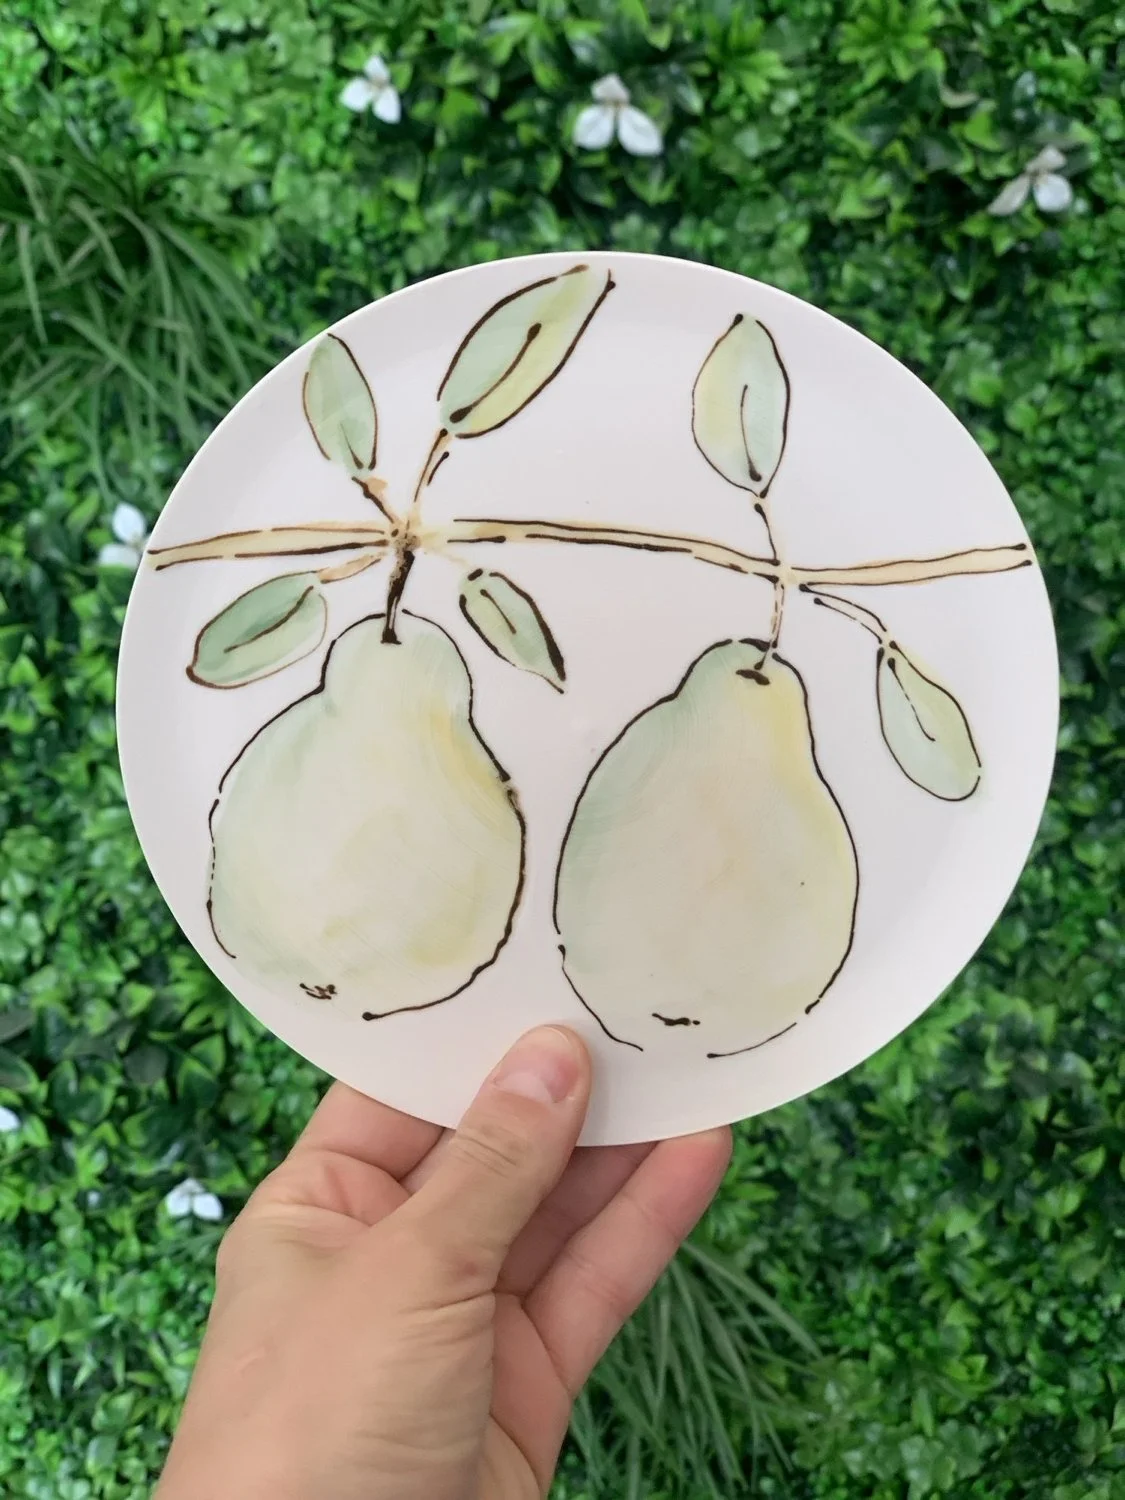

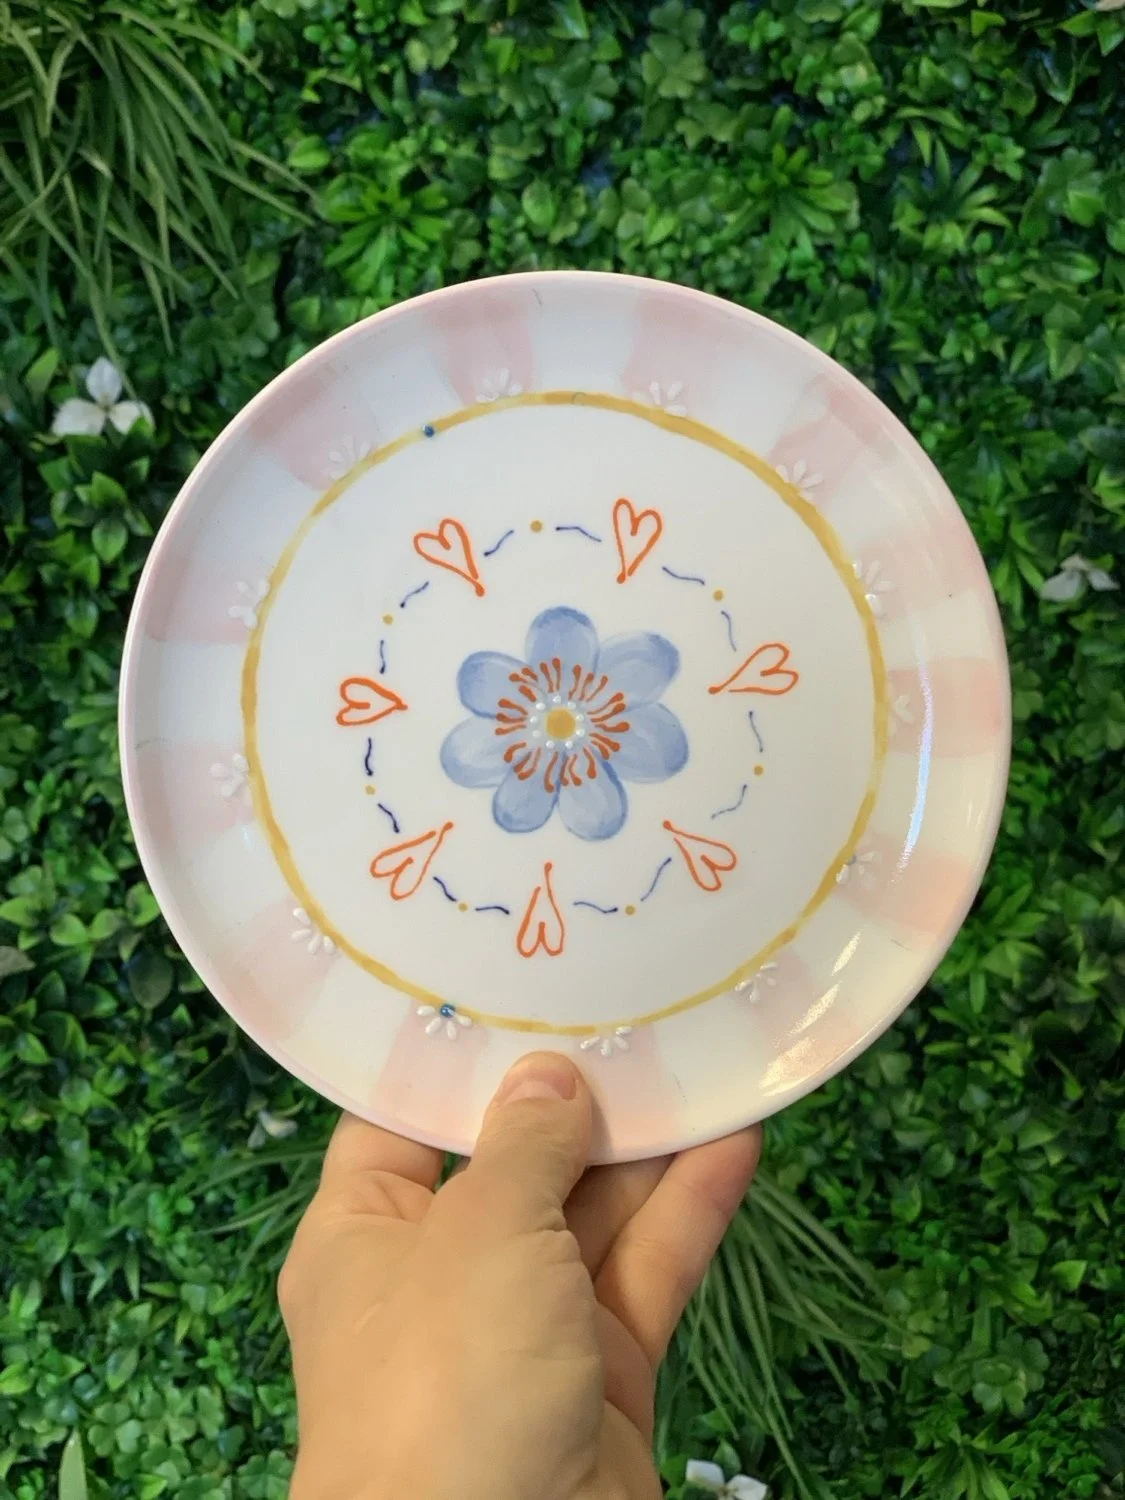

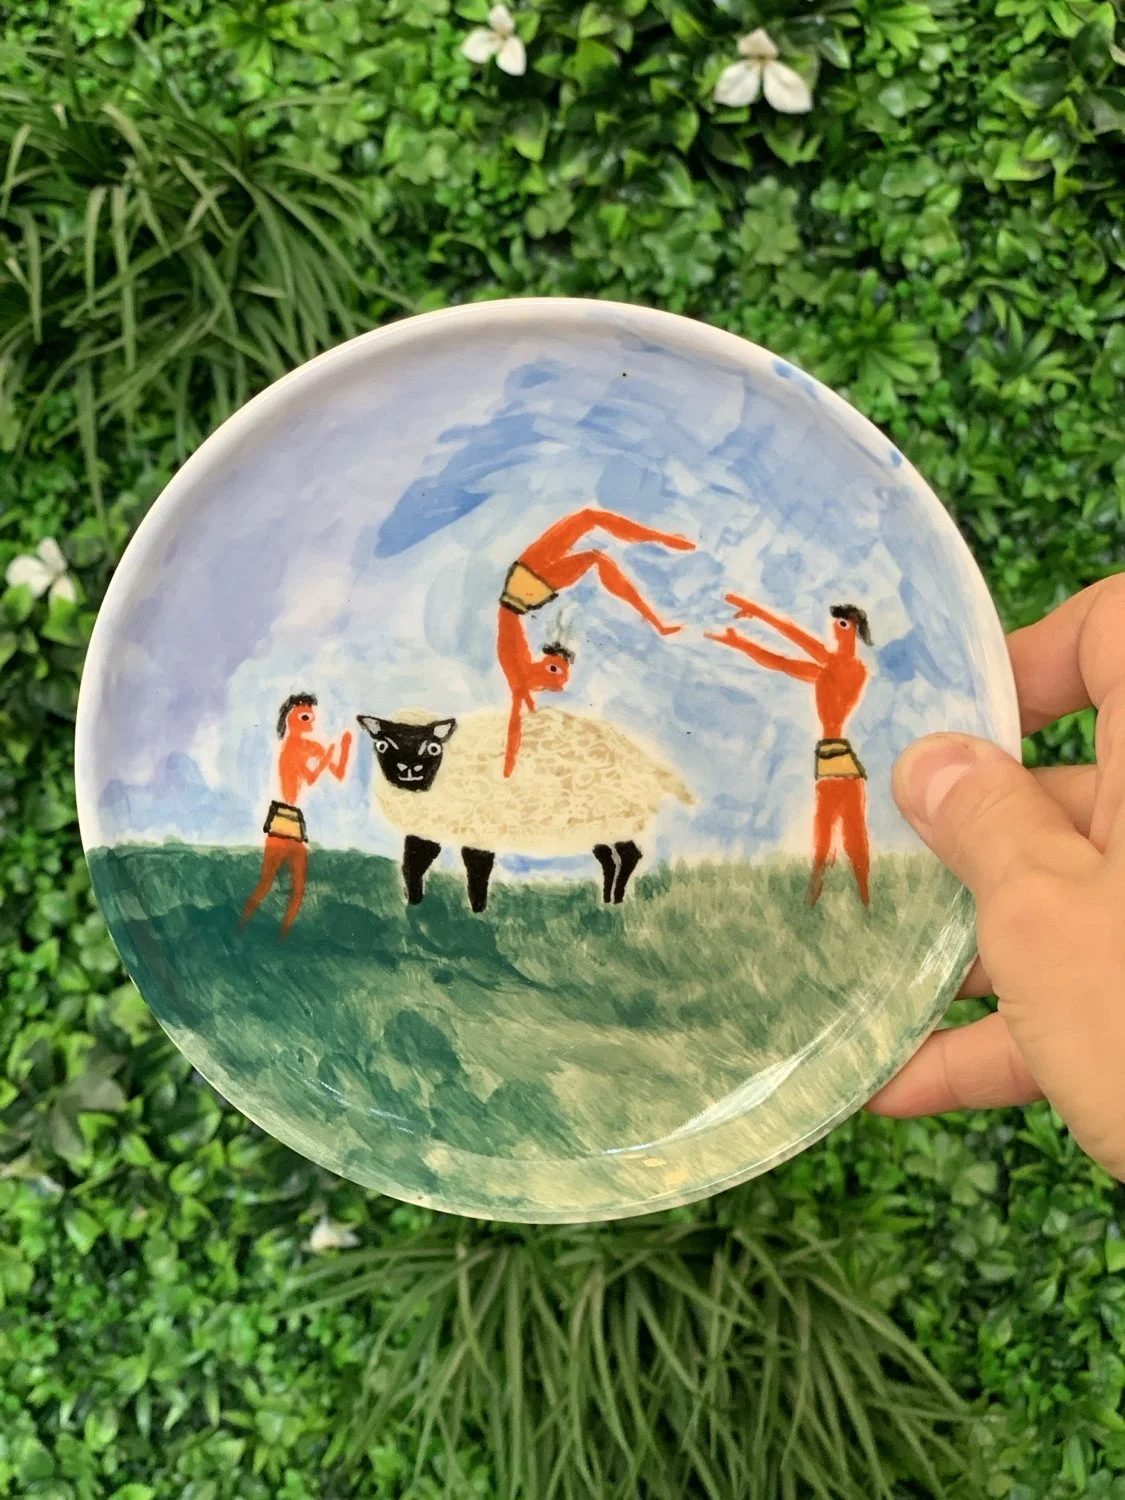
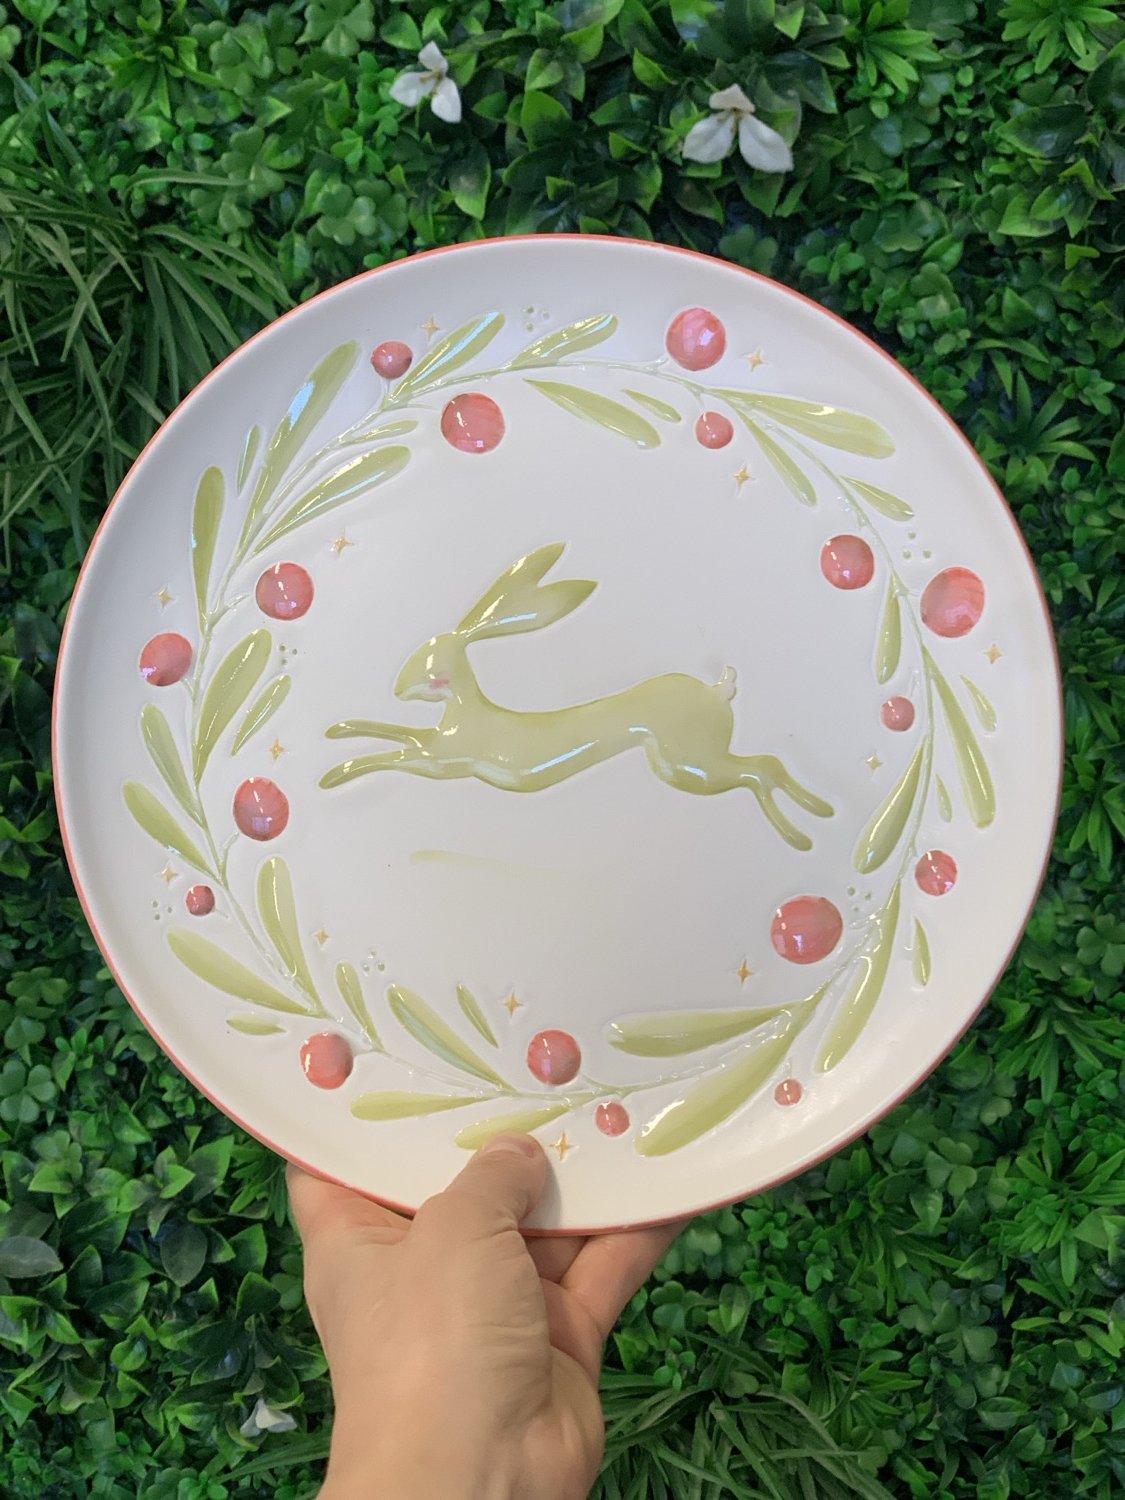
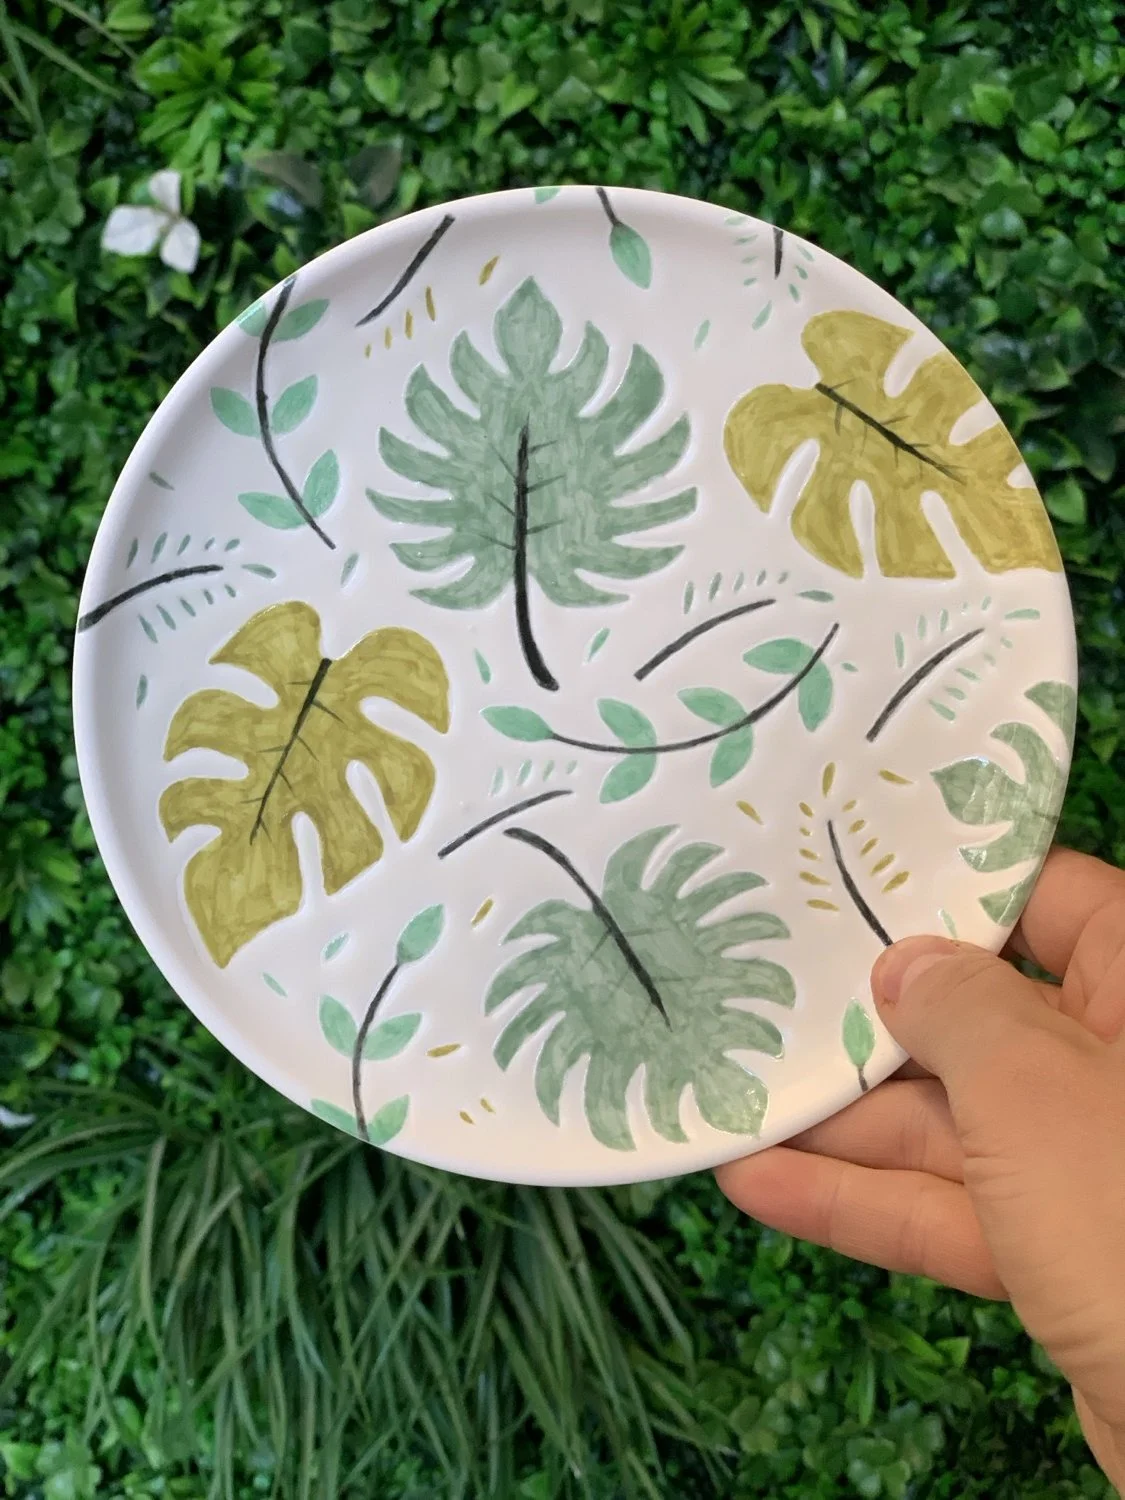
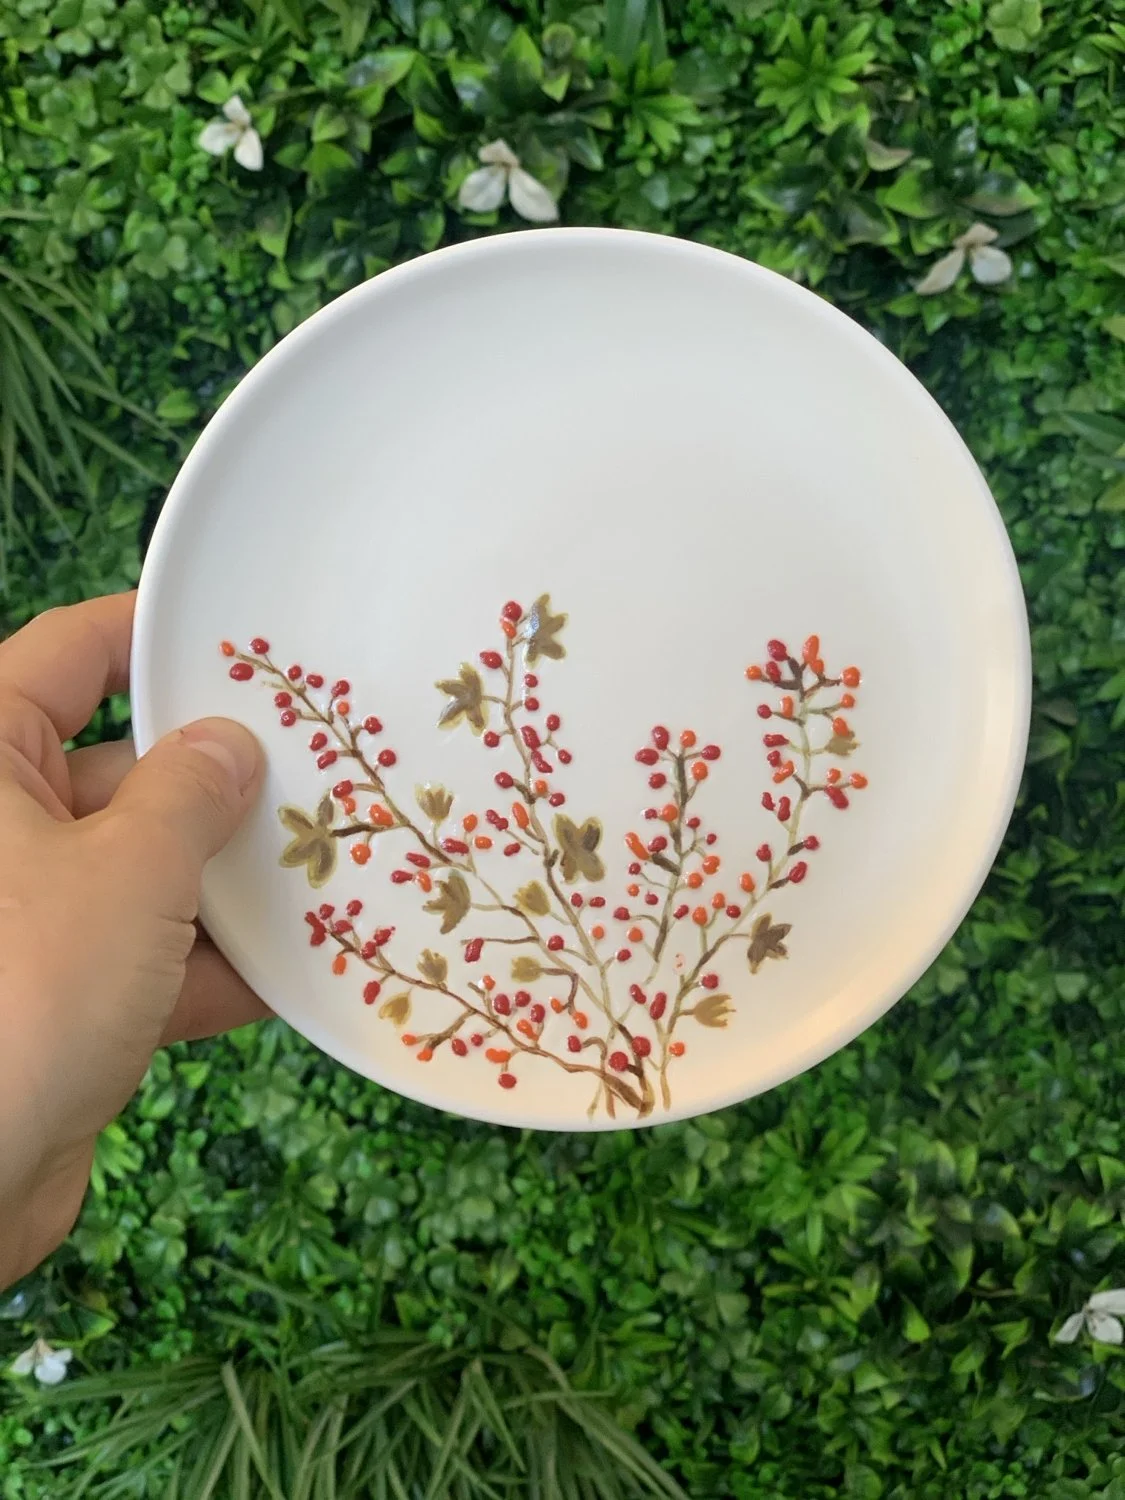
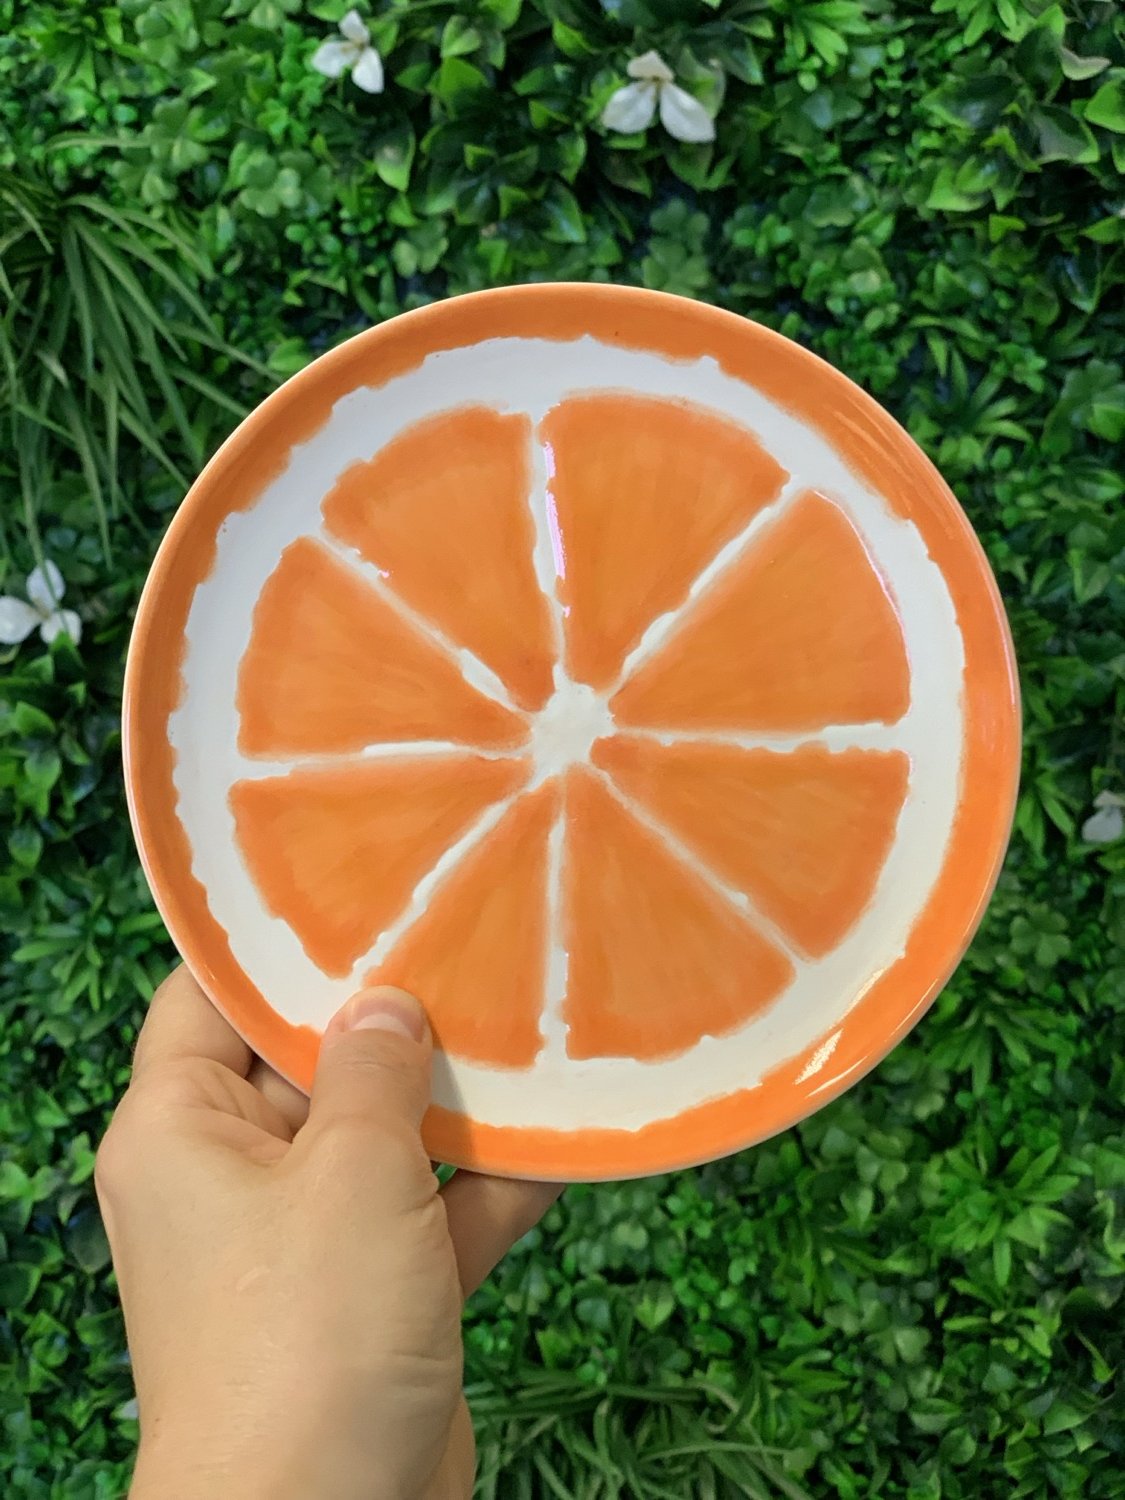
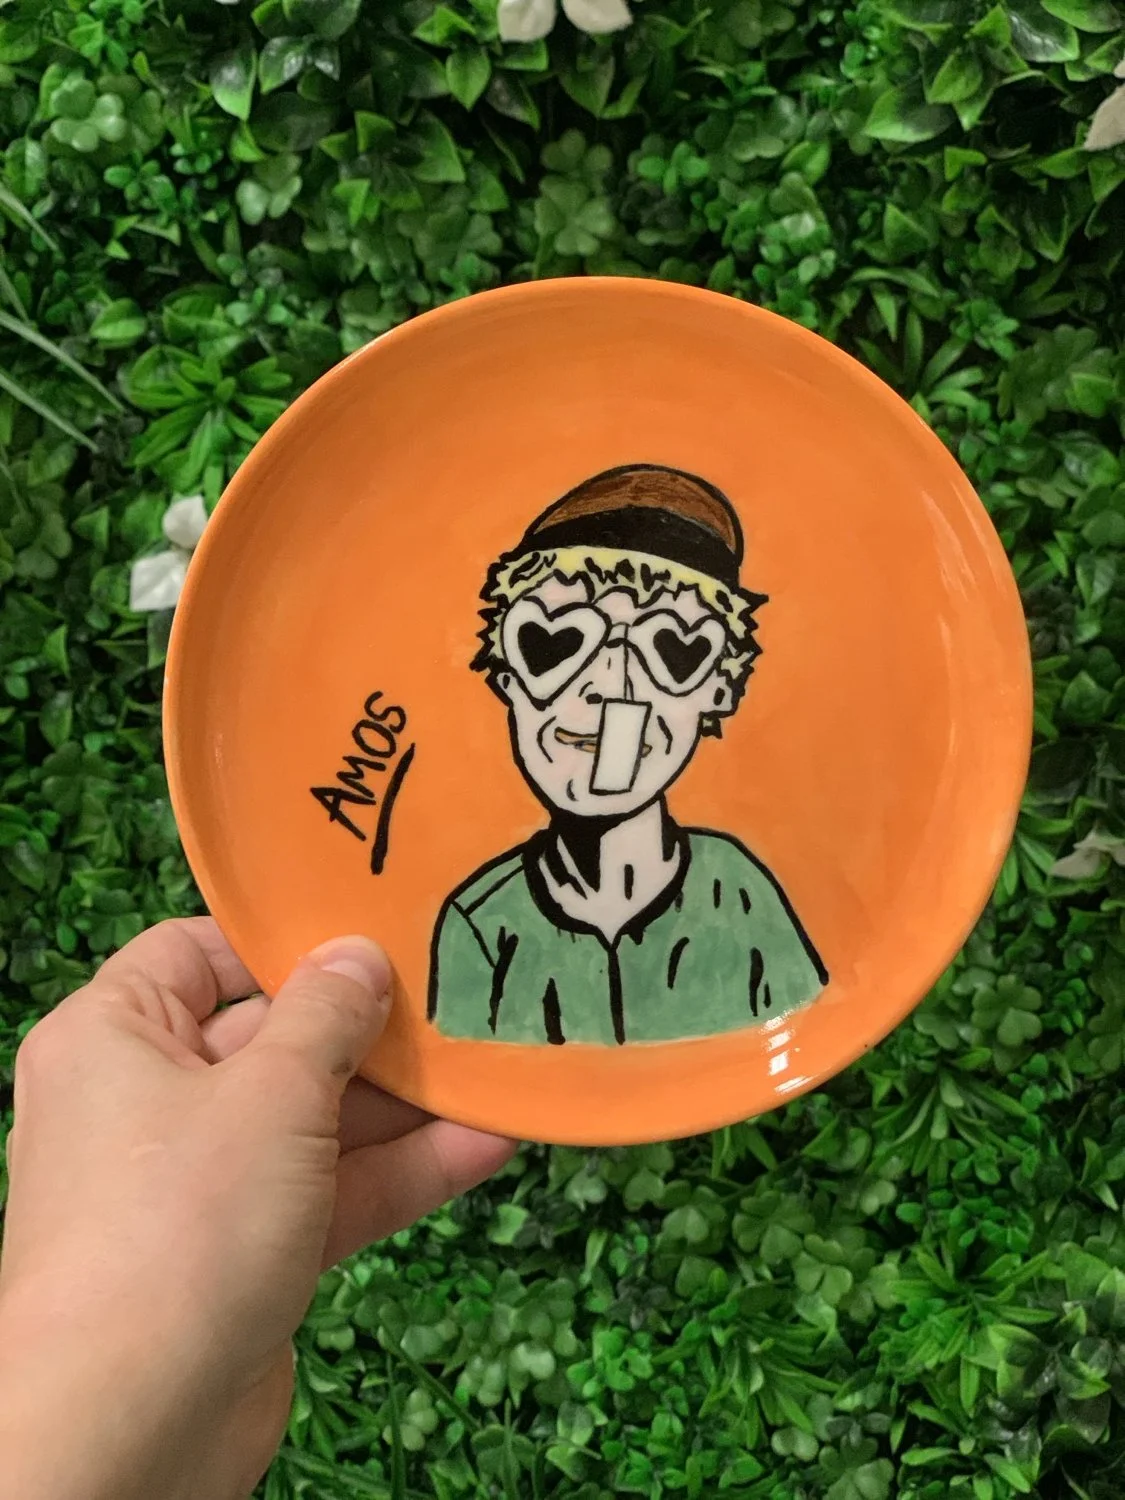
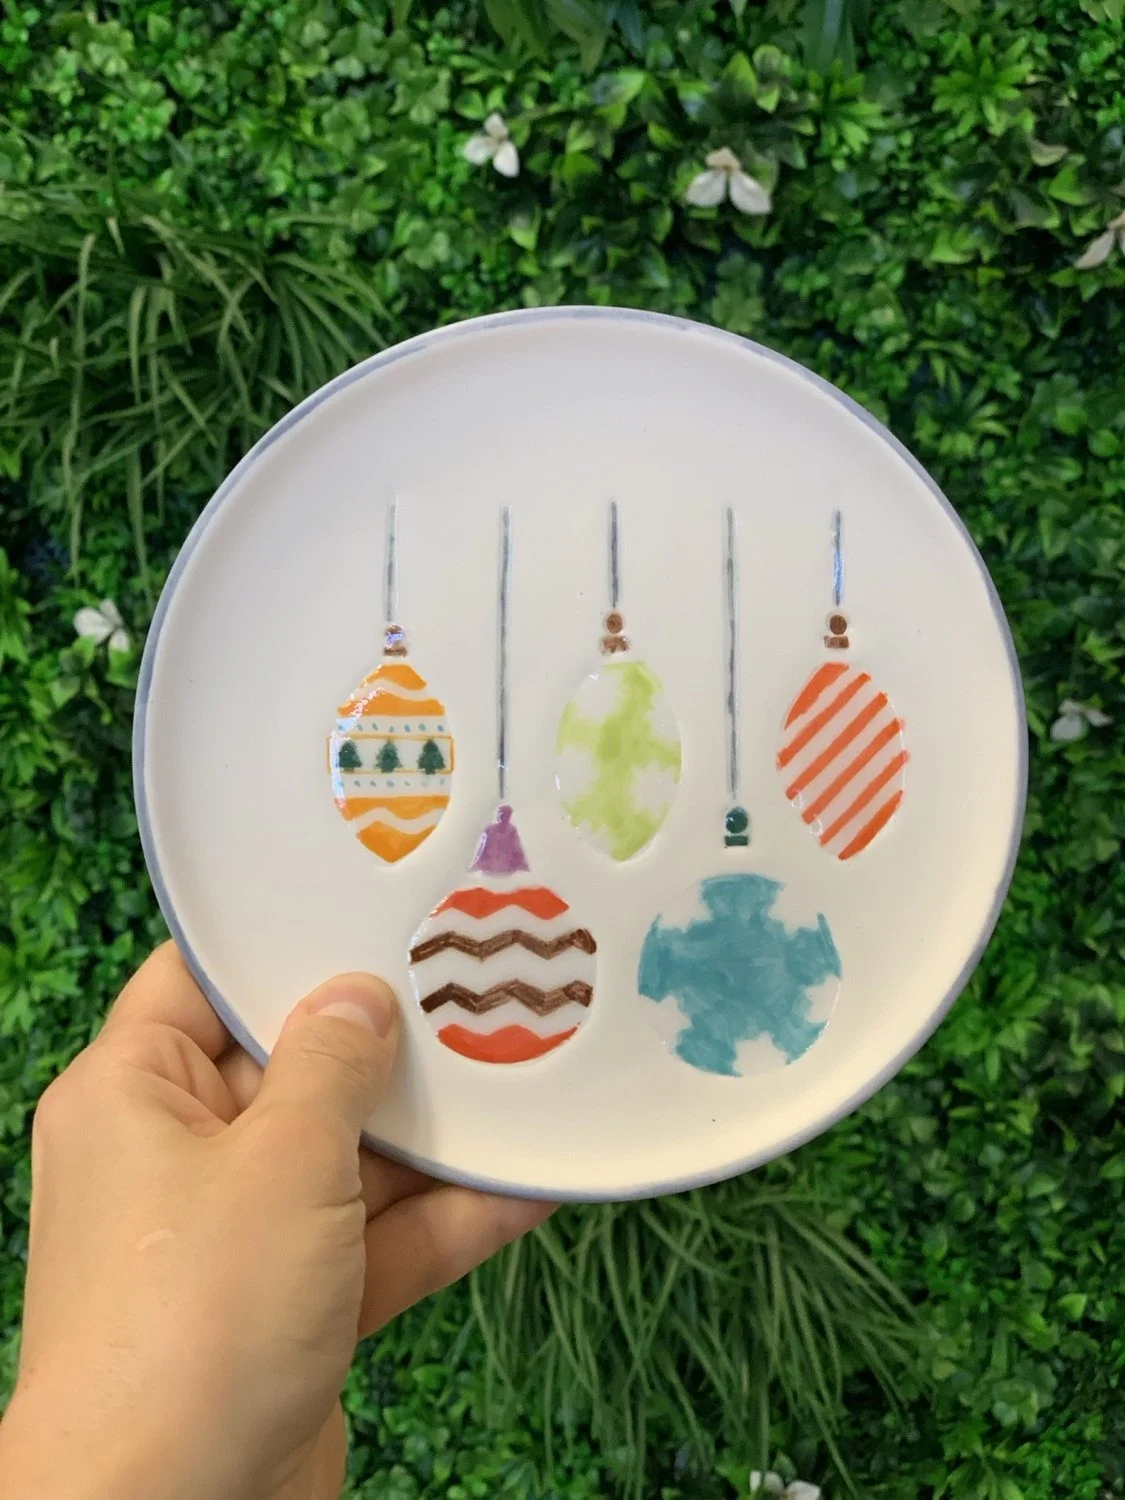
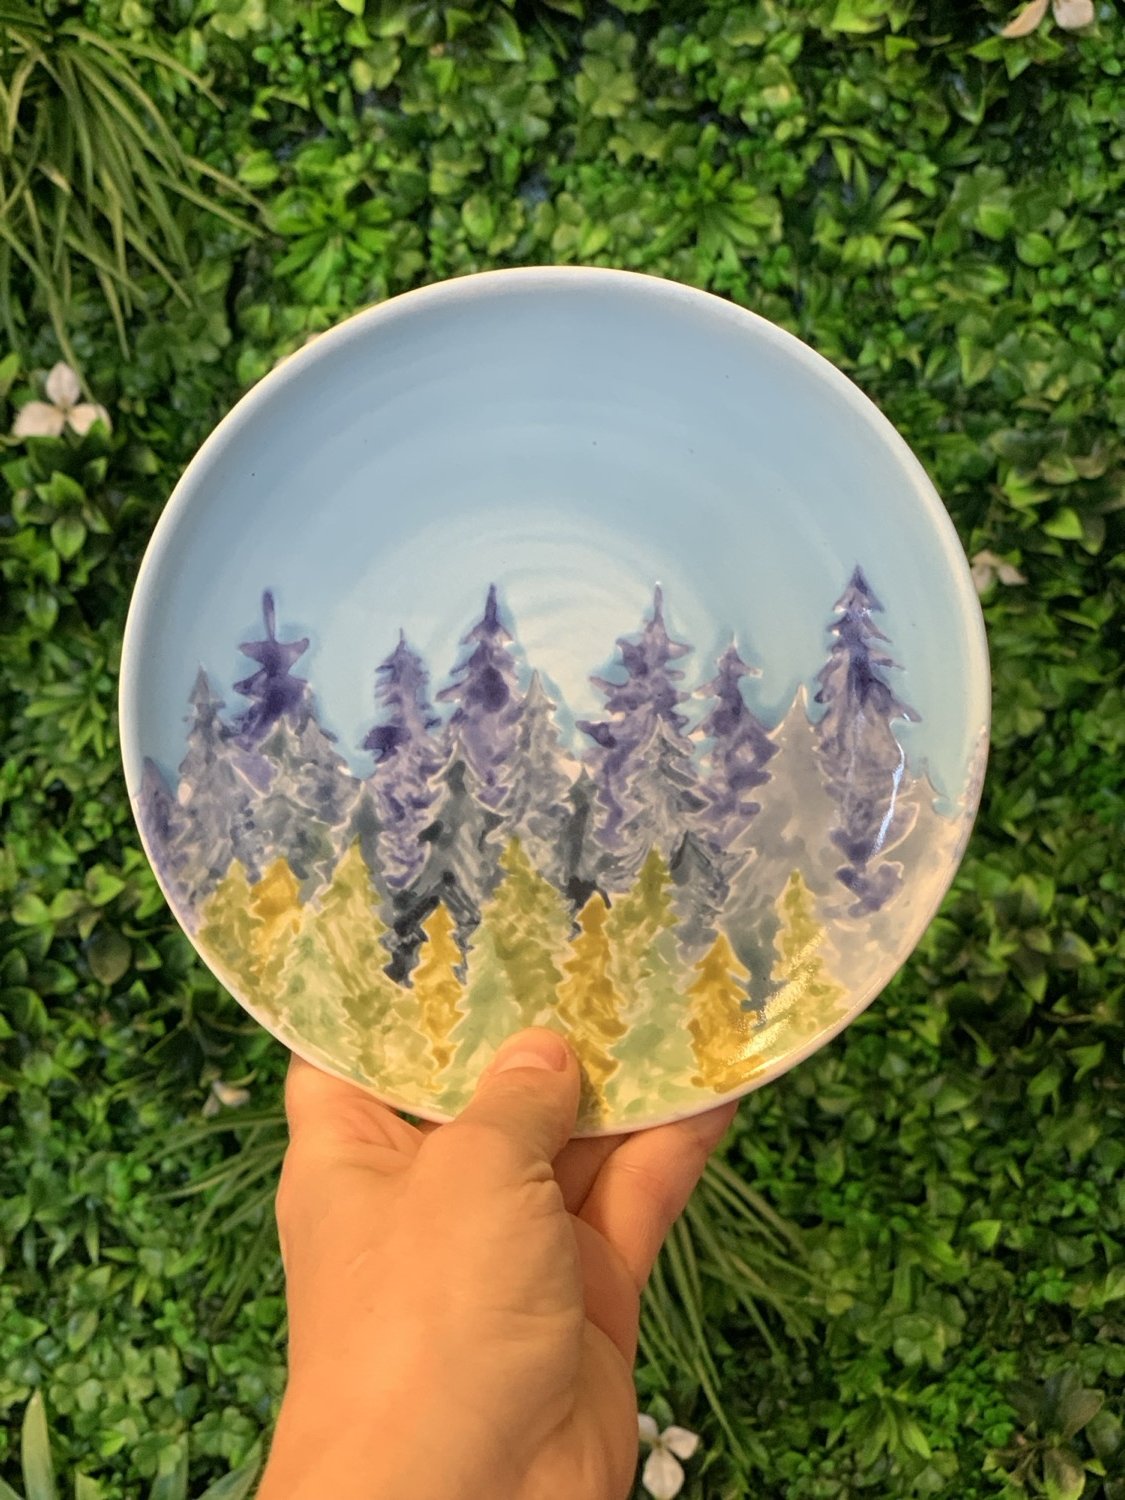
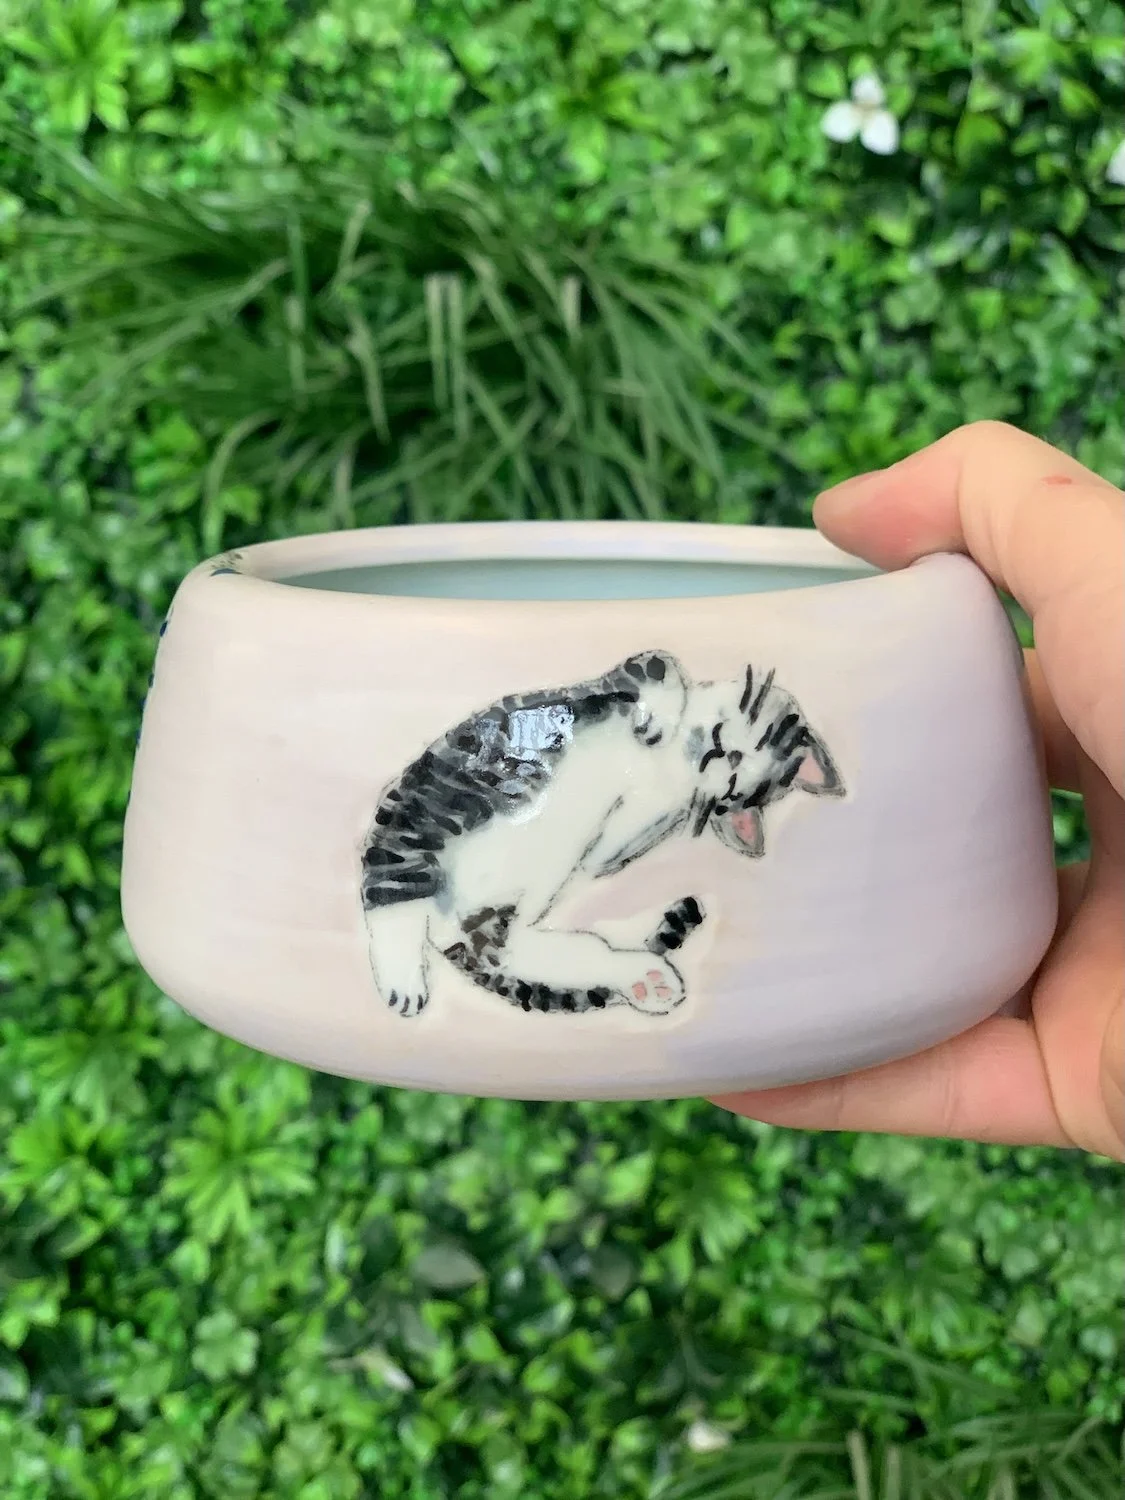
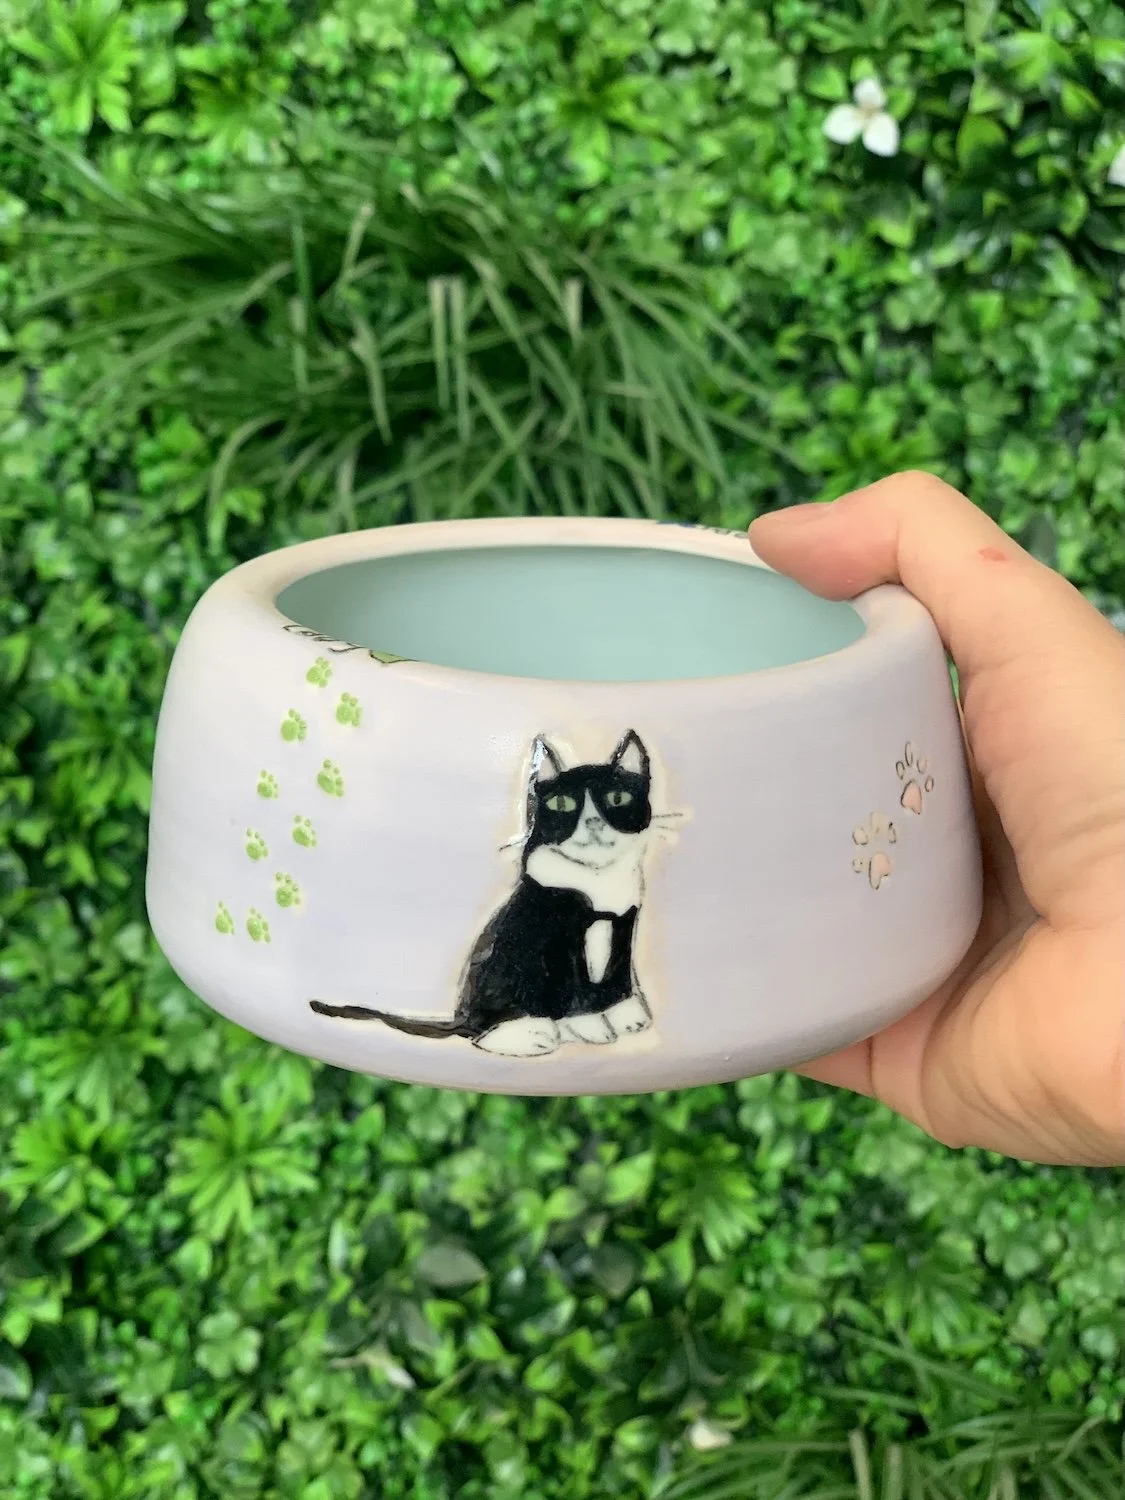
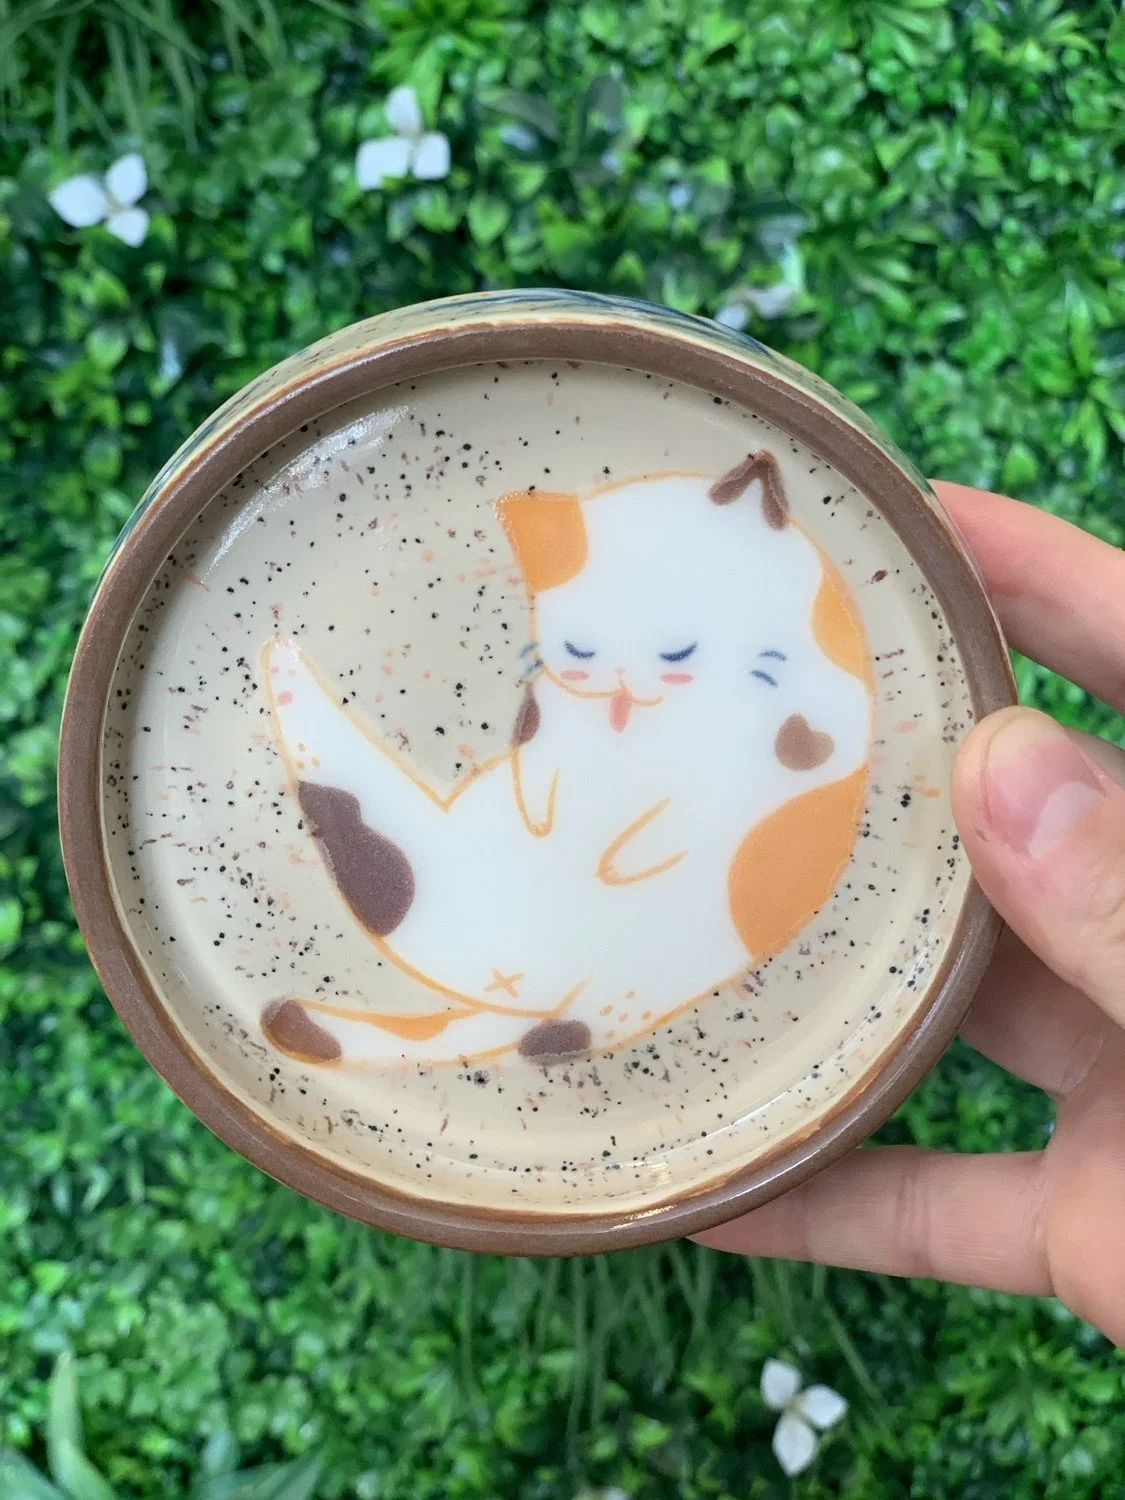
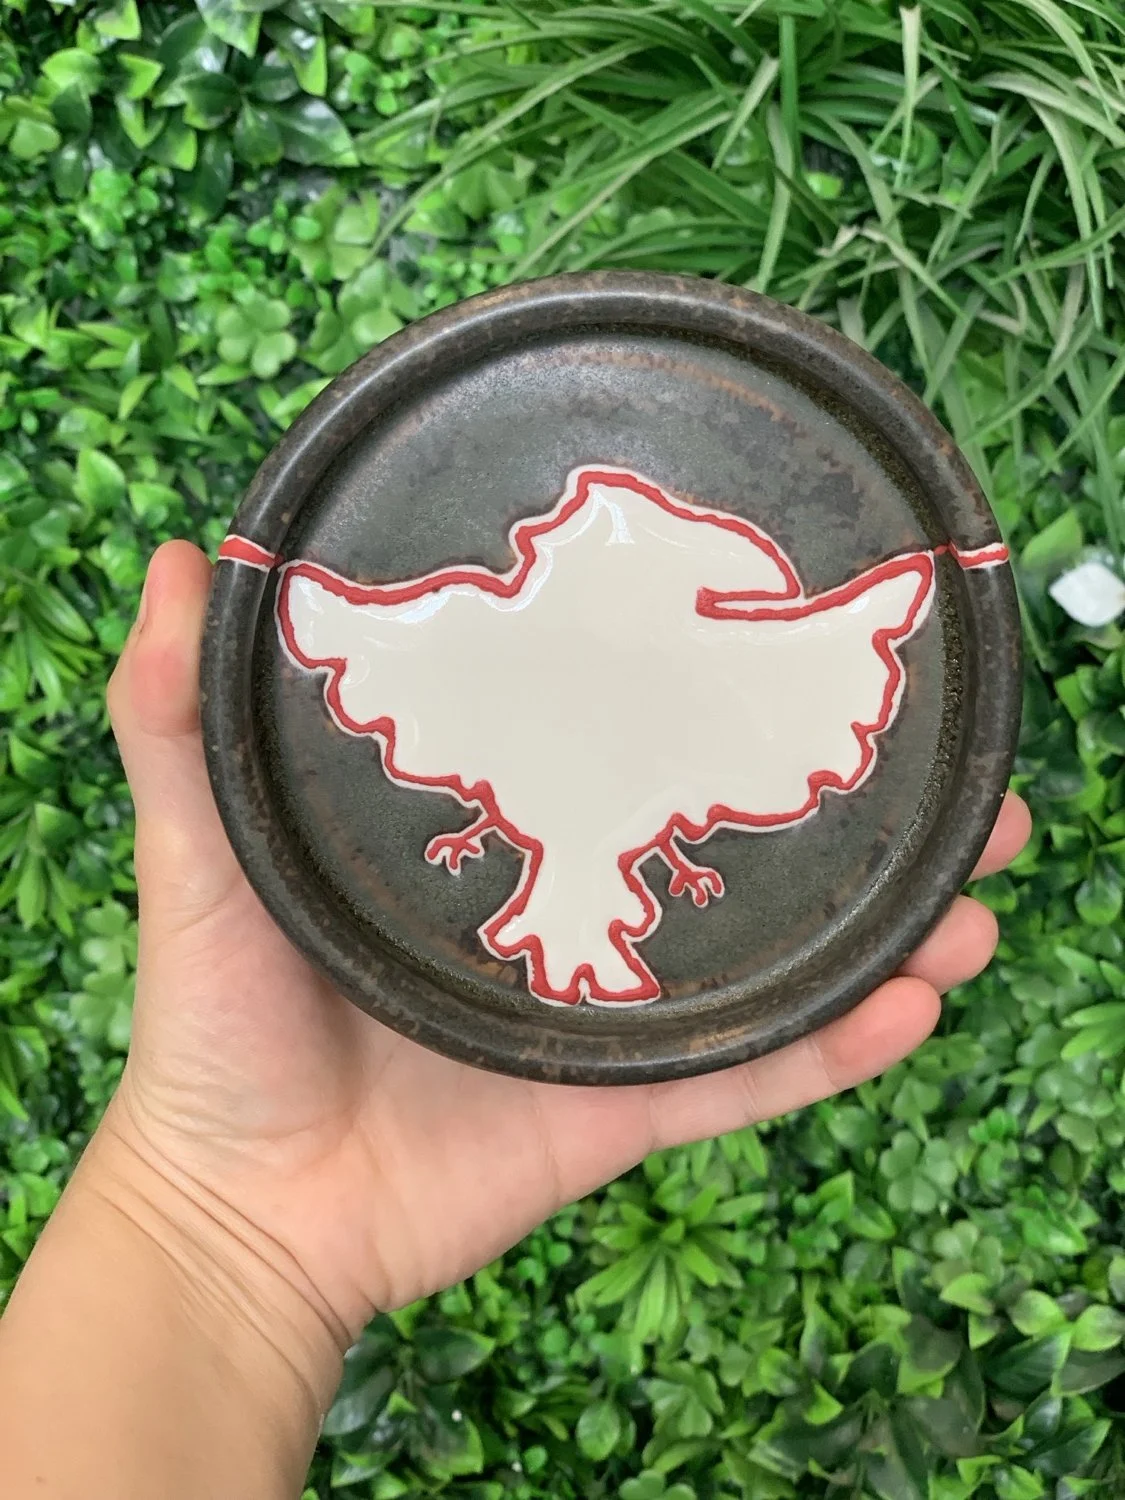
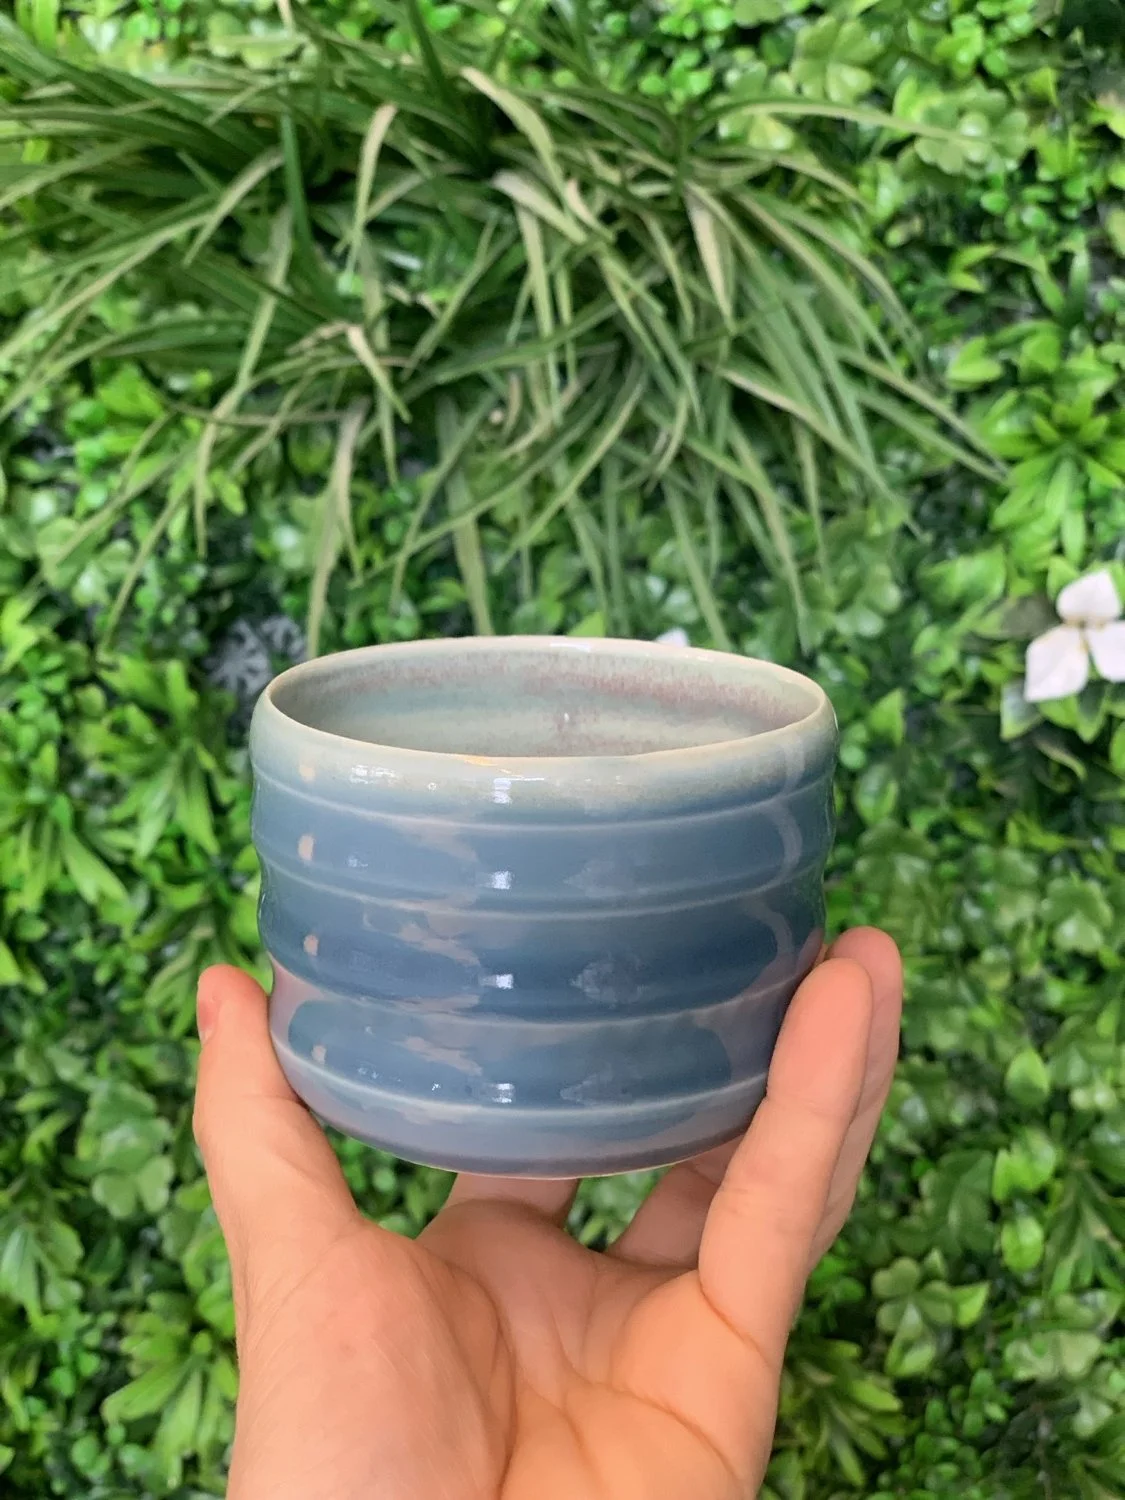
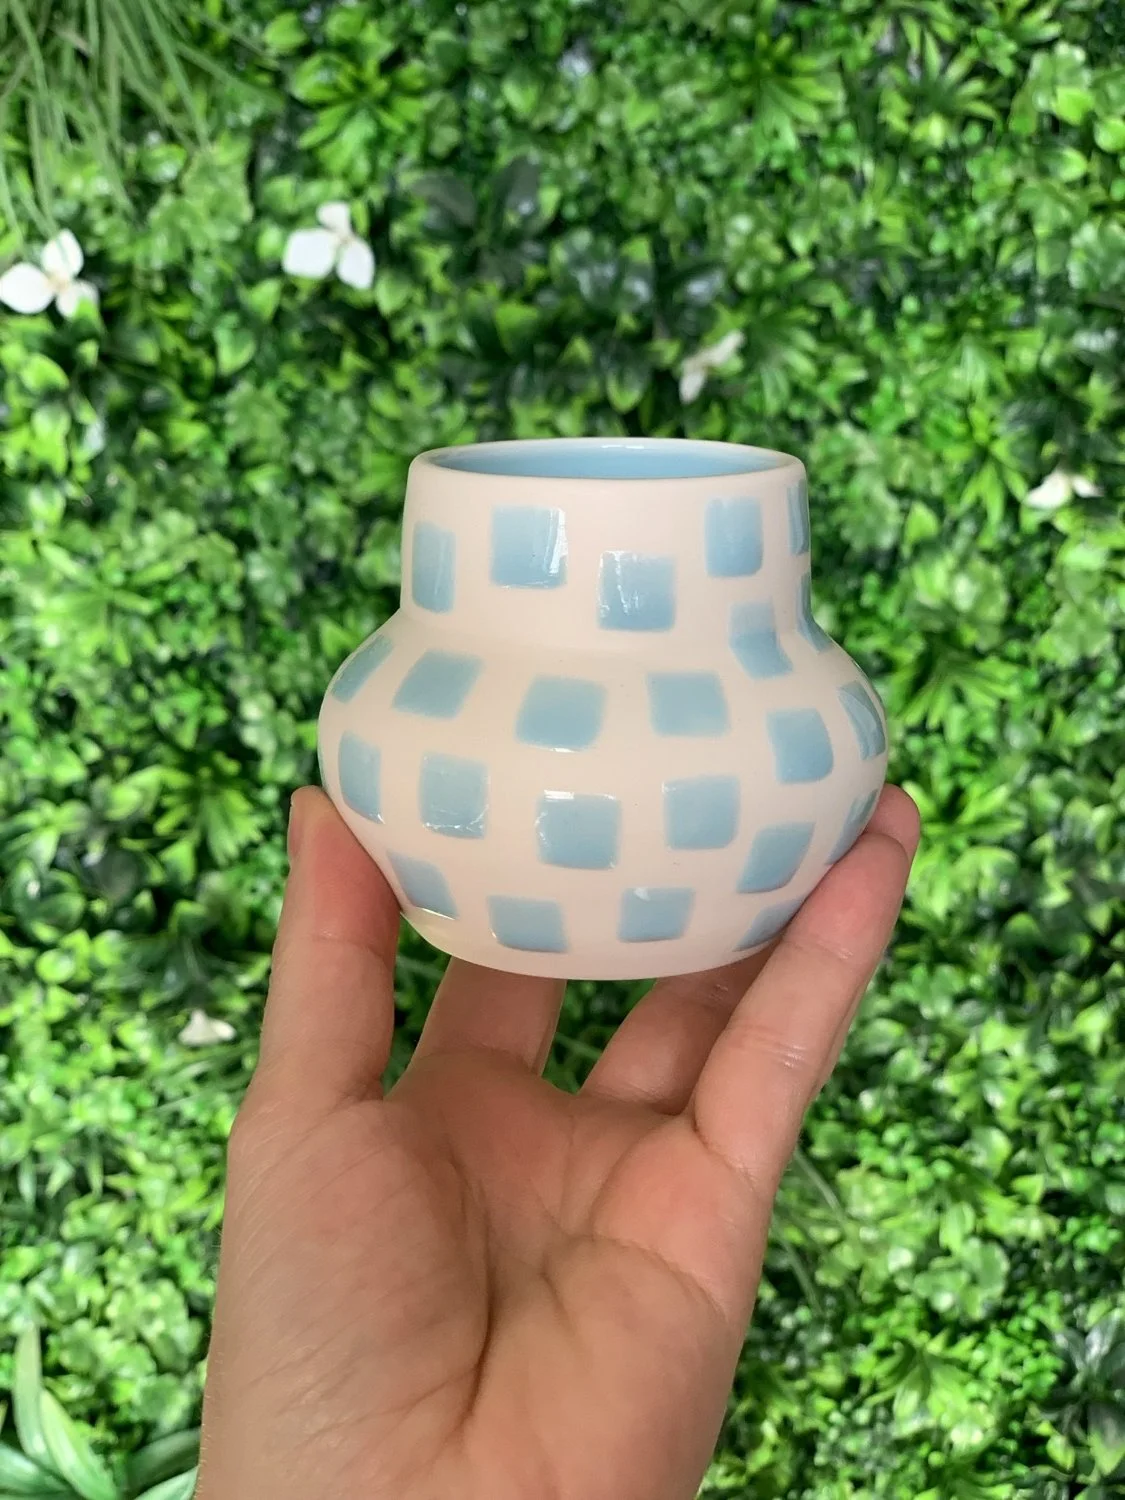
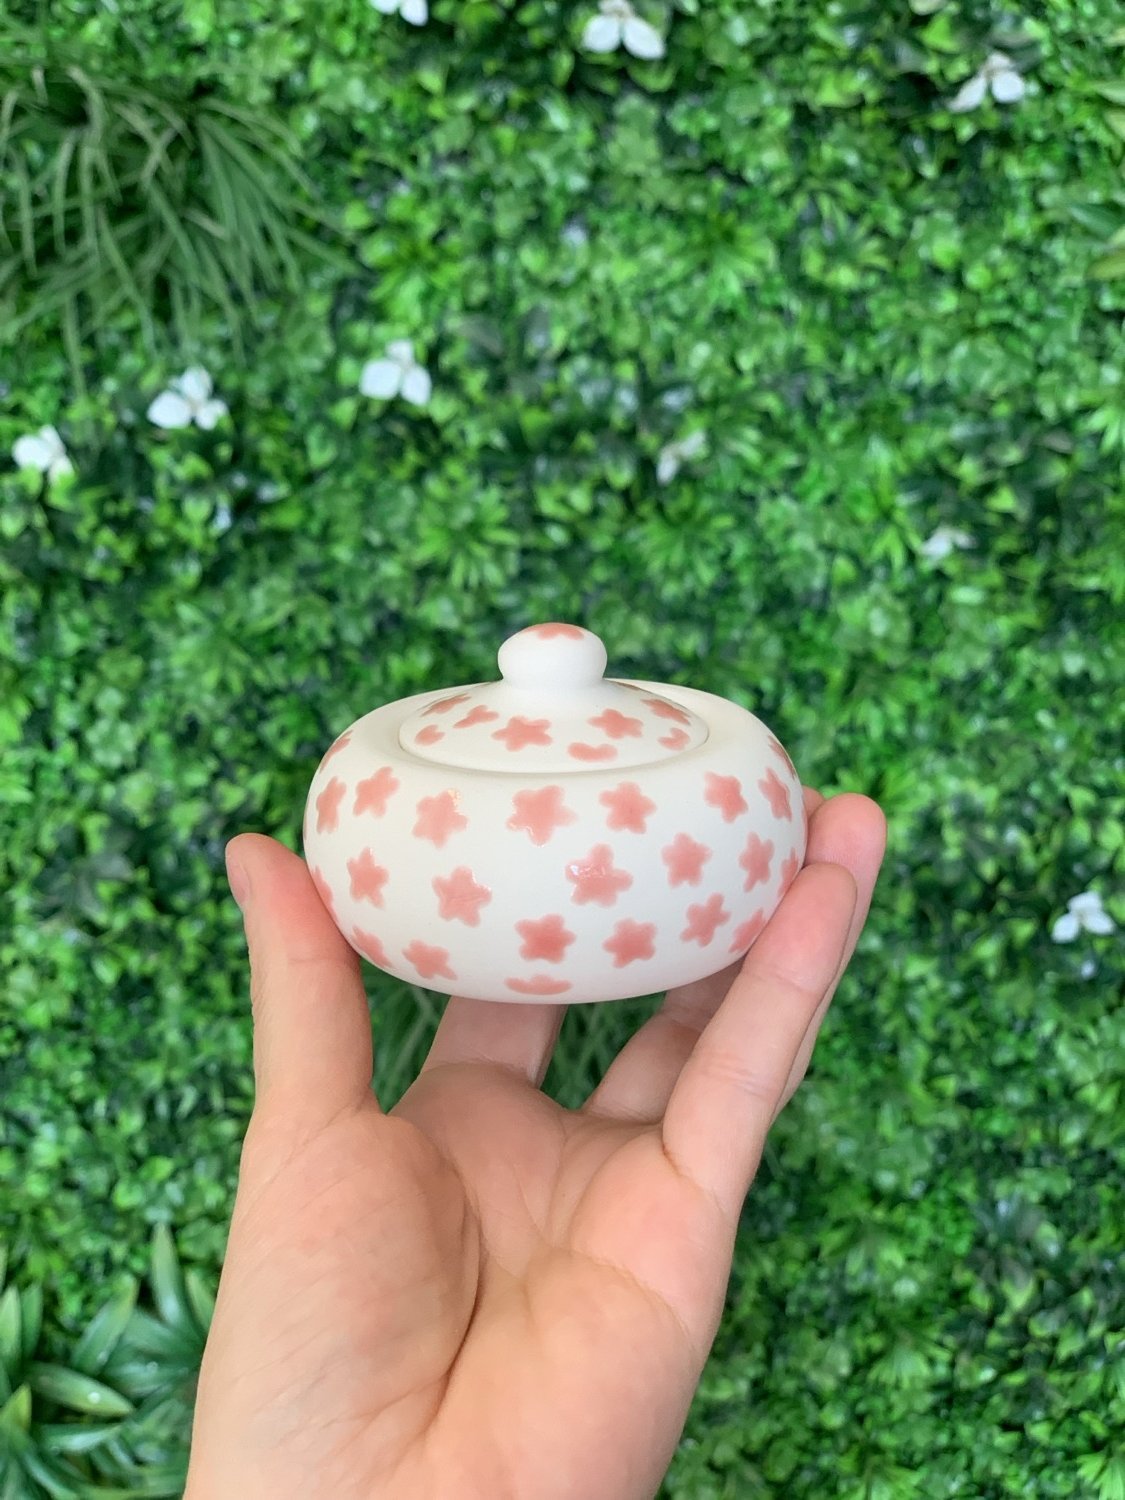
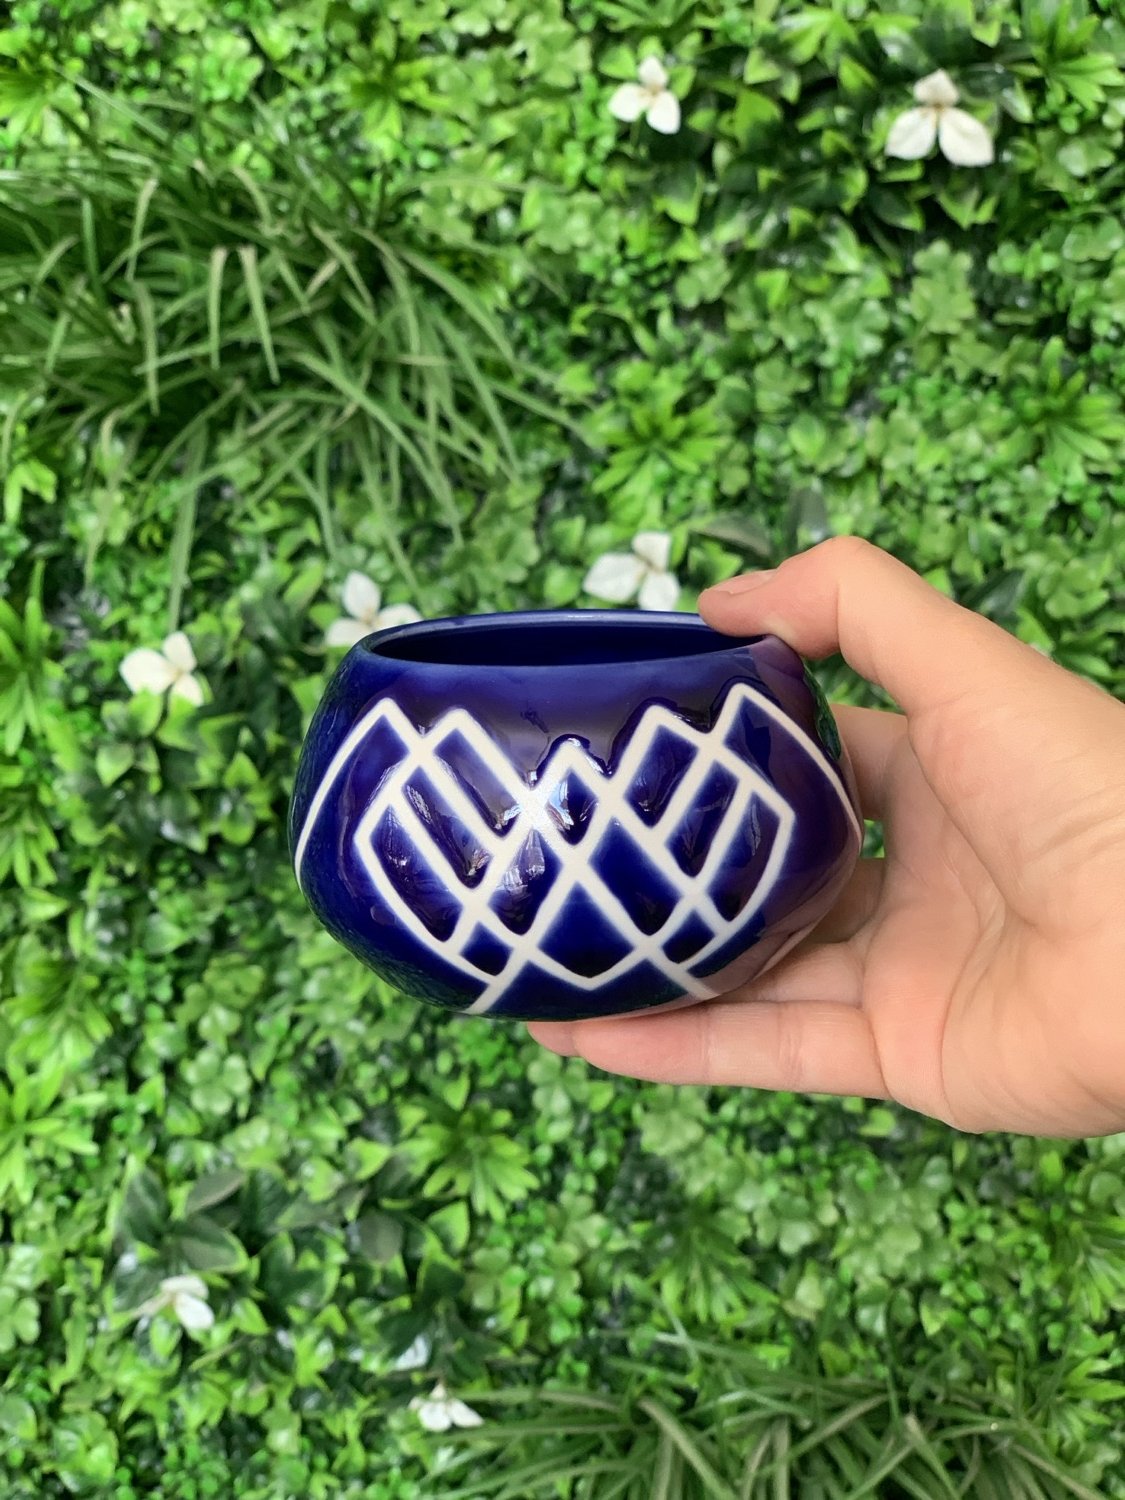
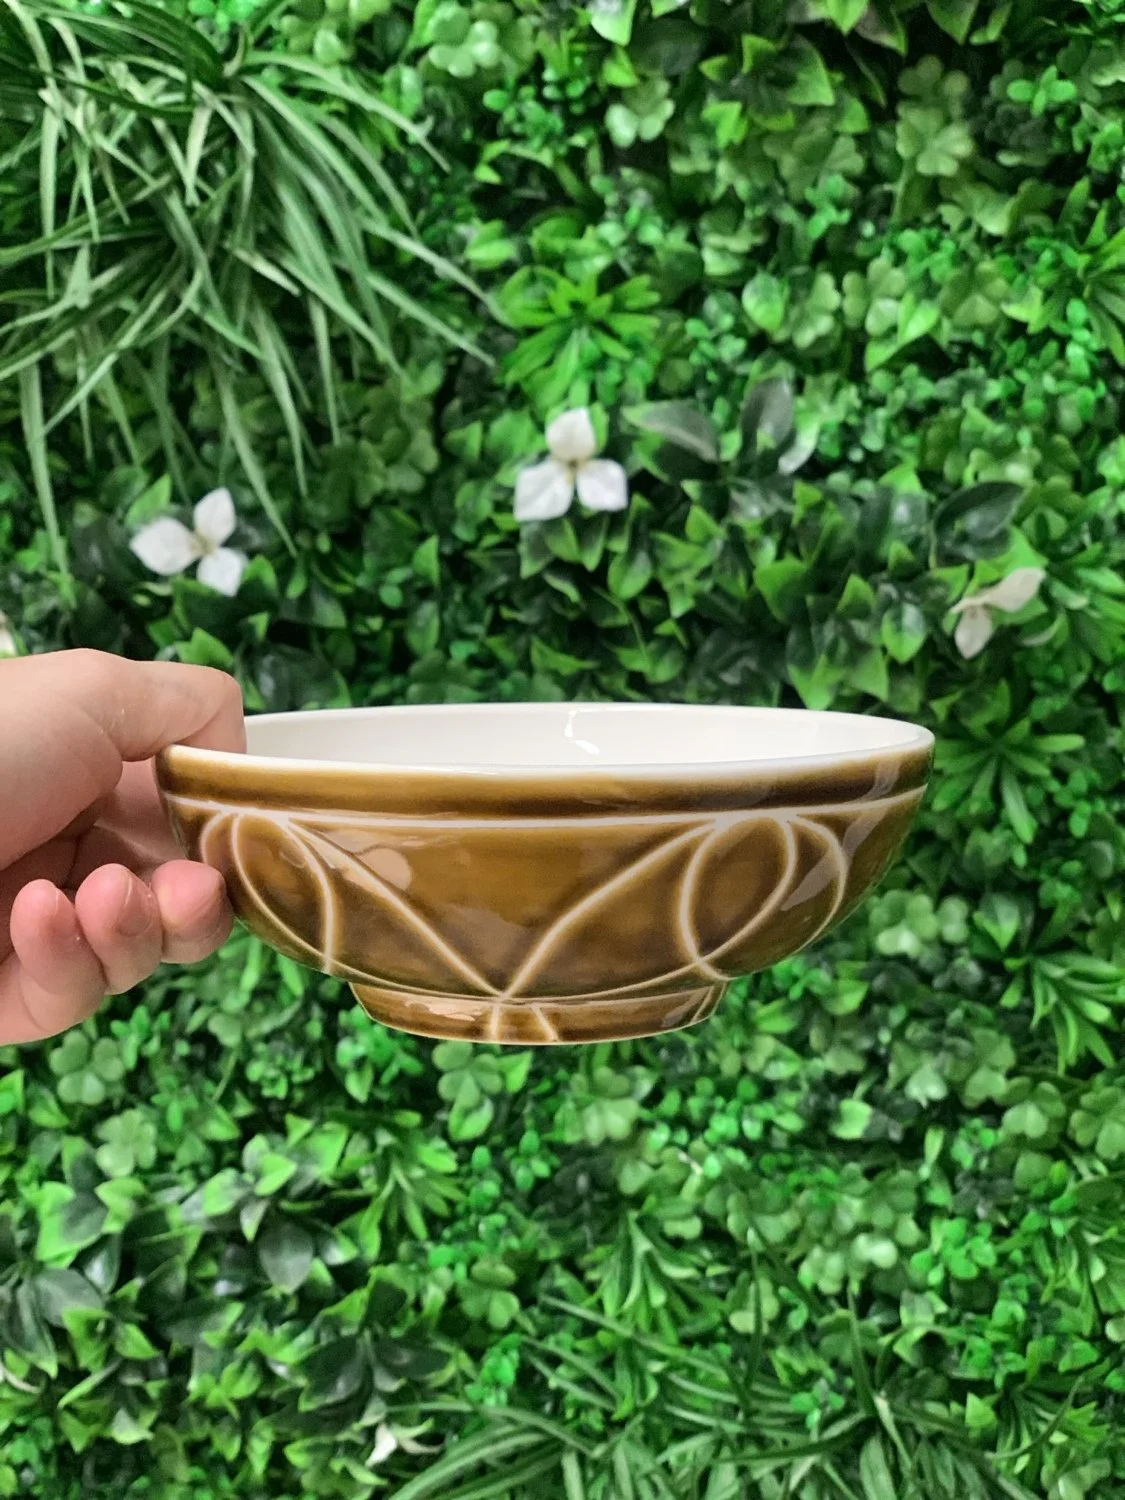
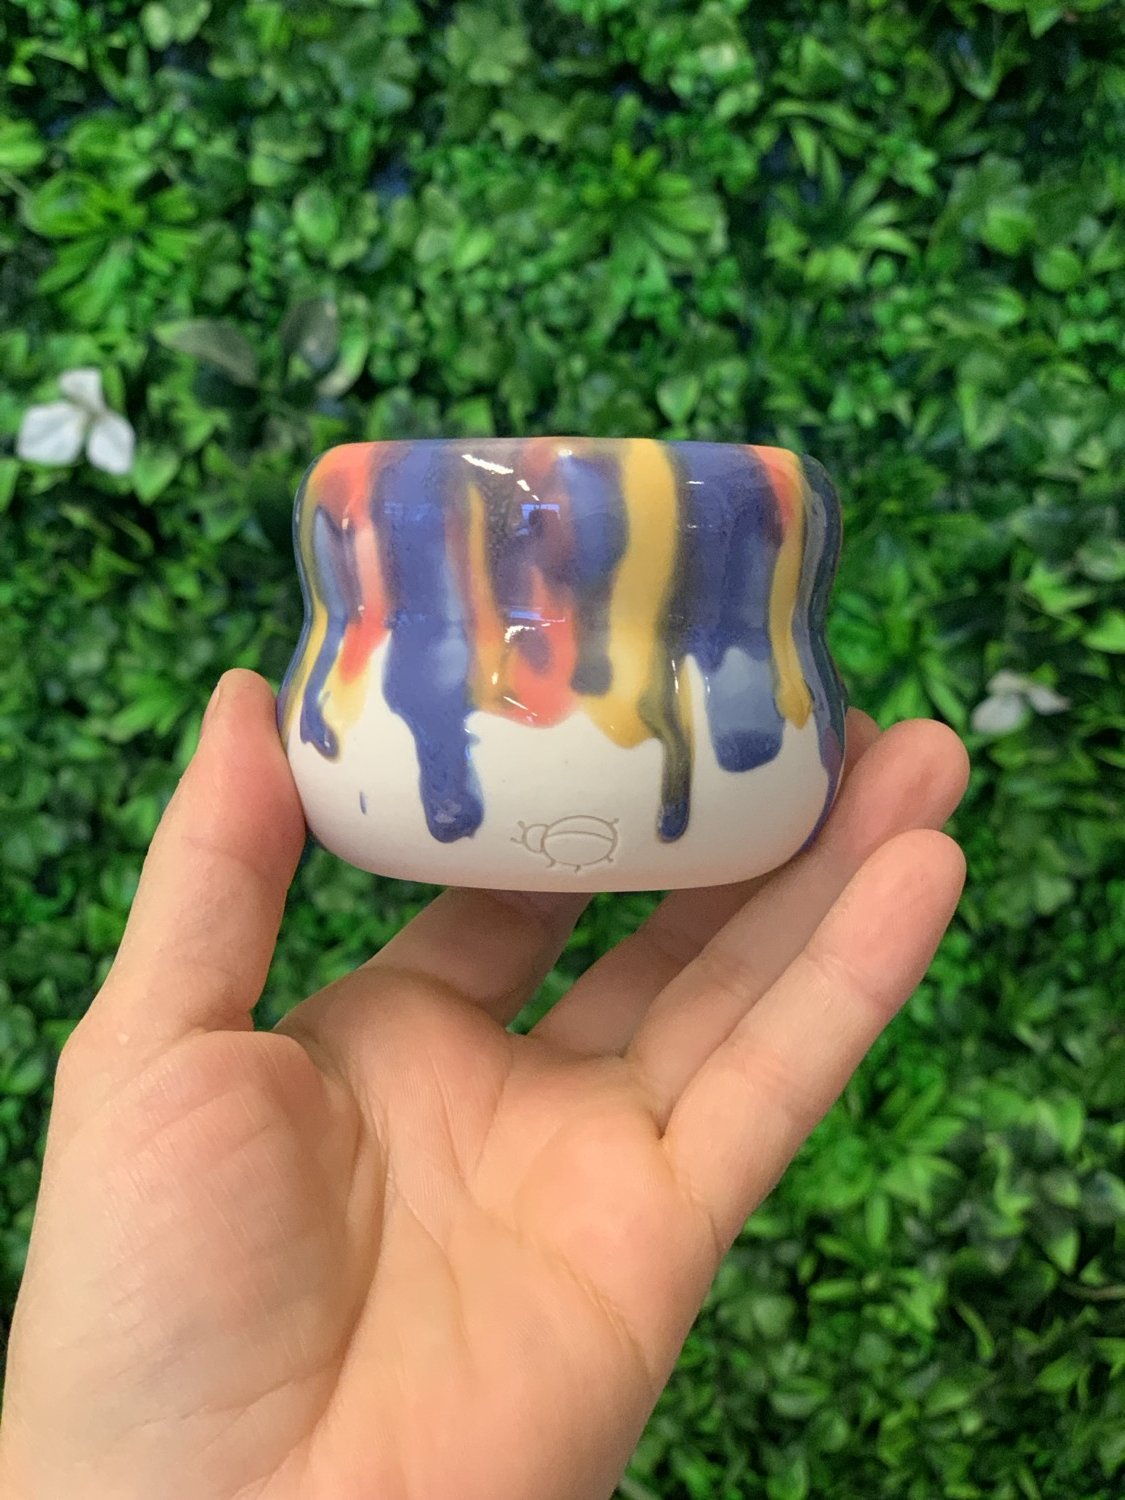
WAX RESIST TECHNIQUE EXAMPLES
All objects shown in this gallery were done using underglazes, wax resist and glazes. This technique is suitable for all levels, including beginners, but requires a 3-hour underglazing workshop and at least another 3-hours during an open studio session to finish it. The more complex and intricate the design, the more time it takes to first draw it on the object with a pencil or copy it using carbon copy paper before the painting, the more colors, shading, blending or waxing it needs, the more area you would like to cover, the more time it takes to finish the work.
This technique creates depth in your work by separating the design in the foreground with a glossy texture and makes it really pop at first glance, can even create a raised surface area on the design (think bubble-like surface tension on a drop of water that sits on a plate) and creates a matte texture in the background. It requires a bit of planning and patience so we do not recommend it to those who are looking for a technique that is quick and easy but it is very meditative and creates absolutely gorgeous and very unique pieces.